Great that a Tutorial is being made on this subject. Remember a Tutorial is for those people who don't know what they are doing. So if you think, "will we understand", best to believe that we won't. I gave it a go. I have Gimp and I did get used to using it a while ago.
Yea, I was trying to write this with a lot of details and screenshots...for people who haven't used GIMP and/or layers before
1. It was was easy to follow.
Thanks. I'm glad everything made sense....
Also my folder path to find Art/Cities is way different than yours. But that does not confuse me, anymore.
Right, sometimes people have different installation paths, so your folder may be in a different location. But I think people can probably figure that out because the main folders are all the same...
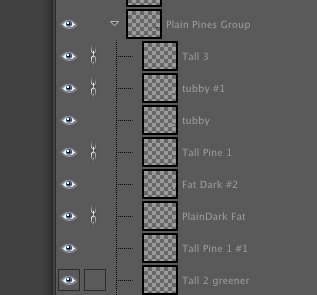
2. I opened up the City Template that Pounder made in Gimp. I stumbled through creating the Layers, finally getting all the layers and numbers in the correct order. Magneta 1st, then Modern 3, Modern 2, etc etc ... ...
I included a City Template.xcf file that already has the layers in it. But I guess I should have put in some notes about how to create your own layers. You were able to figure that out though so that's good.
Basically you just Layer/Add Layer. And name the layer whatever you want. And then you can do a CNTL-L to see the layer box and drag your layers up and down and put them wherever you want.
3. Now I am halted. Says open up your Transparent Teepee 1.png. I don't want to use your Teepee. But also how did you make the Teepee? ----- I guess I have to learn how to use Gimp again.
I put those transparent images in the zip file so that people could use them and focus on how to make a city file when they already have a good image with a transparent background.
I sort of wanted to avoid talking about how to make transparencies because there's so many different ways to do it. And some people are better at it than I am.
But to answer your question about how I made the tee pees. I went to Google Images and searched. I found some good Tipi illustrations and used the Gimp Scissors tool to cut out the images. Tools/Selection Tools/Intelligent Scissors or Click I for short...
Once I scissor an image, I do an Edit/Copy. And then Edit/Paste As/New Image. This will give me the image on a transparent background. (a Tee Pee on a transparent background in this case).
Then you have to zoom in on the image and fix a lot of pixels. And you usually have to scale it down to the size you want.
I usually fix colors and brightness also using some of the color tools...
Anyway, it takes a lot of time to do this kind of work.
Sometimes you can do a Google search like this: Transparent Tipi. And you might get lucky. Someone out there may have already made a good Transparent Tipi that you can copy and use...
Well, that's just the basics. If I have time, I guess I'll write a separate tutorial on how to use GIMP scissors and make transparent backgrounds and things like that.
If you attach the image you want to use in the city file, maybe I can use that as another example of how to use your own image (make it transparent and add it to a layer).
Thanks for your questions...


")