Gray Wolf
Winter Wolf
note: A PDF file of this tutorial is attached below.
How to make an advisor/flag_all.pcx file (using GIMP 2.8 and PSP 7 Animation Shop and Notepad++)
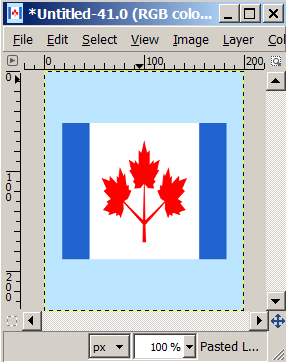
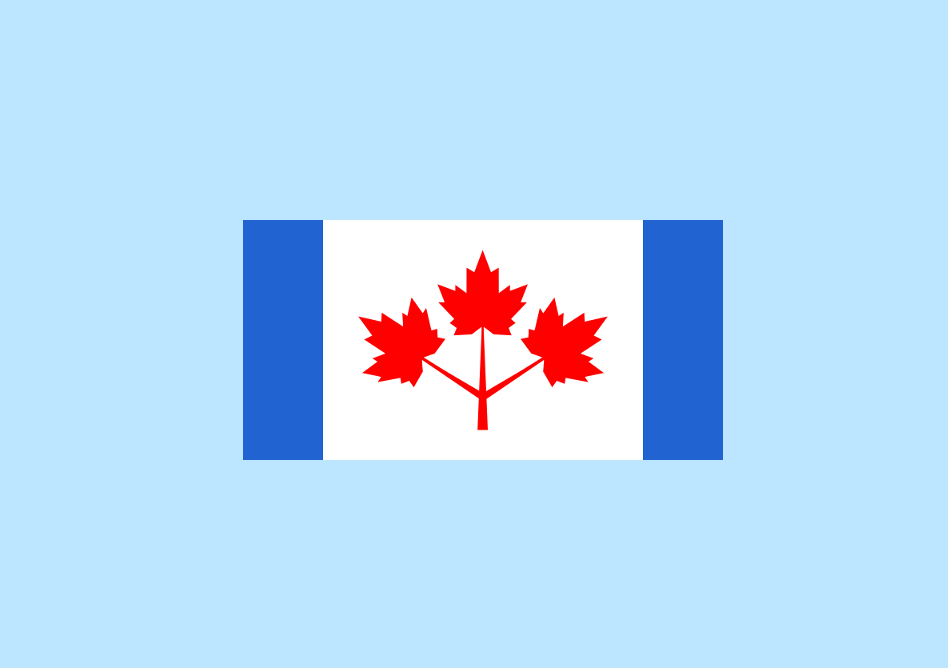
1. Open a flag.pcx file that you created already which is 200 width x 240 height
I'll use my 1965 Canadian flag pcx file as an example.
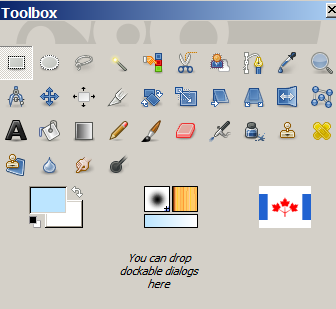
2. Windows/New Toolbox
This will open the toolbox which shows you the current
foreground color and background color that is set right now.
3. Change the foreground color to some soft pastel blue color.
There are 2 colors stacked over top of each other.
The one on the top is the foreground color.
Click it ... then you can set it to a light blue color.
A good blue color to use is bce5ff.
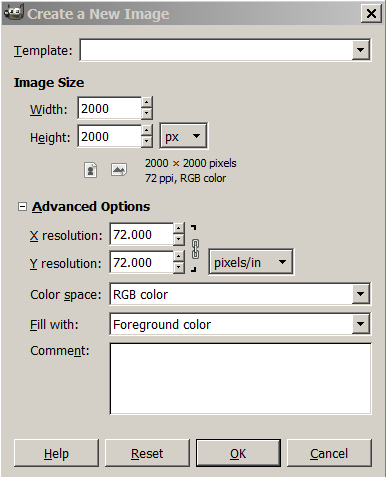
4. Create a huge blank canvas with the blue color.
4.1 File/New
4.2 Width 2000. Height 2000.
4.3 Click Advanced Options
4.4 Fill With: Foreground Color
4.5 OK.
5. Now, you have your flag and a big canvas. Paste the flag into the big canvas.
5.1 Flag File: Edit/Copy (to copy the flag image)
5.2 Big Canvas: Edit/Paste Into
note: This will put the flag in the middle of the blue canvas.
5.3 Layer/Anchor layer. (this gets rid of the 2nd layer)
5.4 Close the flag file. You don't need it anymore.
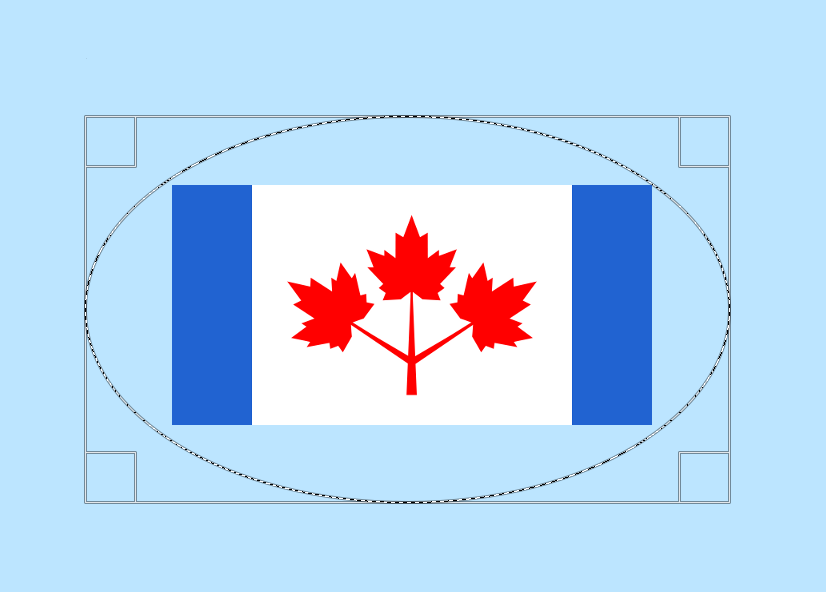
6. Create a circled flag.
6.1 Tools/Selection Tools/Eclipse
Expand the eclipse around the flag.
Stretch it north, south, east, and west ... until it is around the flag.
What you want to do is have each corner of the flag
touching the inside perimeter of the eclipse.
note: It's ok if the eclipse is not a perfect circle.
6.2 Once you have the eclipse around the flag, copy the image.
Edit/Copy
6.3 Now paste it as a new image
Edit/Paste As/New Image
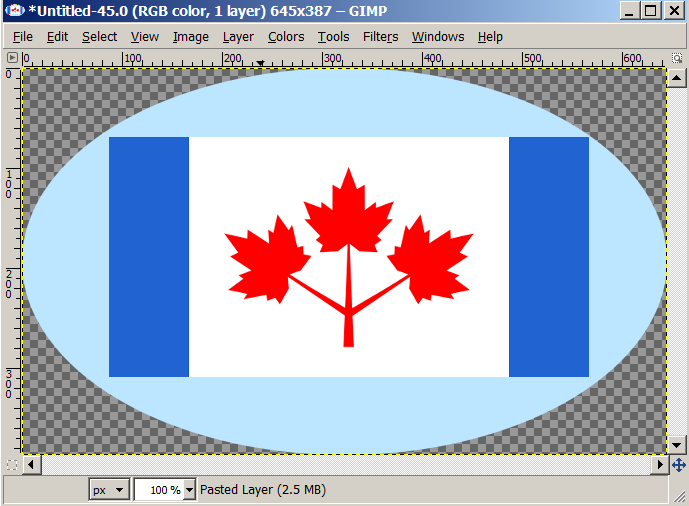
6.4 Close the big blue canas. We don't need it anymore.
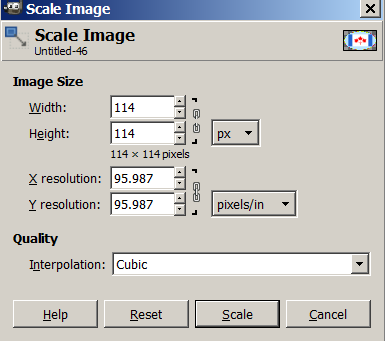
7. Scale your circled/eclipse flag image.
7.1 Image/Scale Image
7.2 Unlink the paper clip thing (which is to the right of the Width and Height boxes)
7.3 Set Width and Height to 114 and 114
7.4 Click Scale
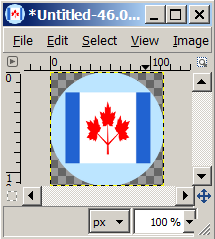
7.5 Now you have a 114x114 circle flag.
7.6 Leave it open for a while...
8. Now, Open up an actual _all file that is used by the vanilla game.
You can find some at Conqusts/Art/Advisors.
Use X2_Mursilis advisor.pcx.
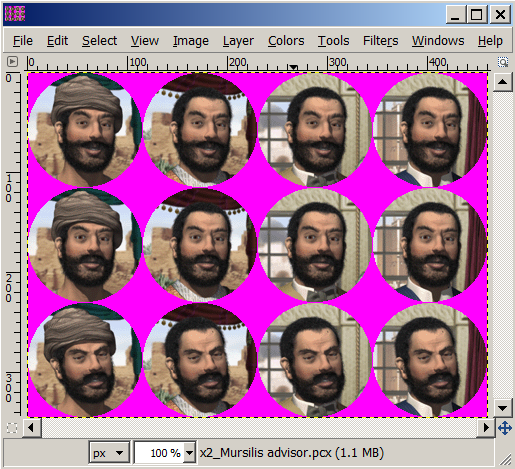
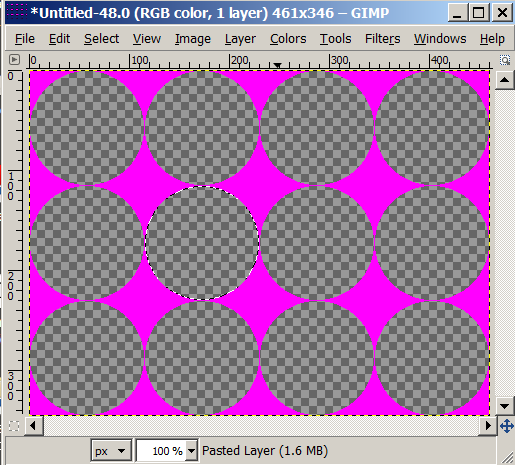
8.1 The file shows 3 rows of 4 circles on each row.
8.2 In between the circles is the "transparency" color. (which is usually pink ff00ff)
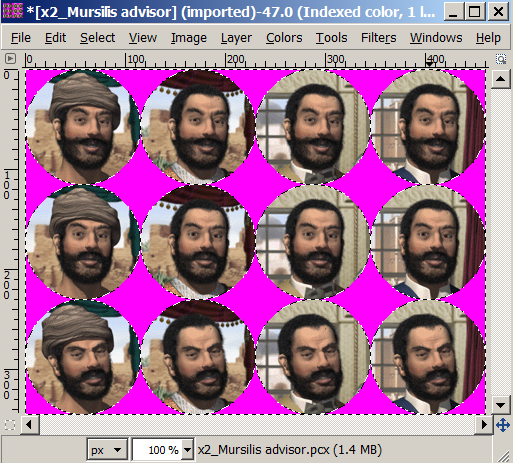
8.3 Tools/Selection Tools/By Color Select
Click on the transparency color (pink in our case)
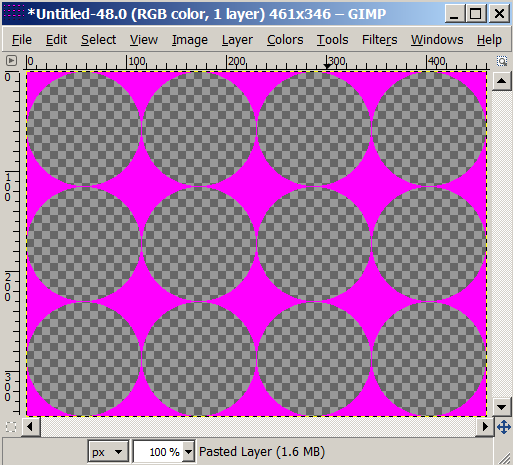
8.4 Edit/Copy
8.5 Edit/Paste As New Image
8.6 This is the template that you are going to use to make our flag_all.pcx file.
8.7 Close the X2_Mursilis advisor.pcx. We don't need it anymore.
9. Now you have a little 114x114 picture and a template. We need to put the circle image
into all 12 of the empty circles of the template.
9.1 On the 114x114 image: Edit/Copy
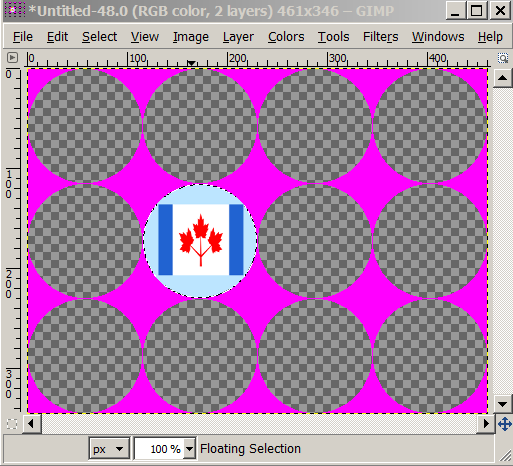
9.2 On the template image: Tools/Selection Tools/Fuzzy Select
Click on any of the circles. (it selects the whole circle)
note: I selected the 2nd circle on the 2nd row as an example.
9.3 Edit/Paste Into
The image should go into the circle.
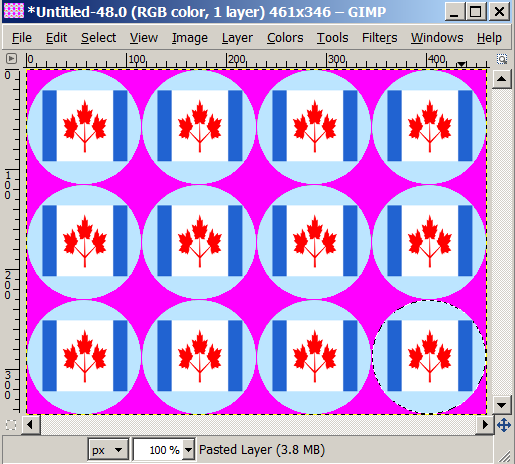
9.4 Select all the other circles the same way and do an Edit/Paste Into on each one.
9.5 Now your Template is full of images
9.6 Layer/Anchor Layer (to get rid of the 2nd layer)
9.7 Select/None
10. Now Save that file as a .pcx file
10.1 File/Export To
10.2 Name. Flag_all.pcx
10.3 Choose the folder you want.
10.4 Click the + sign where it says "Select File Type"
10.5 Scroll to the bottom and choose ZSoft PCX image
10.6 Click Export
10.7 Close the files you were working with...
You don't need them anymore..
11. Open up your flag_all.pcx file and create a pallette
11.1 Image/Mode/Indexed
11.2 Set it to "Generate Optimum Palette"
11.3 Set Maximum number of colors = 254
11.4 Leave the other settings alone.
11.5 Click "Convert"
11.6 File/Overwrite/Flag_all.pcx
11.7 Close the current file and then re-open the new flag_all.pcx file.
note: you have to close and re-open the file so the palette gets reset correctly.
12. Fix the palette colors
12.1 Windows/Dockable Dialog/Colormap
12.2 Make the colormap window big so you can see all of the colors
12.3 On the 12 circle image, select the "Transparency color" (the color in between circles)
with your color picker tool. (in our example, it is the pink color)
Tools/Color Picker and then click the transparency color.
12.4 Then Look at your color map. One of the palette color cells
is selected now ... it basically shows you which one of the
color cells is equal to the transparency color that you
just clicked. Take note of where that is located.
Mine happens to be on color index=6.
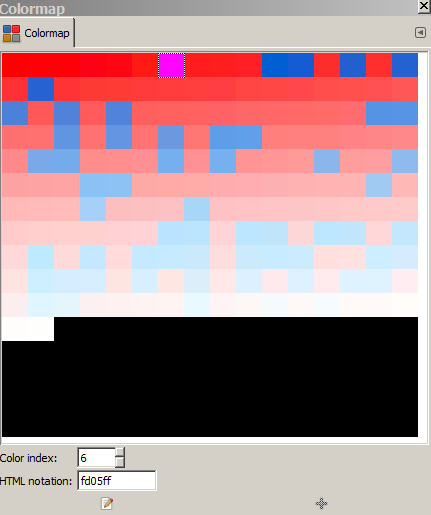
Note: See the pink cell is now selected on the colormap...
12.5 We need to move that pink color to color index=254 (the 2nd to last color).
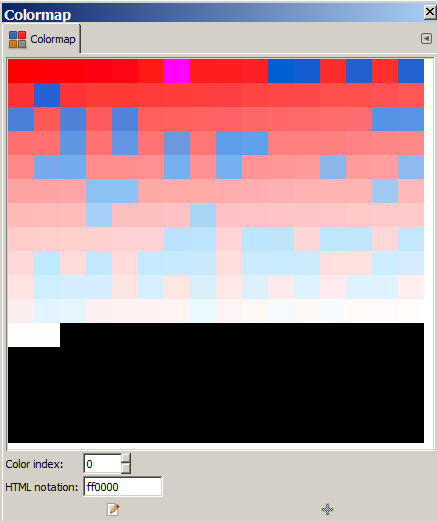
12.6 Right click on any cell and select "rearrange colormap"
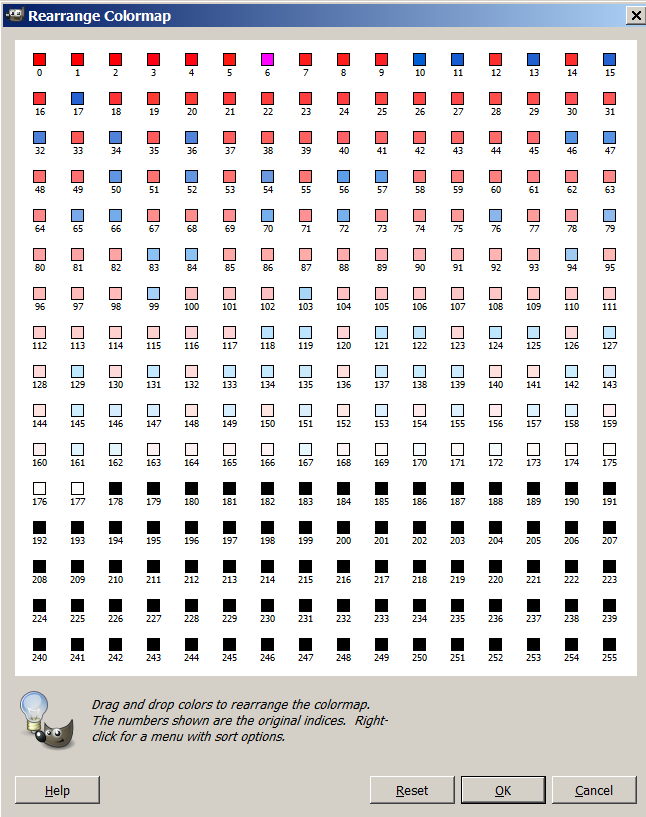
12.7 Find your transparency color cell (mine is located at cell number 6)
and then drag it to cell 254.
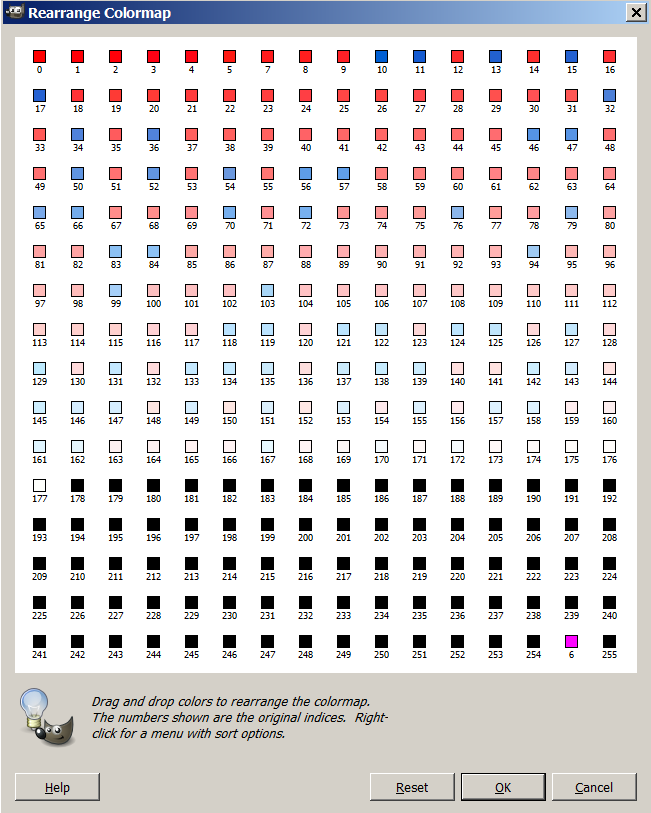
12.8 Click OK
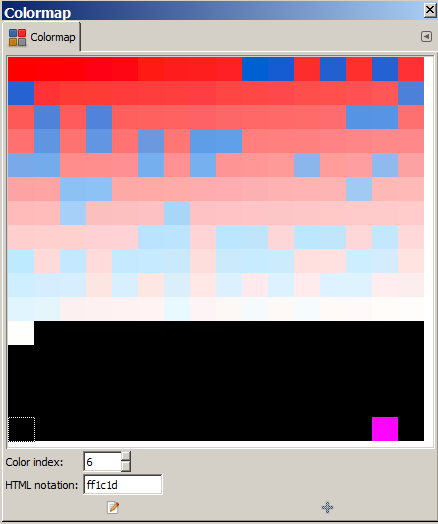
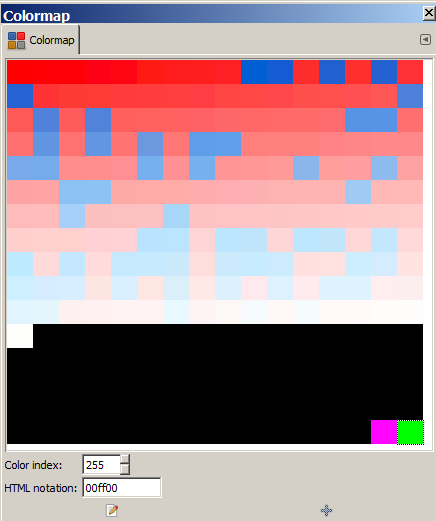
The colormap looks like this now:
12.9 Set Index Color 255 (the last color in the palette)
Double click on cell 255.
Change the color to any color that is not in your palette.
And make sure it is not the same as cell 254's color.
I usually use 00ff00 (neon green).
12.10 Fix any white colors in your palette
Scan the pallette. If any color = ffffff (pure white) then change it to fffff3 (off white)
12.11 File/Overwrite/Flag_all.pcx
12.12 Close the current file (without saving) and then re-open it again.
13. Fix any perimeter colors that need changing.
13.1 View/Zoom to 800%.
13.2 Look at the perimeter of the circle
13.3 If it looks good, you are done

13.4 But sometimes there are "weird colored dots" scattered around
the perimeter of each circle that make the image look bad in the game...

13.5 To fix those, pick your transparency color.
Tools/Color Picker and click on the transparency color (pink in our case)
13.6 Windows/Toolbox (make sure the foreground color=transparency color)
13.7 Tools/Paint Tools/Bucket fill
Now click on a color dot that needs to be fixed and it will fill it with the "foreground color"
which is your transparency color (pink).
You have to fix each little color dot one at a time...on each circle.
13.8 When you are done fixing them all, then save the file.
File/Overwrite/Flag_all.pcx
---------------------------------------------------------------
Ok, that's it, you are done. You now have a flag_all.pcx file
that can be put in your Advisors folder and be used in the game.
You have to change the pediaicons.txt entry to point to the advisor
file. Here's an example of my Algeria_all.pcx flag:
#START LEADER/RACE ART
#RACE_Algeria
art\leaderheads\Algeria.pcx
art\advisors\Algeria_all.pcx
Anyway, I hope this helps someone.
---------------------------------------------------------------
Note: You can put different flags for different eras.
The first column is for Ancient times. The next ones are for Medieval, Industrial, and Modern times.
The first row is for "happy flags".
The second row is for "neutral flags".
The third row is for "angry flags". (Sometimes I put a black English cross flag for "angry England")
You have to make a lot of 114x114 flag images to do that though and I usually just put
the same flag image in all 12 circles.
Anyway, I hope this helps people. It took me a long time to learn how to do this stuff...
so I thought I'd share what I know ....
How to make an advisor/flag_all.pcx file (using GIMP 2.8 and PSP 7 Animation Shop and Notepad++)
1. Open a flag.pcx file that you created already which is 200 width x 240 height
I'll use my 1965 Canadian flag pcx file as an example.
Spoiler :
2. Windows/New Toolbox
This will open the toolbox which shows you the current
foreground color and background color that is set right now.
3. Change the foreground color to some soft pastel blue color.
There are 2 colors stacked over top of each other.
The one on the top is the foreground color.
Click it ... then you can set it to a light blue color.
A good blue color to use is bce5ff.
Spoiler :
4. Create a huge blank canvas with the blue color.
4.1 File/New
4.2 Width 2000. Height 2000.
4.3 Click Advanced Options
4.4 Fill With: Foreground Color
4.5 OK.
Spoiler :
5. Now, you have your flag and a big canvas. Paste the flag into the big canvas.
5.1 Flag File: Edit/Copy (to copy the flag image)
5.2 Big Canvas: Edit/Paste Into
note: This will put the flag in the middle of the blue canvas.
5.3 Layer/Anchor layer. (this gets rid of the 2nd layer)
5.4 Close the flag file. You don't need it anymore.
Spoiler :
6. Create a circled flag.
6.1 Tools/Selection Tools/Eclipse
Expand the eclipse around the flag.
Stretch it north, south, east, and west ... until it is around the flag.
What you want to do is have each corner of the flag
touching the inside perimeter of the eclipse.
note: It's ok if the eclipse is not a perfect circle.
Spoiler :
6.2 Once you have the eclipse around the flag, copy the image.
Edit/Copy
6.3 Now paste it as a new image
Edit/Paste As/New Image
Spoiler :
6.4 Close the big blue canas. We don't need it anymore.
7. Scale your circled/eclipse flag image.
7.1 Image/Scale Image
7.2 Unlink the paper clip thing (which is to the right of the Width and Height boxes)
7.3 Set Width and Height to 114 and 114
7.4 Click Scale
7.5 Now you have a 114x114 circle flag.
7.6 Leave it open for a while...
Spoiler :
Spoiler :
8. Now, Open up an actual _all file that is used by the vanilla game.
You can find some at Conqusts/Art/Advisors.
Use X2_Mursilis advisor.pcx.
Spoiler :
8.1 The file shows 3 rows of 4 circles on each row.
8.2 In between the circles is the "transparency" color. (which is usually pink ff00ff)
8.3 Tools/Selection Tools/By Color Select
Click on the transparency color (pink in our case)
Spoiler :
8.4 Edit/Copy
8.5 Edit/Paste As New Image
8.6 This is the template that you are going to use to make our flag_all.pcx file.
Spoiler :
8.7 Close the X2_Mursilis advisor.pcx. We don't need it anymore.
9. Now you have a little 114x114 picture and a template. We need to put the circle image
into all 12 of the empty circles of the template.
9.1 On the 114x114 image: Edit/Copy
9.2 On the template image: Tools/Selection Tools/Fuzzy Select
Click on any of the circles. (it selects the whole circle)
note: I selected the 2nd circle on the 2nd row as an example.
Spoiler :
9.3 Edit/Paste Into
The image should go into the circle.
Spoiler :
9.4 Select all the other circles the same way and do an Edit/Paste Into on each one.
9.5 Now your Template is full of images
9.6 Layer/Anchor Layer (to get rid of the 2nd layer)
9.7 Select/None
Spoiler :
10. Now Save that file as a .pcx file
10.1 File/Export To
10.2 Name. Flag_all.pcx
10.3 Choose the folder you want.
10.4 Click the + sign where it says "Select File Type"
10.5 Scroll to the bottom and choose ZSoft PCX image
10.6 Click Export
10.7 Close the files you were working with...
You don't need them anymore..
11. Open up your flag_all.pcx file and create a pallette
11.1 Image/Mode/Indexed
11.2 Set it to "Generate Optimum Palette"
11.3 Set Maximum number of colors = 254
11.4 Leave the other settings alone.
11.5 Click "Convert"
11.6 File/Overwrite/Flag_all.pcx
11.7 Close the current file and then re-open the new flag_all.pcx file.
note: you have to close and re-open the file so the palette gets reset correctly.
12. Fix the palette colors
12.1 Windows/Dockable Dialog/Colormap
12.2 Make the colormap window big so you can see all of the colors
Spoiler :
12.3 On the 12 circle image, select the "Transparency color" (the color in between circles)
with your color picker tool. (in our example, it is the pink color)
Tools/Color Picker and then click the transparency color.
12.4 Then Look at your color map. One of the palette color cells
is selected now ... it basically shows you which one of the
color cells is equal to the transparency color that you
just clicked. Take note of where that is located.
Mine happens to be on color index=6.
Spoiler :
Note: See the pink cell is now selected on the colormap...
12.5 We need to move that pink color to color index=254 (the 2nd to last color).
12.6 Right click on any cell and select "rearrange colormap"
Spoiler :
12.7 Find your transparency color cell (mine is located at cell number 6)
and then drag it to cell 254.
Spoiler :
12.8 Click OK
The colormap looks like this now:
Spoiler :
12.9 Set Index Color 255 (the last color in the palette)
Double click on cell 255.
Change the color to any color that is not in your palette.
And make sure it is not the same as cell 254's color.
I usually use 00ff00 (neon green).
Spoiler :
12.10 Fix any white colors in your palette
Scan the pallette. If any color = ffffff (pure white) then change it to fffff3 (off white)
12.11 File/Overwrite/Flag_all.pcx
12.12 Close the current file (without saving) and then re-open it again.
13. Fix any perimeter colors that need changing.
13.1 View/Zoom to 800%.
13.2 Look at the perimeter of the circle
13.3 If it looks good, you are done
Spoiler :
13.4 But sometimes there are "weird colored dots" scattered around
the perimeter of each circle that make the image look bad in the game...
Spoiler :
13.5 To fix those, pick your transparency color.
Tools/Color Picker and click on the transparency color (pink in our case)
13.6 Windows/Toolbox (make sure the foreground color=transparency color)
13.7 Tools/Paint Tools/Bucket fill
Now click on a color dot that needs to be fixed and it will fill it with the "foreground color"
which is your transparency color (pink).
You have to fix each little color dot one at a time...on each circle.
13.8 When you are done fixing them all, then save the file.
File/Overwrite/Flag_all.pcx
---------------------------------------------------------------
Ok, that's it, you are done. You now have a flag_all.pcx file
that can be put in your Advisors folder and be used in the game.
You have to change the pediaicons.txt entry to point to the advisor
file. Here's an example of my Algeria_all.pcx flag:
#START LEADER/RACE ART
#RACE_Algeria
art\leaderheads\Algeria.pcx
art\advisors\Algeria_all.pcx
Anyway, I hope this helps someone.
---------------------------------------------------------------
Note: You can put different flags for different eras.
The first column is for Ancient times. The next ones are for Medieval, Industrial, and Modern times.
The first row is for "happy flags".
The second row is for "neutral flags".
The third row is for "angry flags". (Sometimes I put a black English cross flag for "angry England")
You have to make a lot of 114x114 flag images to do that though and I usually just put
the same flag image in all 12 circles.
Anyway, I hope this helps people. It took me a long time to learn how to do this stuff...
so I thought I'd share what I know ....