Leveraging Vassalage VI - Tokugawa's Great Great Nephew, Shaka

Artichoker

Emperor
Joined
Dec 21, 2007
Messages
1,711
Leveraging Vassalage VI - Tokugawa's Great Great Nephew, Shaka


"I will tell you a secret, fellow warriors of Zululand...I am descended from the land of the Samurai, and the Assegai you are holding in your hand is forged from the secret arts of Japanese weaponsmiths. Know that Zulu blood alone does not guarantee victory in battle. You must summon your inner Ki, in order to make every spear thrust deadly. Do not let the enemy gain an inroad on your defensive front...and always remember, aim for the heart!"


Welcome to the 6th thread in the Leveraging Vassalage series. First, I would like to summarize both the purpose and format of this thread:

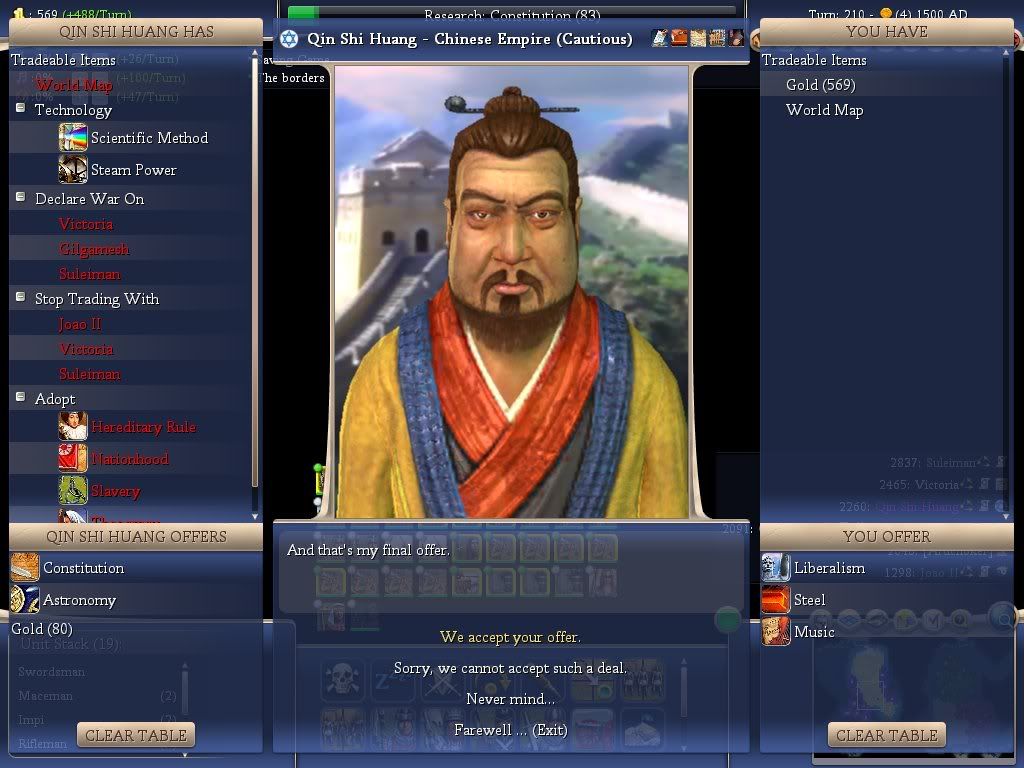
1) The focus of this thread is using the Vassalage civic to help progress toward a victory. While playing the games in this thread, we are not trying to compare Vassalage to other civics such as Bureaucracy, but rather trying to maximize the efficiency of Vassalage itself, when viewed in the context of the whole game. I will use different civics in combination with Vassalage, depending on the situation in each game.

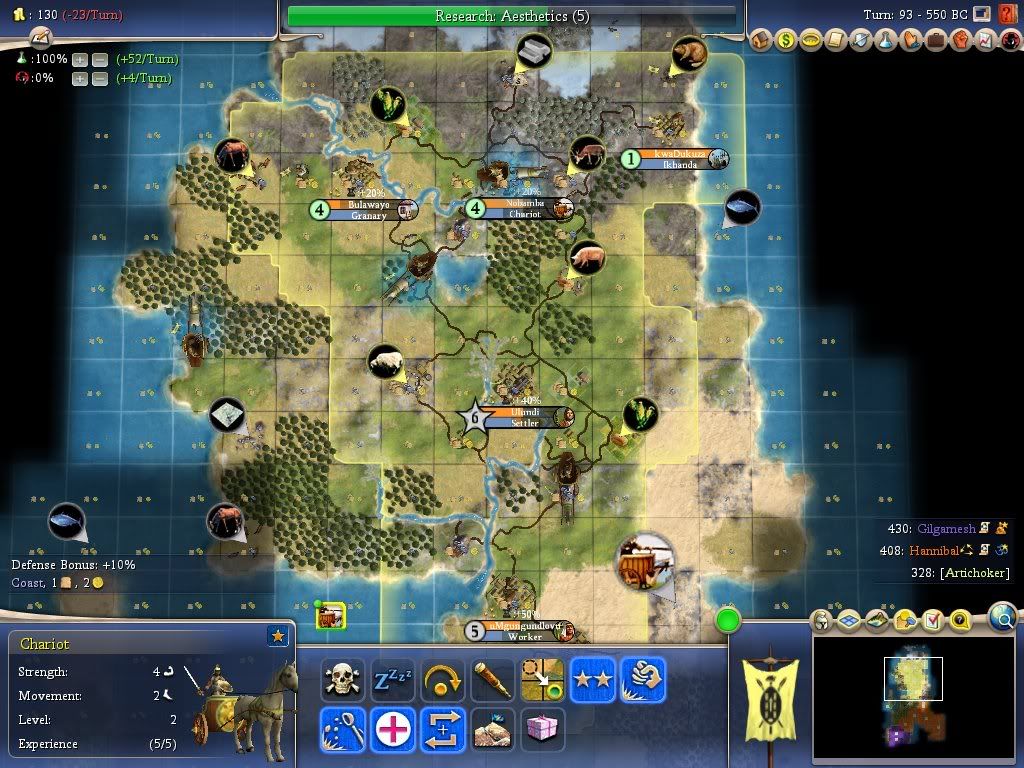
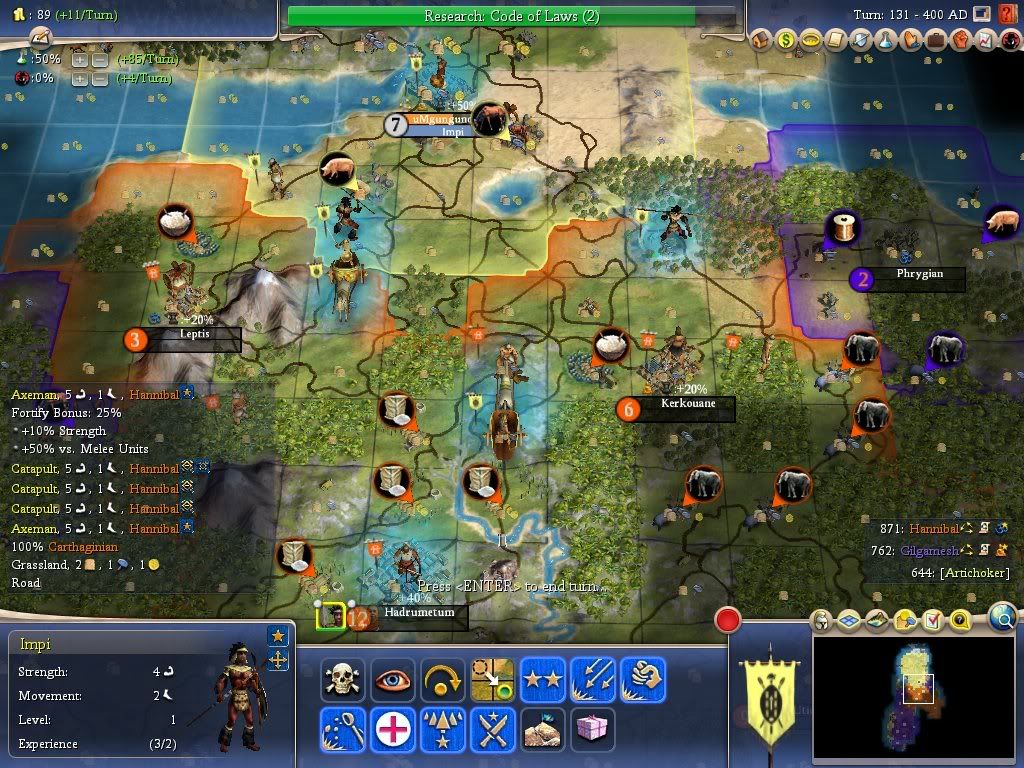
2) There will now be 3 different starts in this thread. Each start will use the leader Shaka and will have the settings Immortal and Normal Speed, and 3 different map types will be chosen. I will play through approximately 1 AD before posting the start, but anyone is welcome to discuss early-game strategy based on the earlier screenshots I provide.

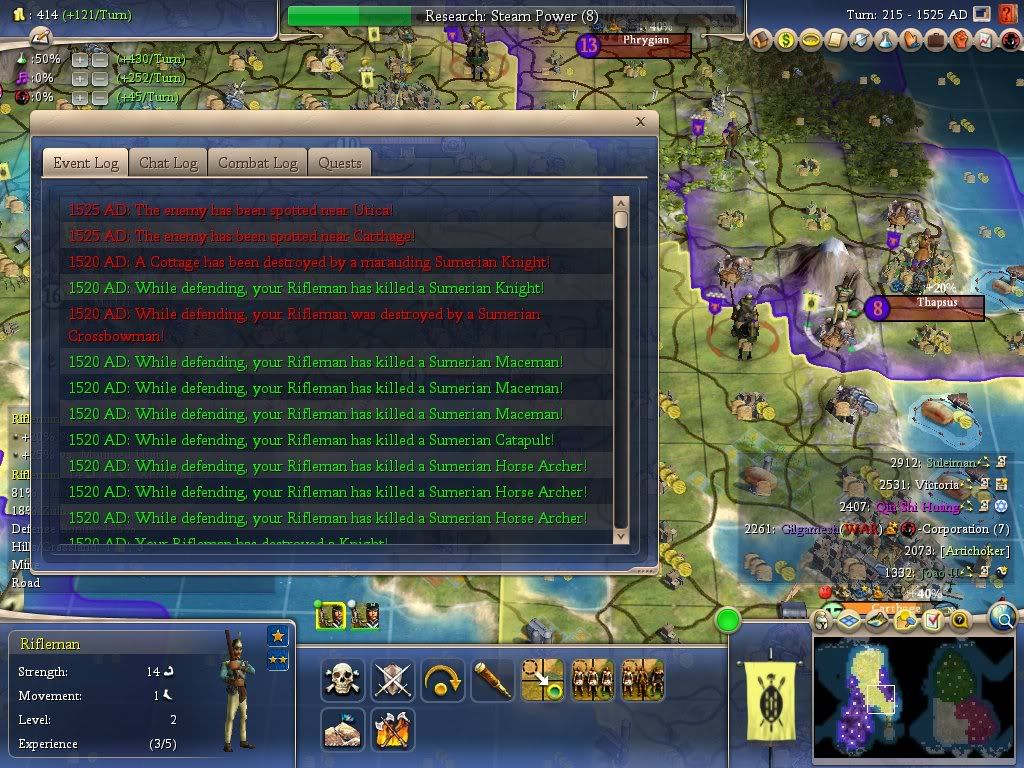
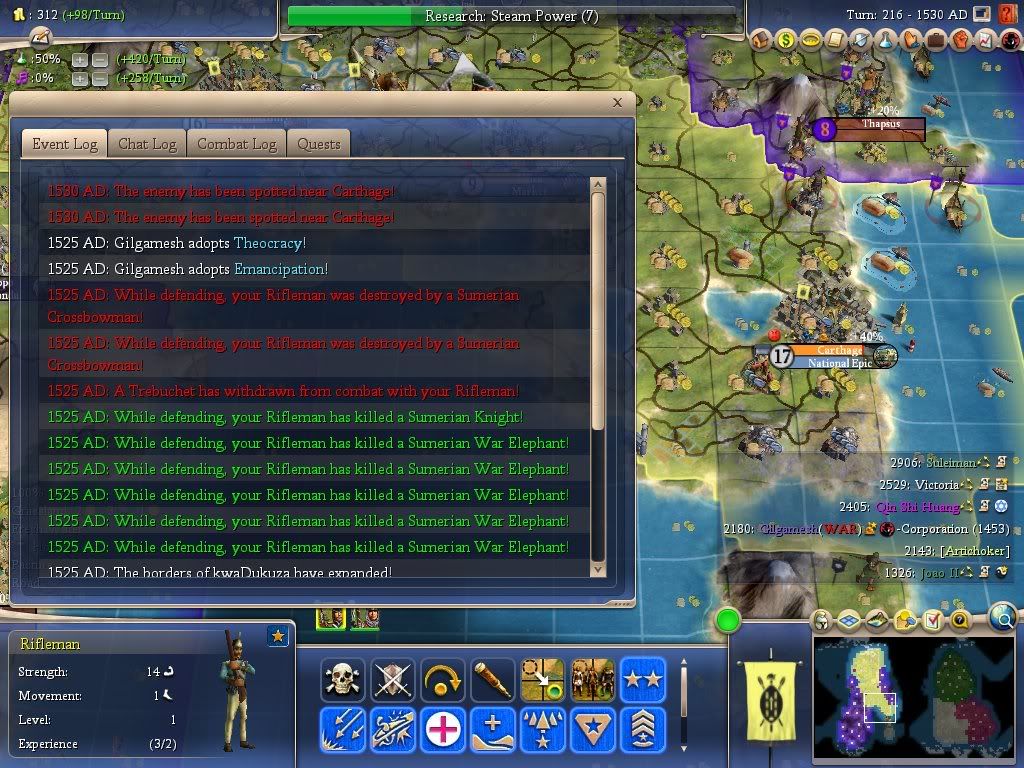
3) I will sometimes start a discussion regarding possible strategy, based on certain screenshots that I provide. Even though I may have played well beyond that point, I will try to run the discussion as if I didn't have prior knowledge of the outcome of the game past that point.


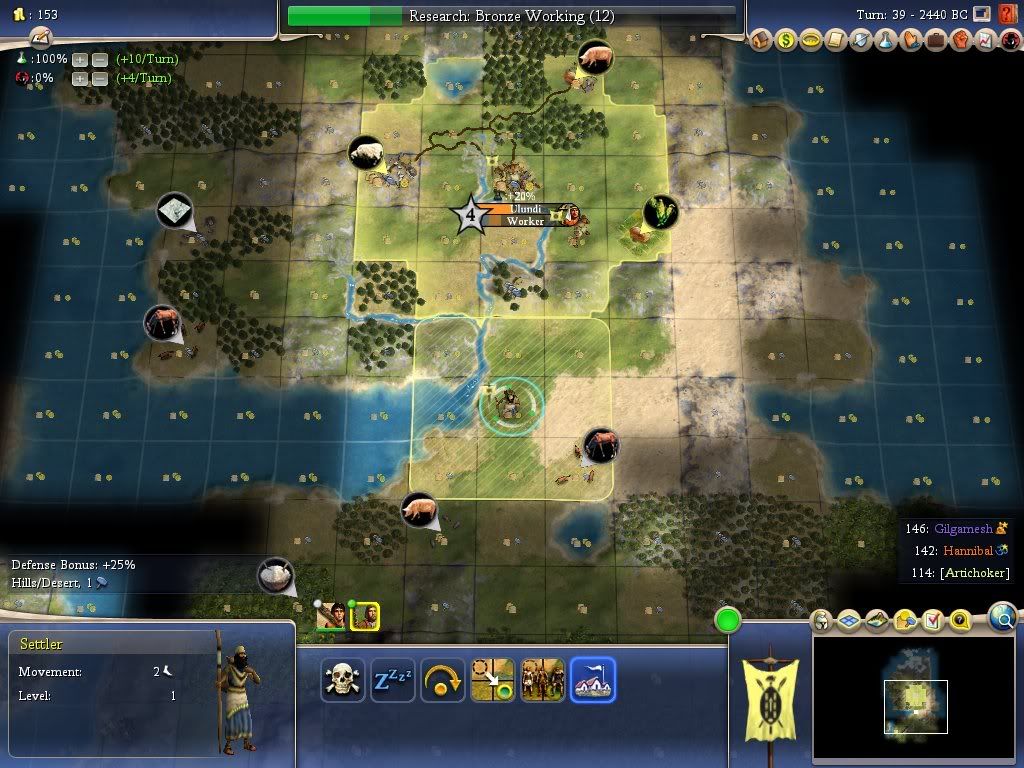
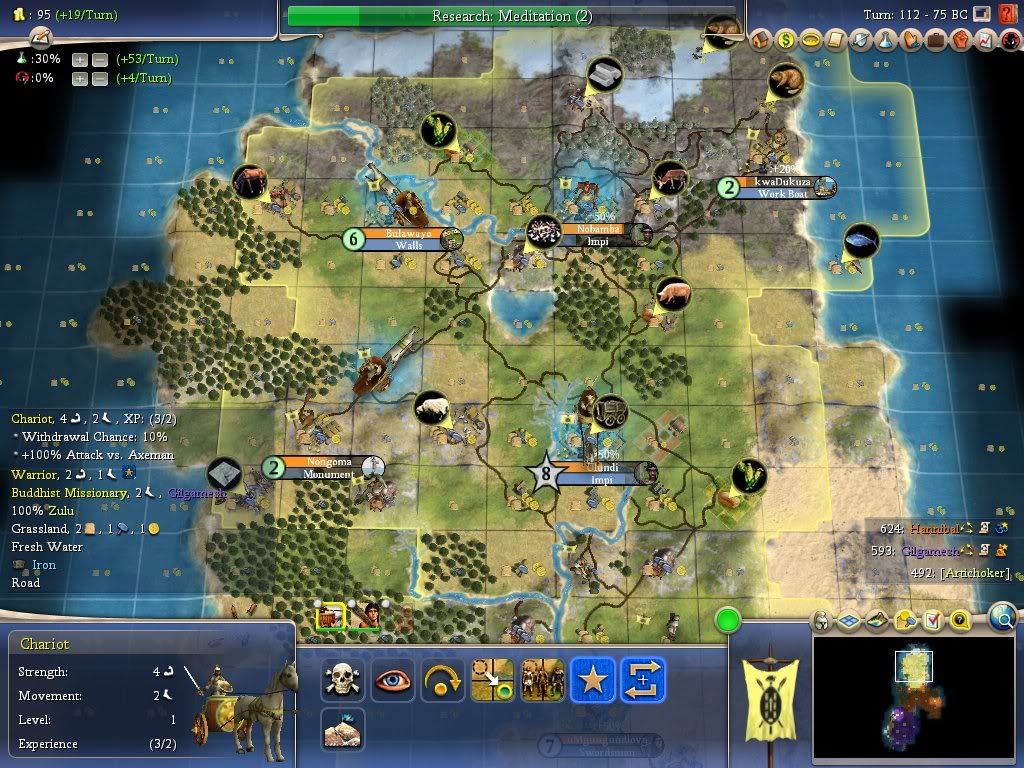
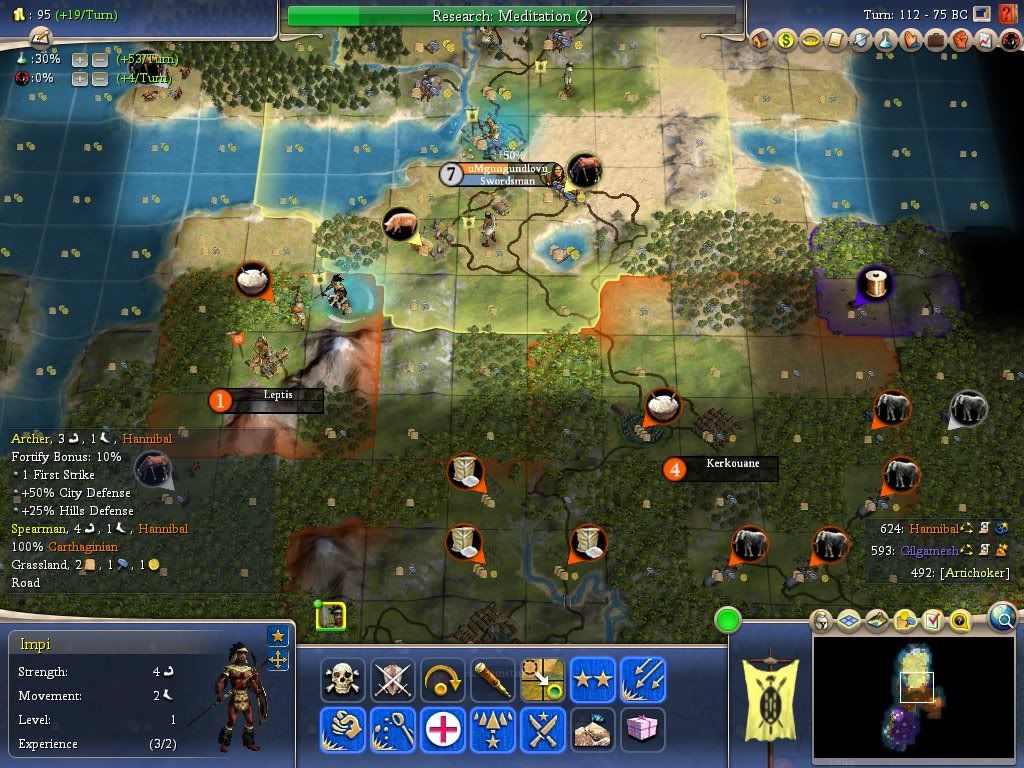
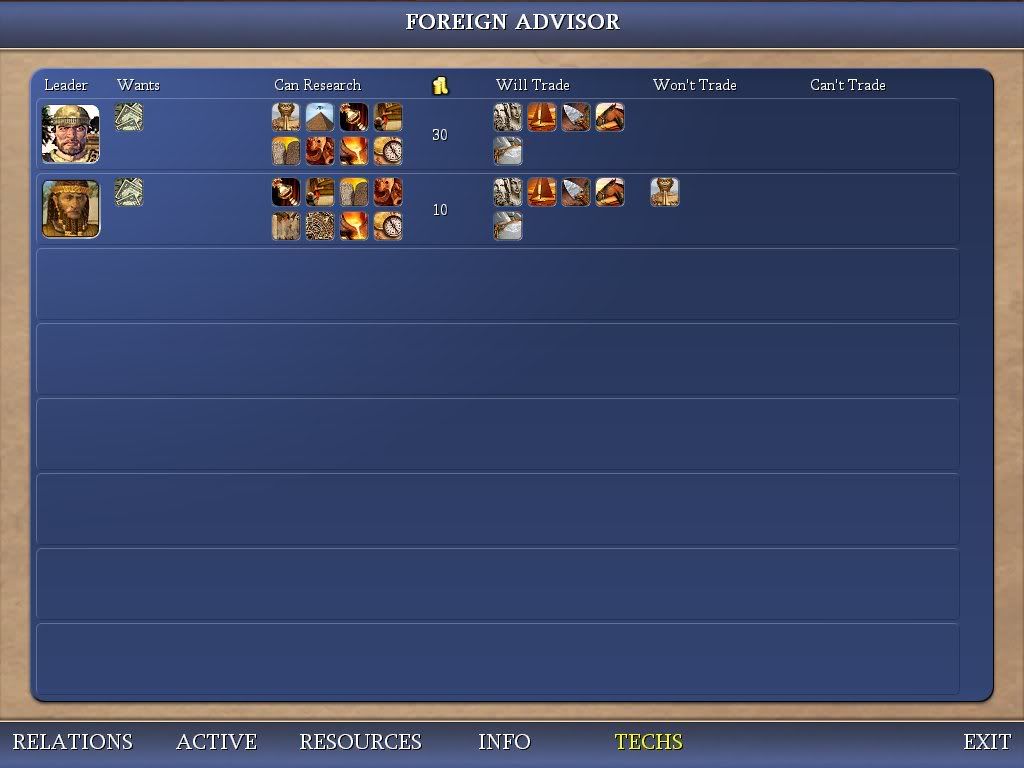
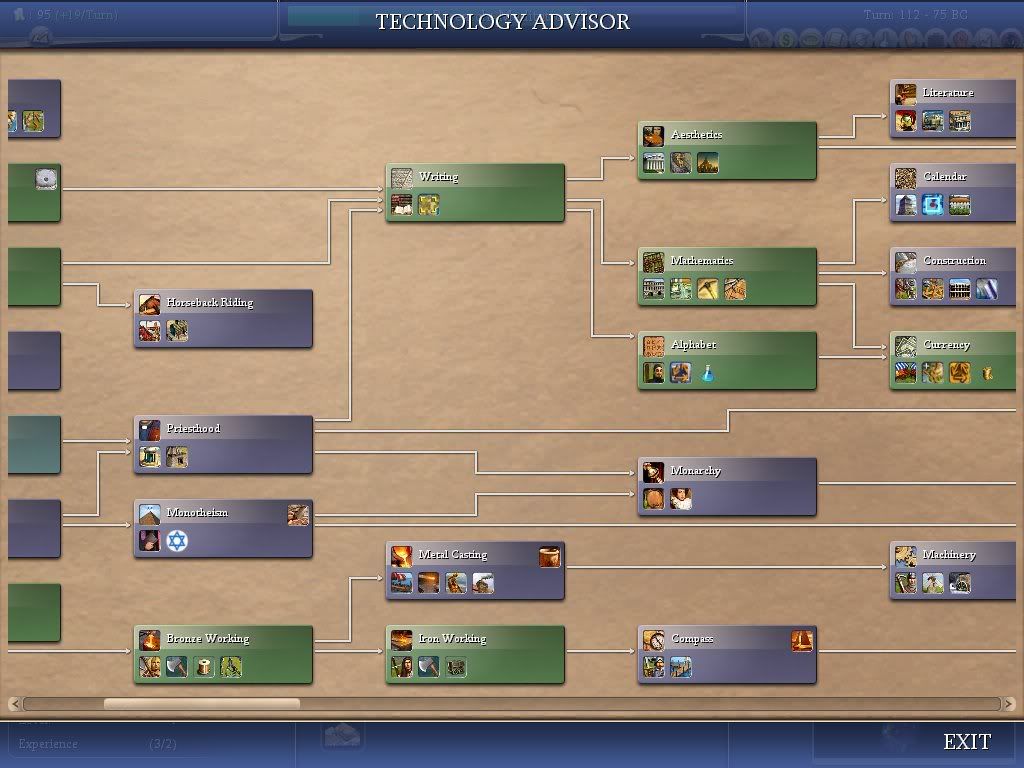
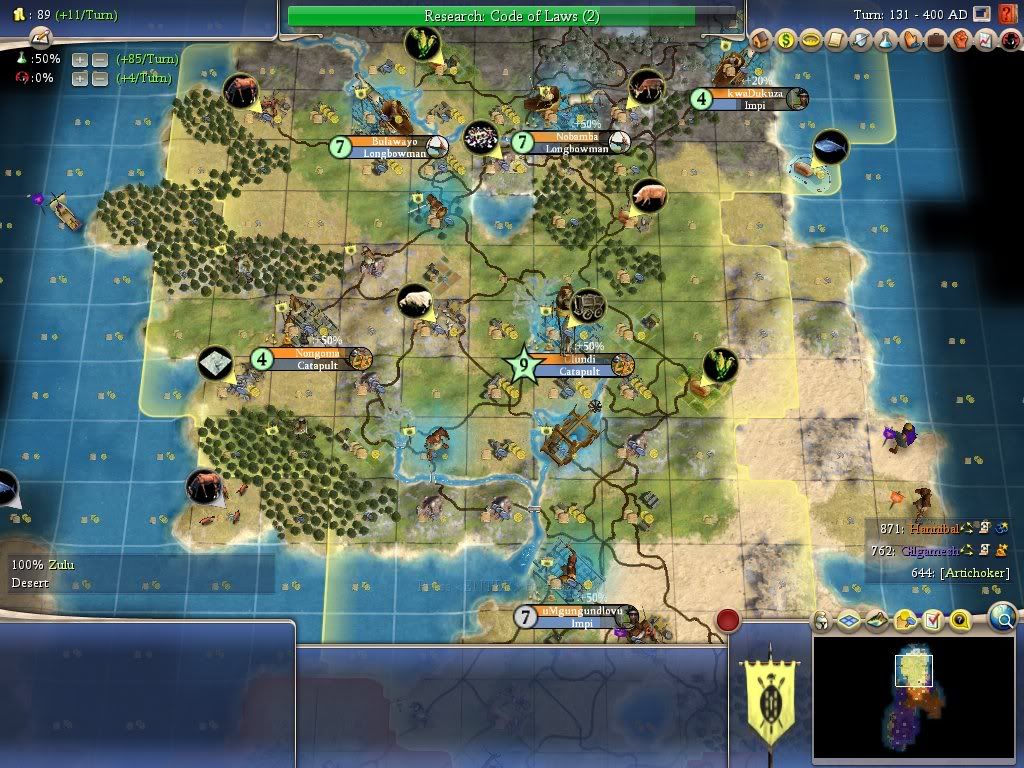
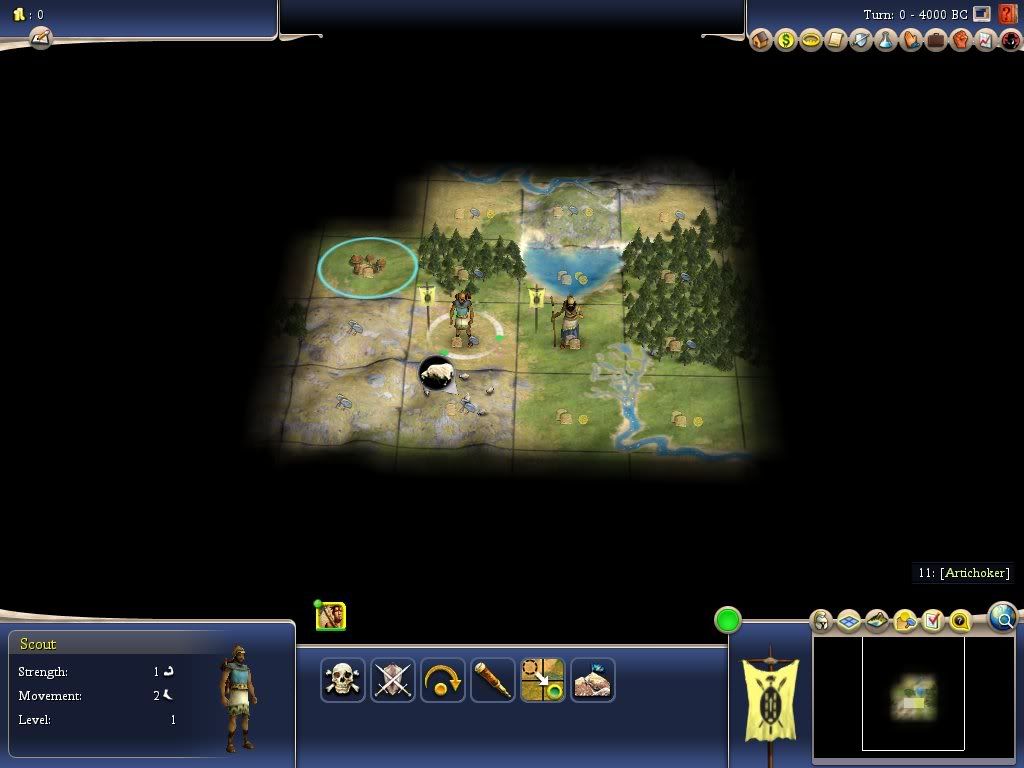
And now, the first start. I have chosen Continents to be the map type of the first start.

Spoiler :


Here is the save:
 

Attachments

  • Artichoker BC-4000.CivBeyondSwordSave
    42.1 KB · Views: 55
I'm not a big fan of settling my 1st city with STEAM POWER in mind, That said, it doesn't APPEAR you're missing anything from 1S. The annoying thing is there can easily be copper or iron up there on any of those 3 tiles you'd lose by going 1S.

The best guess would be moving the scout in such a way that it reveals the tiles below. If there's not a lot there, you've probably got a hidden resource. If there is useful food/etc, then I'd say move 1S.

I'm thinking along similar lines, but I have a few questions:

1) How important is the Scout move to reveal the southern tiles?

2) Would it be too risky to move the Settler first? For example, if the Settler is moved 1 SE, then we lose both the 3 westernmost tiles and the 3 northernmost tiles, in addition to the 1 tile at 1 NW. Looking at the screenshot, there is no visible resource on those 7 tiles. If there is a hidden resource on any of the lost tiles, we should be able to claim that resource with another city.

3) Is there any significant value of claiming the hut with the Scout, as opposed to claiming it by settling a city?
 
It's not an all-forest start, so the probability is that there's another food resource in the fog somewhere. Looking at the pattern of the trees in the screenie, I bet it's ENE of the settler - which means that moving 1S onto the river will lose that resource. If you're going to move onto the river, I'd say 1SE is the best move - keeping the sheep and the probable resource.
 
It's not an all-forest start, so the probability is that there's another food resource in the fog somewhere. Looking at the pattern of the trees in the screenie, I bet it's ENE of the settler - which means that moving 1S onto the river will lose that resource. If you're going to move onto the river, I'd say 1SE is the best move - keeping the sheep and the probable resource.

After closer inspection of the screenshot, I see what you are saying here. There appears to be an edge forming on the forest tile to the NE. With a bit of practice, one can use this to conclude that the tile at ENE is a non-forested tile, and thus has a higher chance of being a resource tile.


moving scout 1SE1NE reveals all initial big cross.

I agree, that is definitely the safest move to take with the Scout. The value of knowing all the tiles in the BFC is greater than being able to grab the hut with the Scout on the 1st turn.


to 2440 BC:

Spoiler :


Well, I was greedy in this case. I saw that the 7 tiles to the W and N didn't have any revealed resources. Knowing that moving 1 SE would therefore not lose any revealed resources, I went ahead with that plan, after first grabbing the hut with the Scout.

And lo and behold, there was indeed food on the tile at ENE of the Settler's original position.

Since Shaka begins with a Scout, I used the opportunity to scout all of the nearby land, while meanwhile researching Animal Husbandry. I found 3 sources of Horse in the vicinity. The one to the south also had food nearby, so I decided to settle there. Besides providing Horse for defense against barbarians, the city also acted as a blocking city for the southern area.


Since this is a continents map, this screenshot reveals that we are on the northern half of the continent. There is Silver and Furs to the north, by the way.

 
to 75 bc:

Spoiler :


The layout of my half of the continent was compact, and the mix of health and happiness resources was good, with Marble added in as a bonus. Although there were no Monarchy or Calendar resources, there was plenty of food to support a cottage economy based on riverside grasslands and plains, with adequate food remaining for specialists.


The -20% maintenance from the Ikhanda gave me the courage to REX faster than I usually do, by about one extra city. The high yield from a Horse and Pig tile in my southernmost city allowed me to generate a Great Scientist by 350 BC. Due to my low science slider, I decided to settle the GS.


My 3rd and 5th cities were focused on claiming the Silver and Fur tiles to the north. I tried to grab at least the Silver and two Furs while still keeping the cities productive for the Medieval era (there are a few more Furs in the ice to the north, by the way). I got a stroke of good luck when one of my grassland hill tiles revealed a Gem. My 4th city was settled to the northwest as a commerce city, and my 6th city was settled to the west to claim the Marble.


At the time Aesthetics was finished, I was in position to trade it to Hannibal for Alphabet, but only after putting some extra beakers into it.


On the next turn, I was in position to trade both Alphabet and Aesthetics for two more techs. Mathematics, however, needed a few more beakers before I could trade for it.


The Iron Working trade revealed the sole source of metal within my borders. And that one Iron tile was located exactly on the same tile as my capital! So there was a consequence of settling 1 SE after all...although I still got access to Iron, I lost the powerful production yield from the Iron tile.

But it was the Iron itself that mattered the most. I quickly reinforced my army with some Swordsmen, Axemen, and Impis. Although Hannibal was busy building The Temple of Artemis and The Great Lighthouse, he still couldn't be trusted, and Gilgamesh was waiting behind Hannibal's lands with a 10+ city empire.


You might have noticed a barbarian city to the southeast in the 350 BC screenshot. I noticed earlier that Hannibal got Construction early and was deploying an invasion force with Catapults to take that city. As you know, Construction is a monopoly tech for the AI, and Gilgamesh also happened to go that route as well. As it turns out, Gilgamesh was the eventual victor in conquering the barbarian city.


Judging by the abundance of Ivory and Calendar resources in Hannibal's territory, especially Ivory, he looks like a potential threat if he decides to ramp up his military from this point. The combination of War Elephants and Numidian Cavalry will be a true challenge to deal with, assuming they come in numbers. We will have to move quickly towards war if he begins to do this. Fortunately, both Gilgamesh and Hannibal are willing to offer Construction in exchange for Currency.


However, as usual when I play a game with Vassalage, I prefer to build my economic infrastructure before massing units for an invasion with Vassalage. This is so that my hammer output pre-Vassalage doesn't suffer from the lack of the +2 XP bonus provided by Vassalage.

Also, I'm debating whether I should trade out Currency immediately. Construction is the only tech in the list of tradeable techs that I really need. I'd rather get Monarchy or Code of Laws in addition to Construction to make the trade better.


Hopefully, I can start a discussion here regarding tech strategy:

1) Is it better to trade Currency immediately, or should I wait until Monarchy or Code of Laws becomes available?

2) Should I go for Literature and attempt to build the Great Library, since I now have Marble?

3) How valuable is Horseback Riding in this situation?


Attachments

  • Artichoker BC-0075.CivBeyondSwordSave
    173.7 KB · Views: 38
Ooooh, your game shook out differently than mine. We were a religious bloc in my game :/. Confucian!

HBR won't be greatly useful to you since you'll have feudalism for longbows to counter xbows attacking your melee (I use HA's in classical wars to avoid xbow problems).

TGL is iffy by 75 BC on immortal if you don't even have lit yet. I see it go around 1 AD to 200 AD with some frequency, so going int that direction is risky. Sometimes it goes 500 AD or later but you can't count on it.

If you want feudalism, I'd hold off until you can get monarchy. It's problematic in that the AIs self-tech currency with some frequency, so you might not have forever. This is a risk/reward decision. Trading currency now guarantees you get something for it. If you wait and get even one of monarchy/CoL for it, you're better off...but they might tech it and leave you SoL. Your call (I'd probably wait for one of those techs... probably monarchy if neither have CoL yet since once someone founds religion that tech is not prioritized)
 
Ooooh, your game shook out differently than mine. We were a religious bloc in my game :/. Confucian!

Confucianism...that's founded with Code of Laws. Quite a contrast to Buddhism and Hinduism, both early religions.

HBR won't be greatly useful to you since you'll have feudalism for longbows to counter xbows attacking your melee (I use HA's in classical wars to avoid xbow problems).

They do seem more like a classical unit. When I was using Keshiks as Mongolia, I had a hard time deciding between them and War Elephants, but after some consideration I always tended to choose the Elephants.

It looks like you have to prioritize Horseback Riding in order to get significant use out of HAs. They would seem most useful on a map with many tech trading partners, which would minimize the impact of being a dead-end tech.

TGL is iffy by 75 BC on immortal if you don't even have lit yet. I see it go around 1 AD to 200 AD with some frequency, so going int that direction is risky. Sometimes it goes 500 AD or later but you can't count on it.

Really? Then I won't try it. Maybe next time I get a Marble start, I might try earlier.

If you want feudalism, I'd hold off until you can get monarchy. It's problematic in that the AIs self-tech currency with some frequency, so you might not have forever. This is a risk/reward decision. Trading currency now guarantees you get something for it. If you wait and get even one of monarchy/CoL for it, you're better off...but they might tech it and leave you SoL. Your call (I'd probably wait for one of those techs... probably monarchy if neither have CoL yet since once someone founds religion that tech is not prioritized)

I just realized something specific about Currency...it lets you make gold trades. This means I can use the amount of gold they offer in addition to Construction as a barometer for their progress toward researching Currency. If they offer less gold or start demanding gold, then I know it means they've started researching Currency.

Of course, that means checking the trade screen every turn for this, very similar to checking for WHE mode...which I guess goes against the rules of speed civving!
 
to 400 AD:

Spoiler :


The civics combination used for this start was Vassalage+Paganism followed by Bureaucracy+Organized Religion. I used this combination because the capital had good potential for commerce, and therefore I wouldn't need to spend the hammers to build a new palace for a new capital, if a switch to Bureaucracy was planned.

To facilitate progress toward Feudalism, I made two key trades (discussed earlier in the last post): Currency<-->Construction and Currency<-->Monarchy. In order to ensure that I could make this trade before the other leaders could tech Currency, I checked the trade screen every turn for how much gold was offered in addition to Construction, for Currency. If I found that that amount decreased, it would mean that that leader had begun to research Currency.

As expected, one of the leaders soon got Monarchy, and I was then able to make both trades right away.


This was a very fortunate situation considering there were only two trading partners.

I then prepared for war while teching Feudalism. Since Catapults gain XP more slowly, I reserved those for after switching to Vasssalage. The units I built pre-Vassalage included mainly Swordsmen, as I knew it would be fairly easy to gain the 2 XP needed for the next promotion.

I also build a Market in each of my two commerce cities. Courthouses could wait, on the other hand, especially with the -20% maintenance from the Ikhanda.


Once Feudalism was done, I immediately switched to Hereditary Rule and Vassalage, saving 1 turn of anarchy by doing both switches together. A few turns prior to that, however, I had already begun to start building a few Catapults, making sure that they wouldn't be finished until after switching to Vassalage.

And then the unit spam formally began...


...to be continued in the next post.


Attachments

  • Artichoker AD-0400.CivBeyondSwordSave
    200.9 KB · Views: 43
to 1250 AD:

Spoiler :


I sort of hinted earlier that Hannibal's land would be the target of the invasion, and indeed it was.

Hannibal was quite prepared for the war. His tech progress was excellent; not only did he gain from the Financial trait and the two wonders he built (The Great Lighthouse and Temple of Artemis), but also he beelined Machinery, giving him access to Crossbowmen at a relatively early date. In addition to Crossbowmen, he had every weapon imaginable at his disposal--Numidian Cavalry, War Elephants, and soon afterward Macemen. Zulu forces, on the other hand, were limited to Swordmen, Catapults, Impis, and Longbowmen...with a few Axemen and Chariots thrown in.

We had two main advantages that proved to be decisive, however: 1) the +2 XP from Vassalage, which allowed our Catapults especially to be deadly efficient at attacking cities. This was especially true when attacking Hannibal's only hilled city in the war. 2) superior concentration of forces, which allowed all our battles to leverage a superiority of numbers to win the battles.

The first two battles were just warmups. But being close to Zulu borders, they gave our forces time to continue massing reinforcements while still on the march. This very first battle is seen right after Hannibal's forces made a sortie from their city to attack Zulu forces, resulting in the loss of several Carthagian units. If you look closely, you'll see the Impis that were wounded from the successful strike of Hannibal's Numidian Cavalry. Skirmishes like these from the Carthagian UU were seen frequently throughout the war.


The next battle was also on the Zulu border, and it was made to eliminate the counterattack force that Hannibal had stationed there. The Numidian Cavalry you see to the north is paired with a Chariot, but they were later eliminated by a few fast-moving Impis.


Several turns later, I made a switch to Buddhism, the Sumerian religion. This was done not only to gain a diplomatic bonus with Gilgamesh, but also to prepare for a switch to Organized Religion. The actual civics switch would not be done until after the next battle, which proved to be a battle of ages for this war.

Unlike the first two battles, this one featured a Carthagian city situated on a hill, with all the deadly units imaginable garrisoned inside it. After this battle was won, I became convinced of the power of both unit experience and sheer mass, in overcoming difficult battles.


The combined success from three battles, especially the last one, allowed me to achieve this peace agreement.


During the peace that followed, I then saw that both the military and the economy were ready for a switch to Bureaucracy+Organized Religion. After delaying Courthouses for all this time (using Ikhandas and a few Markets as a substitute), and now considering the 3 new cities to the Zulu empire, it was time to build Courthouses in all our cities, along with other buildings that we needed, including Forges.

Likewise, the military was now ready for a switch to Bureaucracy. Zulu forces were, for the most part, still alive and strong, and therefore made considerable progress in XP. The next phase of the war would therefore be driven by the experienced units already in the army, which now included some 4th level units. A site for the Heroic Epic was already being prepared, with a new GG soon available to provide the +2 XP bonus for the HE city.

Also important was the commerce potential of the current capital city under Bureaucracy, which meant that building a new Palace would not be necessary, resulting in a significant savings of hammers. However, despite switching out of Vassalage, I had every intention to finish the war to its final conclusion, aiming next for Hannibal's capital city to the southeast.

I also cashed in on my next GS to bulb Philosophy, and used it to trade for Machinery, thus enabling Macemen. It wasn't a super haul of 10 different techs, but it was key to helping the next phase of the war.


At the moment the next phase of the war erupted, Gilgamesh suprisingly joined the war...as an enemy of Hannibal! Seeing that Hannibal's choice of Hinduism was against the grain of the Buddhist religious bloc formed by Gilgamesh and me, his choice of sides was not a surprise.

But Gilgamesh's stack was too far from the action to prevent my own stack from taking most of the spoils, including Carthage itself. Nevertheless, Hannibal had already built Castles in his capital city, making its conquest very time-consuming.


I then cashed in on the second phase of the war by signing a peace treaty similar to the one before, leaving Hannibal with only one city, which was now up to Gilgamesh to conquer himself (it was a city on a hill near Hannibal's capital).


After Hannibal was elimated by Gilgamesh, a peaceful buildup followed which allowed Gilgamesh's diplomatic status to improve to Friendly, thanks to both the wise civics bonus and the religion bonus. Eventually I was able to bulb Education and use it to make trades with Gilgamesh and Elizabeth, gaining Engineering, Guilds, and Printing Press. I also used Compass, taken from Hannibal, as trade bait.


With only I and Gilgamesh left on the continent, we are both technologically backward compared to the other continent. On the bright side, Gilgamesh is even more backward, and the outlook is good for beating him to the next big military tech like Rifling. Since he is Friendly, we will be able to commence hostilities with Gilgamesh on our own timing, when the right military advantages have come to fruition.


An alternative plan is to use Gilgamesh as an ally, based on his Friendly diplomatic status. But I think in this case, his empire is big enough to be considered as a rival instead, and we can use that land to our advantage, if we were to conquer it. However, I already see a good site for the National Epic in Hannibal's former capital Carthage, and a good site for Ironworks in the rivered Sugar city to the south, which are both already part of the Zulu empire...it just looks like we could use a few more of those cities.


some questions for discussion:

1) In this kind of situation, with only one other leader on the continent, who happens to be Friendly, is it better to attack that leader to grab his land, or try to team up with him to invade the other continent?

2) Gilgamesh has three cities to the northeast that are far away from his main territory. There is a good chance, however, that he will position his SOD in one of those 3 cities, since they are closer to my main territory. Should I also position my SOD near his in order to destroy it first, when the opportunity arises, or should I use it to attack his main territory instead?
 

Attachments

  • Artichoker AD-1250.CivBeyondSwordSave
    283.9 KB · Views: 50
1) - i would say attack :backstab:
no friend does you that good that his land would if it were yours.

2) IMHO it's always good to DoW and wait a little to lure his SoD into your own territory and butcher it there to make WW go to them not you.
After their army is over you are free to chose which cities to take first and which may wait longer.
 
1) - i would say attack :backstab:
no friend does you that good that his land would if it were yours.

I would agree that in this situation, attacking Gilgamesh definitely looks better than teaming up with him. Another reason to support this idea is that Gilgamesh is the most backward of all the leaders, and his tech rate is poor due to overexpansion and lack of economic bonuses.

However, in a situation where my neighbor is more competitive with teching, while being Friendly as well, wouldn't there be value in keeping that neighbor as a trading partner?

2) IMHO it's always good to DoW and wait a little to lure his SoD into your own territory and butcher it there to make WW go to them not you.
After their army is over you are free to chose which cities to take first and which may wait longer.

I agree here as well...but there is a special situation here where Gilgamesh's territory is divided into two parts, and his SOD is stationed in the auxiliary part whereas his main territory is largely undefended. I was thinking perhaps it might speed up the war if a small stack were used to attack the first city in his main territory, since his SOD is not nearby to defend it.
 
I agree here as well...but there is a special situation here where Gilgamesh's territory is divided into two parts, and his SOD is stationed in the auxiliary part whereas his main territory is largely undefended. I was thinking perhaps it might speed up the war if a small stack were used to attack the first city in his main territory, since his SOD is not nearby to defend it.

I can't open the save since I'm at work but here's what I think. If Gilgamesh's SoD is still in former Carthaginian territory you might fortify a strong secondary stack of your own on a nearby forested hill so he'll be tempted to attack it (and thus waste a lot of his troops) while you march your main SoD in Sumerian mainland. This might not work if you can't spare resources for a secondary damage-soaking stack or if Gilgamesh's attack courage is low.

The benefit of crushing his SoD on turn 1 of the war is mainly for Capitulation thresholds I've read : since Gilgamesh is backwards and you don't plan to keep him around, I would be inclined to take most of his mainland while it is still undefended.

Then again, I'm just learning Monarch so you might want to take my advice with a grain of salt :mischief:
 
I can't open the save since I'm at work but here's what I think. If Gilgamesh's SoD is still in former Carthaginian territory you might fortify a strong secondary stack of your own on a nearby forested hill so he'll be tempted to attack it (and thus waste a lot of his troops) while you march your main SoD in Sumerian mainland. This might not work if you can't spare resources for a secondary damage-soaking stack or if Gilgamesh's attack courage is low.

Then again, I'm just learning Monarch so you might want to take my advice with a grain of salt :mischief:

After closer inspection of the map, it looks like you're right...at last, I'll have a real-game situation in which to try the Caterpillar Defense!

I'm going to keep the save for the turn right before I DOW on Gilgamesh, to use as practice for executing the Caterpillar Defense. I may even open a new thread just to show the micromanagement used in this game.
 
I would agree that in this situation, attacking Gilgamesh definitely looks better than teaming up with him. Another reason to support this idea is that Gilgamesh is the most backward of all the leaders, and his tech rate is poor due to overexpansion and lack of economic bonuses.

However, in a situation where my neighbor is more competitive with teching, while being Friendly as well, wouldn't there be value in keeping that neighbor as a trading partner?.

Yes, if he is a good techer and willing to trade with you, he is useful and valuable.
By trading you effectively get his beakers in addition to your own, so your overall research is faster.
But, having conquered him, you would get his hammers too and his total commerce.
So i would say choice between conquest or friendship is not to "what would be more useful", but to "am i capable of conquering him without much cripling myself"
I can really invent a situation where (at least temporary) friendship would be more useful than conquest - say if you badly need this ally agains a bunch of warmongers or you have more urgent needs like building vital infrastructure.
But generally, owning the land yourself is better than being friends with the owner.

I agree here as well...but there is a special situation here where Gilgamesh's territory is divided into two parts, and his SOD is stationed in the auxiliary part whereas his main territory is largely undefended. I was thinking perhaps it might speed up the war if a small stack were used to attack the first city in his main territory, since his SOD is not nearby to defend it.
But if you attack his main territory, his SoD will attack yours and you will be forced to withdraw and defend your cities before continuing taking his. It would be effectively the same that just waiting for his to come out.
 
It indeed slows down the war if the AI's territory is divided into two halves, especially if the AI's SOD is in the smaller half.

more observations on the current game:

Spoiler :


One thing I forgot to mention about this game is the insane number of wonders built by Suleiman (Imperialistic, Philosophical) on the other continent.

Around mid-1500s, he has two cities with about 10 wonders each at 22K culture and a third city with 2 wonders at 11K culture...this game may not be so easy to play through to a victory...

 
A very quick update, with no pictures this time...

Despite the ease at which the home continent was conquered, it was still time-consuming because Gilgamesh's lands were split in two and therefore had to be dealt with separately.

The overall feeling of the game was tense, however, as the other continent kept pulling ahead in tech at a breakneck pace, until one key opening allowed us to gain a monopoly on Fission and ICBMs, which ultimately saved the world from cultural oppression.

It was a nail-biter right until the time that Suleiman's capital was captured and razed for the good of humanity. The game's not won yet, but Suleiman and Qin have now capitulated, putting Zulu empire size very near the threshold for domination victory.
 
After taking a break from playing for several days, I'm now glad to bring you a new update...


to 1850 AD:

Spoiler :


At 1250 AD, here was the situation...

While the other continent reveled in an orgy of tech trading between economically-endowed leaders including Victoria, Joao, and Qin Shi Huang--led at the forefront by the Magnificent Suleiman, whose shiny wonders propelled his GNP through the roof--the two leaders on the home continent, namely Gilgamesh and myself (as Shaka), were left in the dust.

But in the interest of self-survival, I used Gilgamesh as a stepping stone to make a dash for the Renaissance military techs. Gilgamesh's Ziggurat was a cheap replacement for the Courthouse, but in the long term this didn't help his overall GNP...with his 3 distant cities on my eastern border, his tech rate was sluggish, even with the Immortal research bonuses.

I began by making a trade that would profit me more than him...


To broaden my trade horizons, I diversified into the Chemistry line and made some constructive trades there...


The net result of all of my trading gave me both Rifling and Steel, exactly the two techs I was targeting for the Renaissance war.
At that point,
Gilgamesh still lacked Replaceable Parts and was thus two techs away from Rifling...but he had Chemistry and was therefore ready to get either Steel or Military Science.

However, the Zulu army was already fully mobilized at that point, and there wouldn't be sufficient time for him to get either of the two techs...not to mention that he was spending a good amount of research towards Astronomy at that time.


As my tech progress reached an important milestone, I took the opportunity to start a Golden Age to draft Riflemen using Nationhood, and then ended the Golden Age with the "free" civics: Free Speech, Free Market, and Free Religion.

The beginning of the war was problematic, however, in that Gilgamesh's main stack was located in his eastern cities, which were actually closer to my core cities...so I made sure to deal with his SOD first by employing some defensive tactics...


It wasn't exactly the Caterpillar Defense as specified in the book, but the results were quite similar.

If I had prepared better by building/drafting more Combat-promoted Riflemen, I'm sure that I could have simultaneously waged both a defensive and offensive war, using my veteran City Raider-promoted Riflemen for invasion and my new Combat-promoted Riflemen for defense.

But given the context of this war, I needed to seize the opportunity I had with the critical military advantage of Cannons+Riflemen versus Gilgamesh's (albeit Protective) Longbowmen and Mustketmen...so there was virtually no time to raise forces, apart from the 8 turns I had during the Golden Age to draft a supporting cast of level-2 Riflemen. This forced me to use my veteran Riflemen, who were seasoned with City Raider promotions, as counter-attack units to mop up Gilgamesh's medieval units. A compromise, I now acknowledge, but I got away with this because of the incredibly high base strengh of Riflemen, compared to medieval units.

Given that my SOD was conveniently located near Gilgamesh's eastern cities, I took the opportunity to capture those with my offensive stack.


After that deed was done, I then threw the full might of my Renaissance army at Gilgamesh's core cities to the west. Not even the extra promotion from his Protective trait could save him, at that point...


This battle was effectively Gilgamesh's "last stand". He reinforced this city as best as he could, and it took more than one turn for my forces to capture the city.


Top Bottom