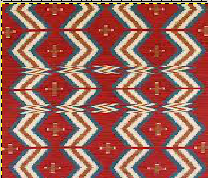
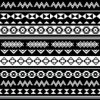
Ok, Open up the Navajo Pattern image that I attached and then Edit/Copy it.
Now, go to the City Template and do a CNTL-L to open the layer dialog box. Then click on the Layer called Abstract City Template so we can work on it.
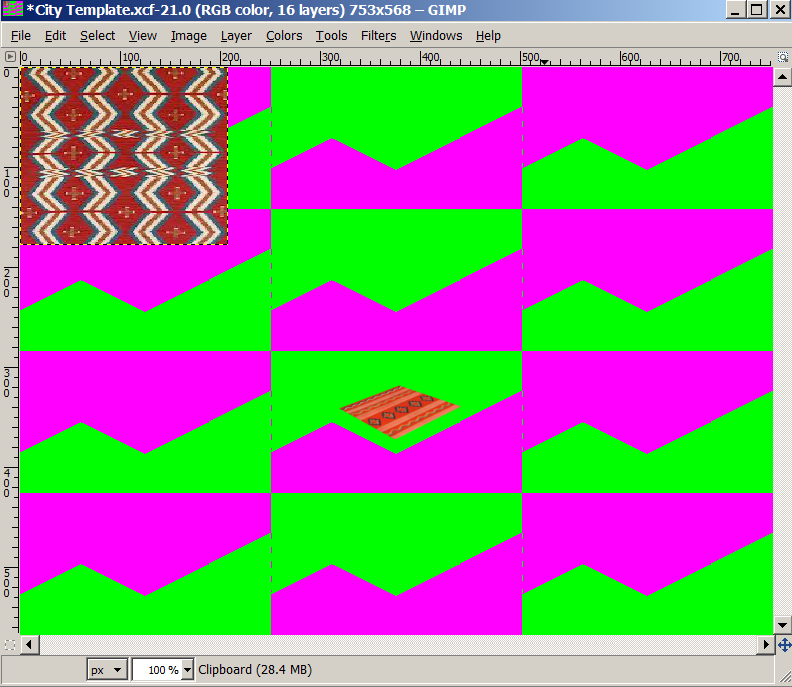
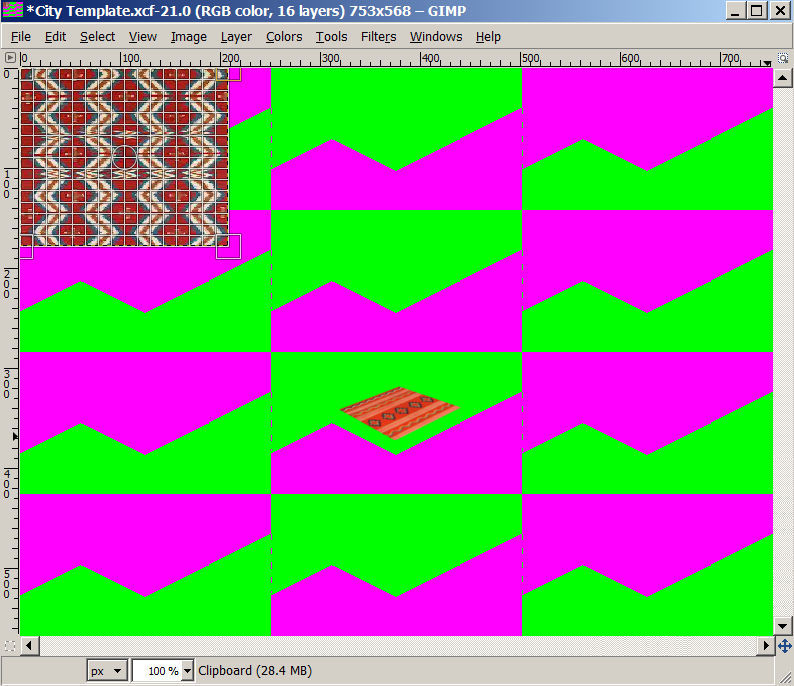
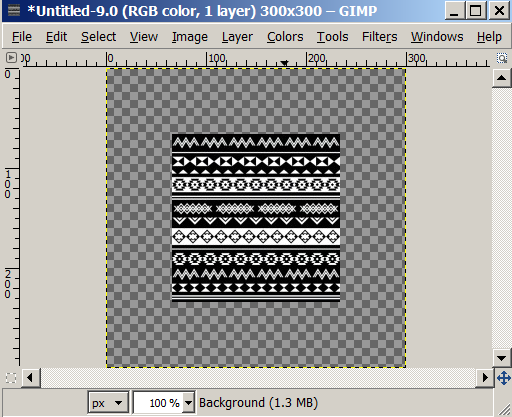
Now do an Edit/Paste as/New Layer.
You should see this:
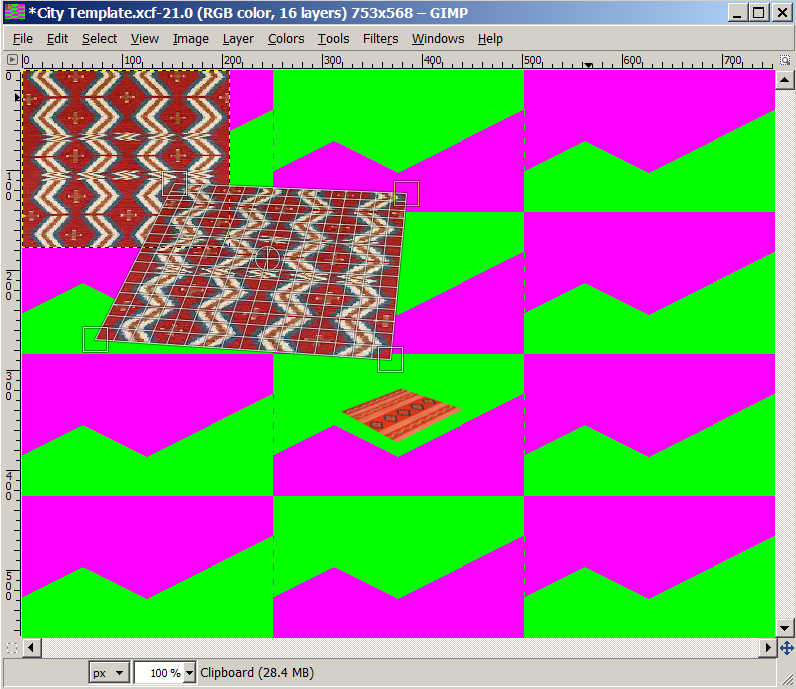
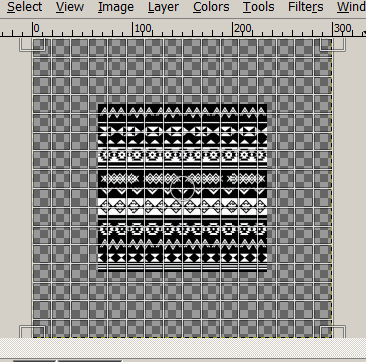
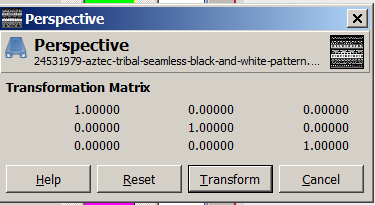
Ok, now do a Shift-P to enter Perspective Mode.
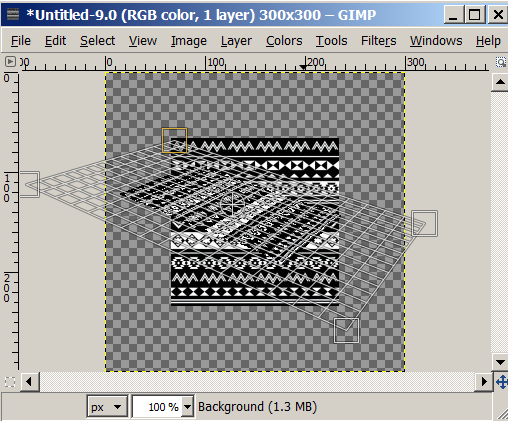
You should see this:
Ok, notice how the 4 corners of the Navajo image have little squares around them. We need to pull each one of the Navajo corners to each of the corners of the Abstract City that is in the middle of the template.
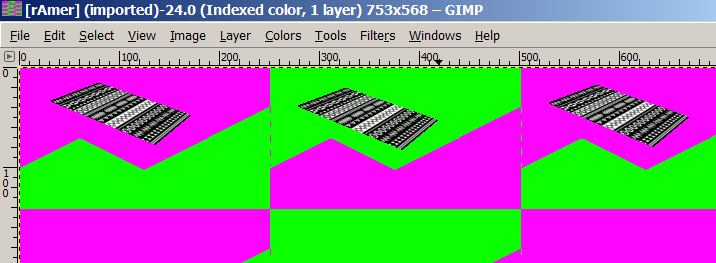
So start pulling each corner towards the Abstract City, like this:
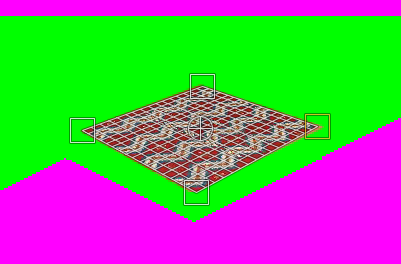
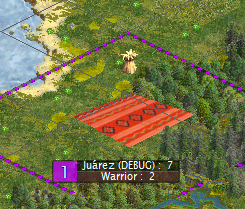
Just keep dragging it until you overlap the Abstract City with your Navajo Pattern, like this:
Now click the Transform button.
Now do a Layer/Layer to Image Size.
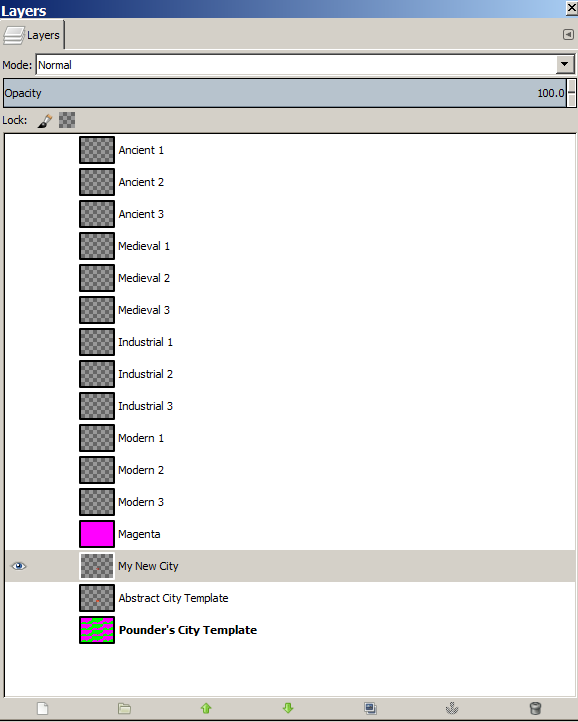
Now open up the Layers Dialog Box and Rename the Layer called Clipboard to "My New City".
Right click on the Clipboard layer. Select Edit Layer Attributes. Change the Layer Name to "My New City". Click OK.
If you turn off visibility for everything except the "My New City", you'll see your new city on a transparent background.

")