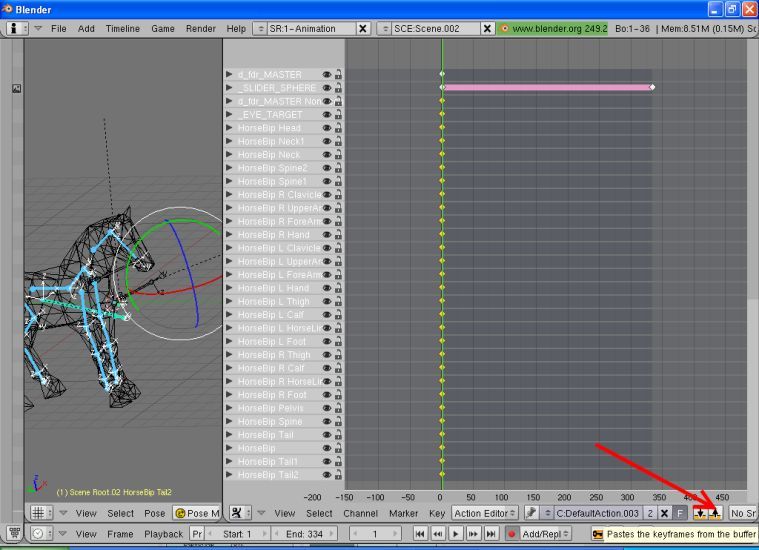
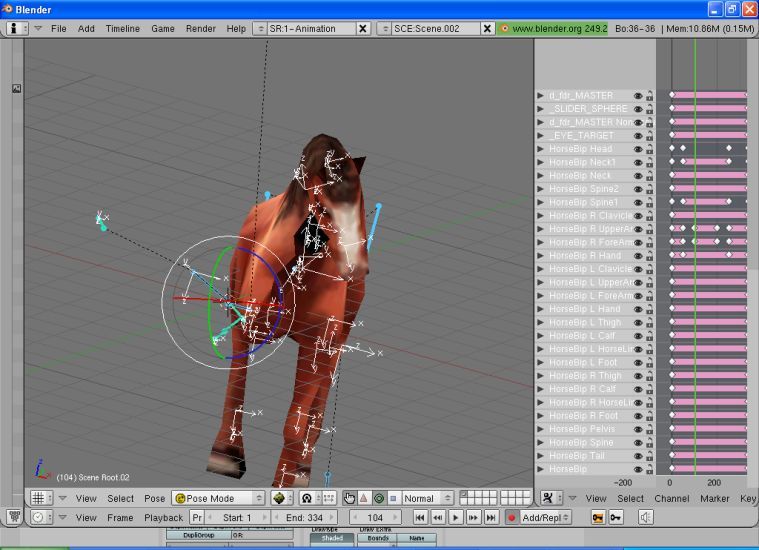
This tutorial will deal with the technical points of making and animating a nonhuman leaderhead. I'm not sure under what circumstances one would need to specifically make one, but.
This tutorial doesn't go too in depth about animating. There are a some pretty good tutorials on that specifically if your interested.
http://forums.civfanatics.com/showthread.php?t=435755
http://forums.civfanatics.com/showthread.php?t=296286
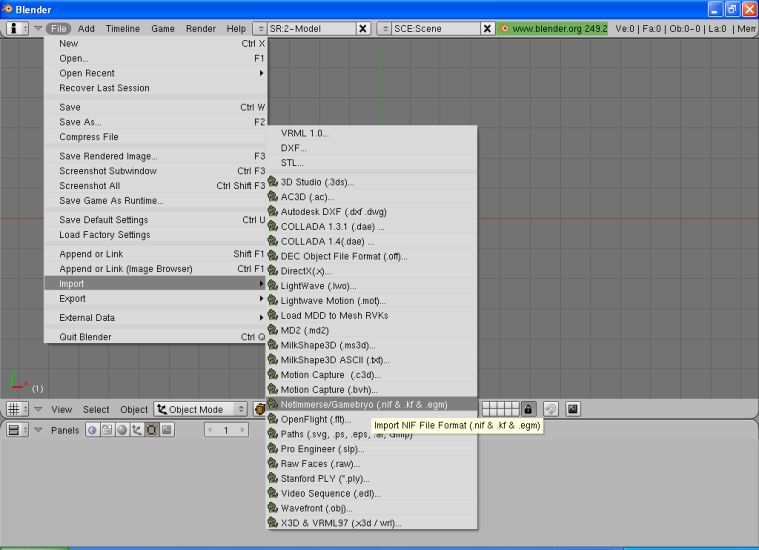
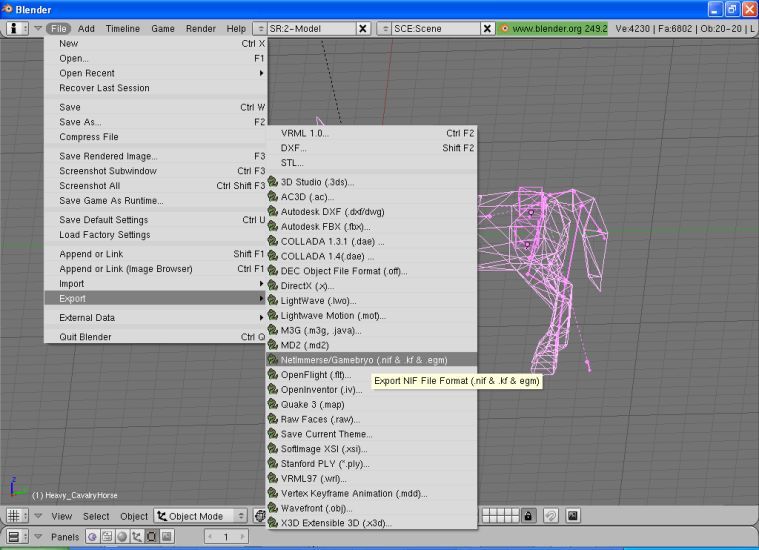
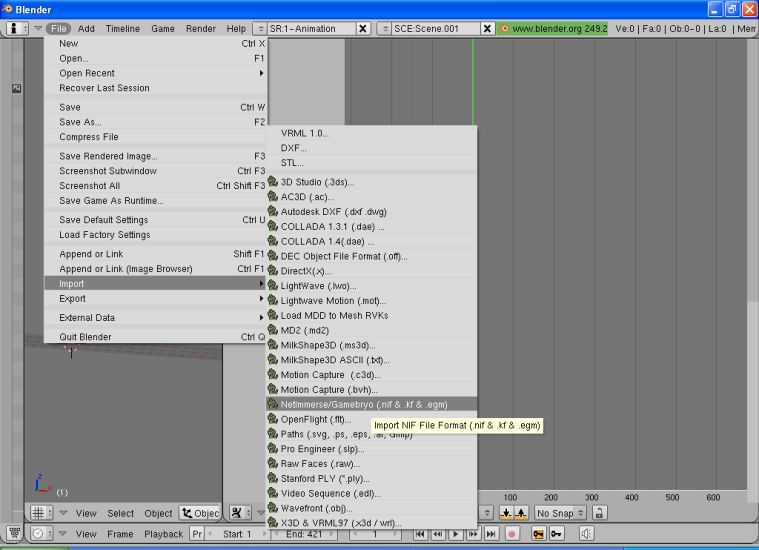
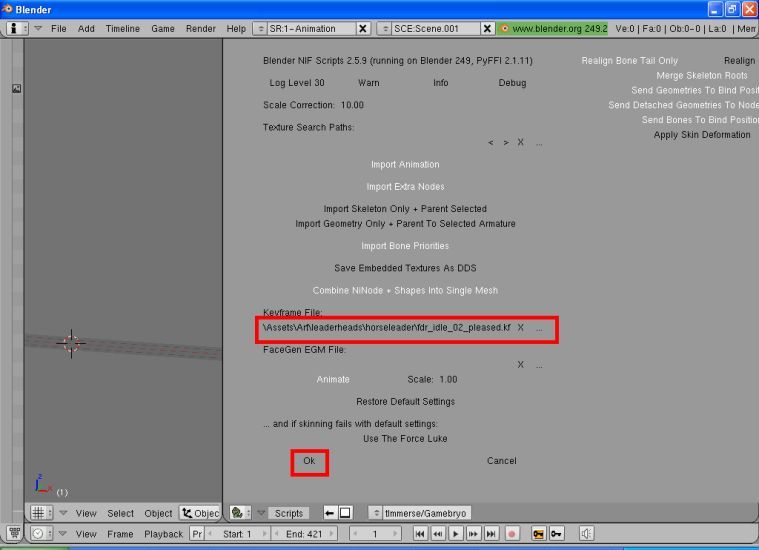
Before we get started there are a few programs you are going to need: Blender(and its Nif Scripts) and Nifskope
Blender and its Nif Scripts can all be found here:
http://niftools.sourceforge.net/wiki/Blender
Nifskope can be found here:
http://niftools.sourceforge.net/wiki/NifSkope
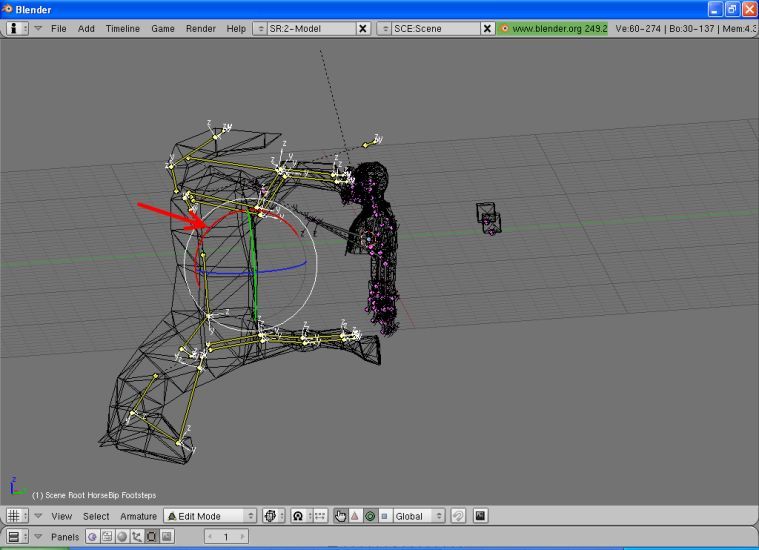
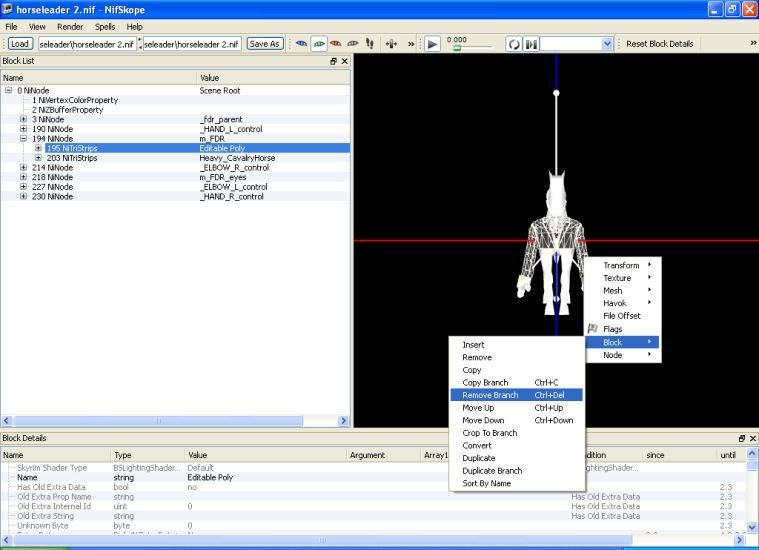
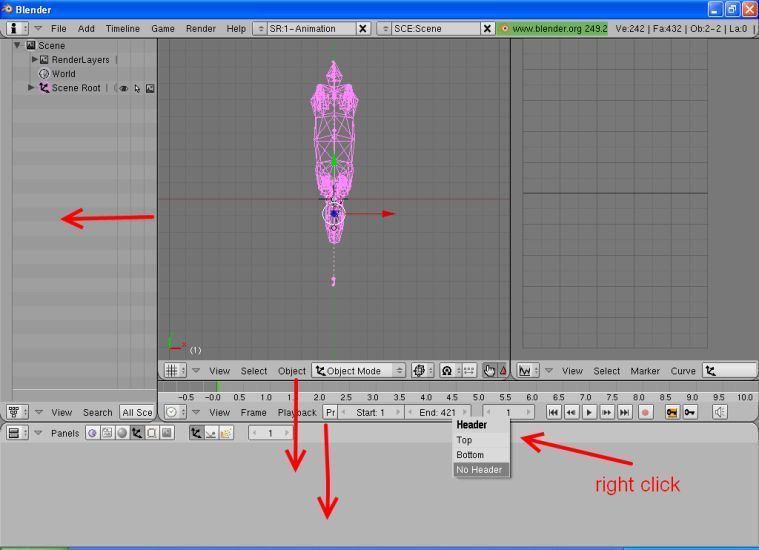
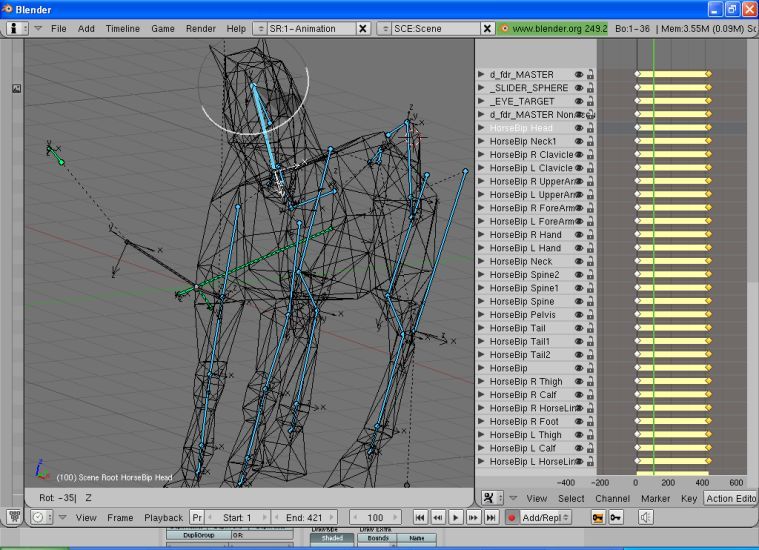
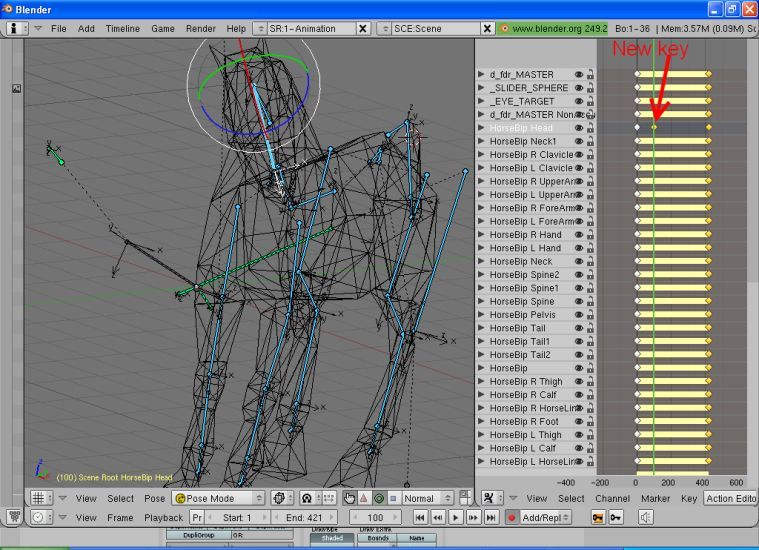
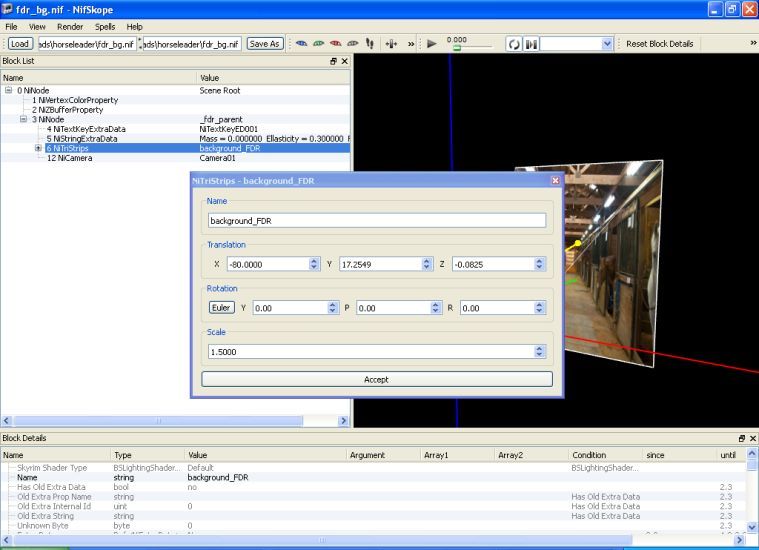
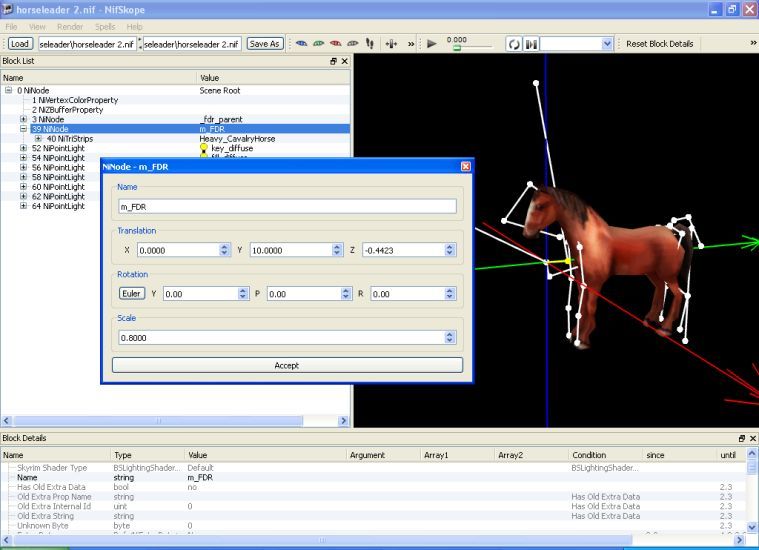
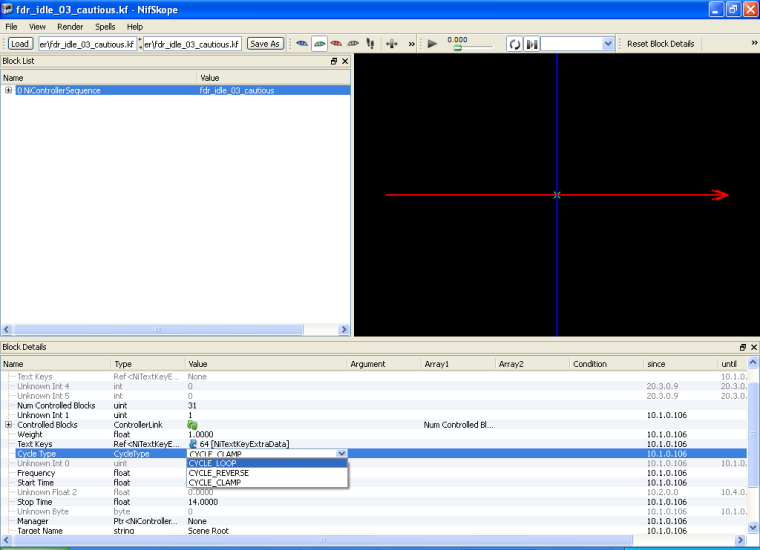
Setting up the Skeleton in Nifskope
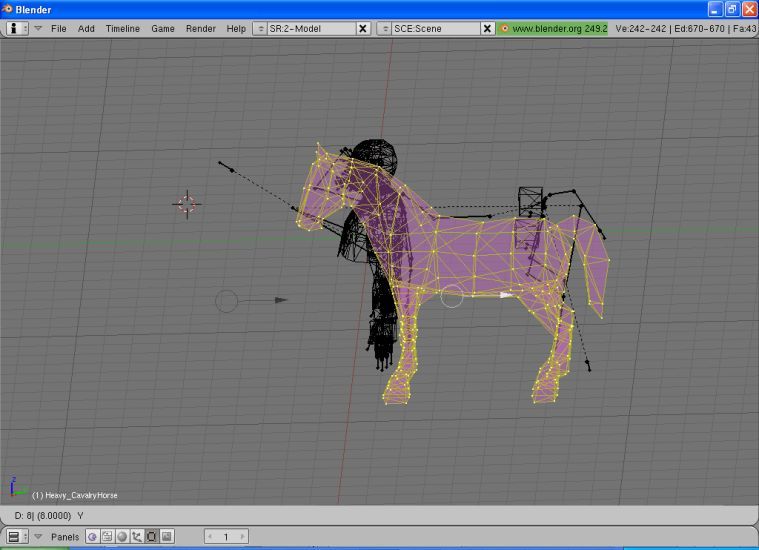
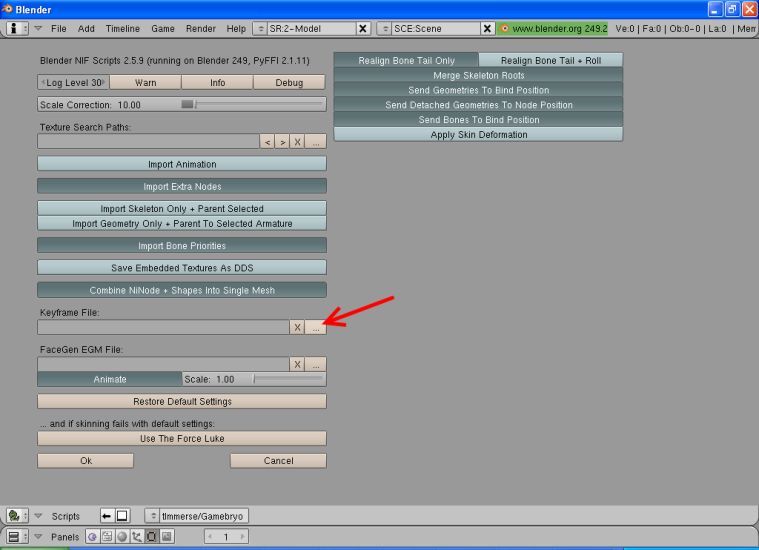
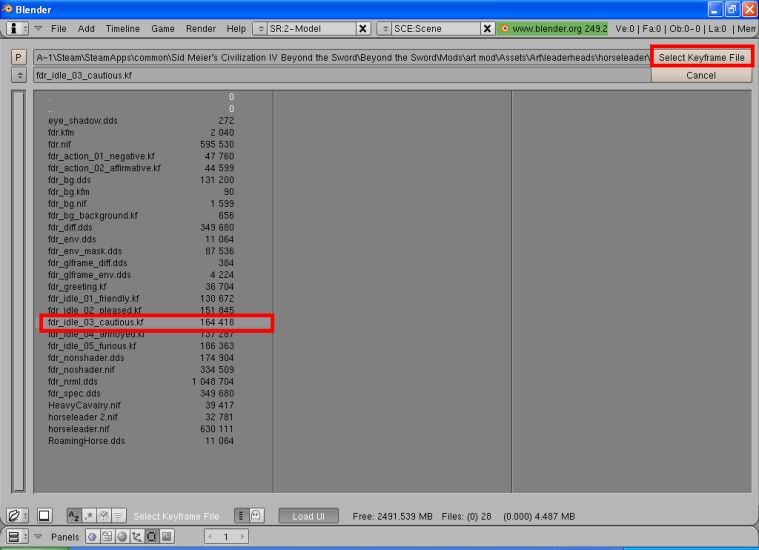
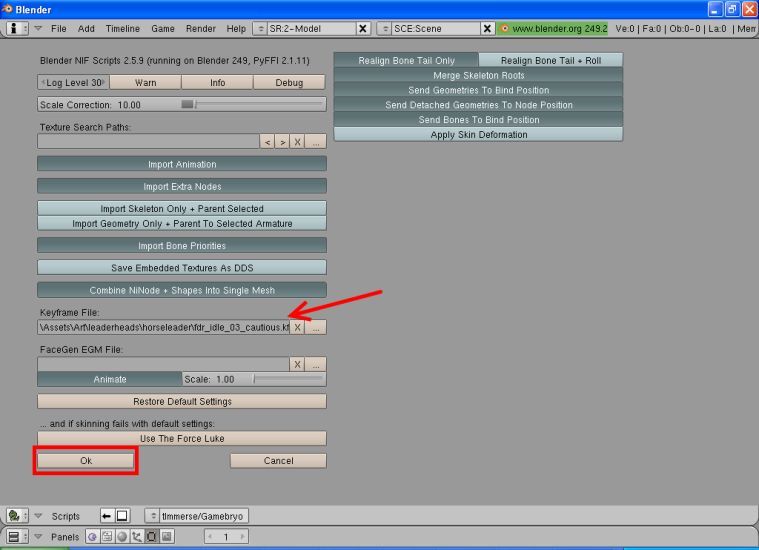
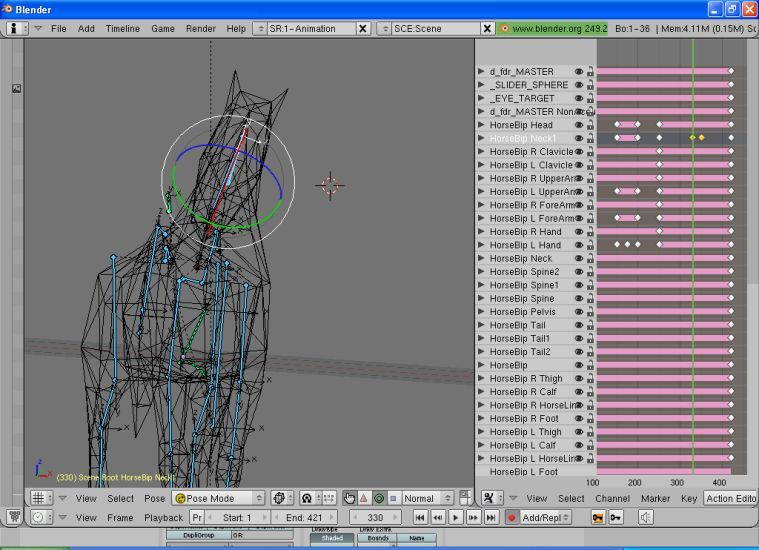
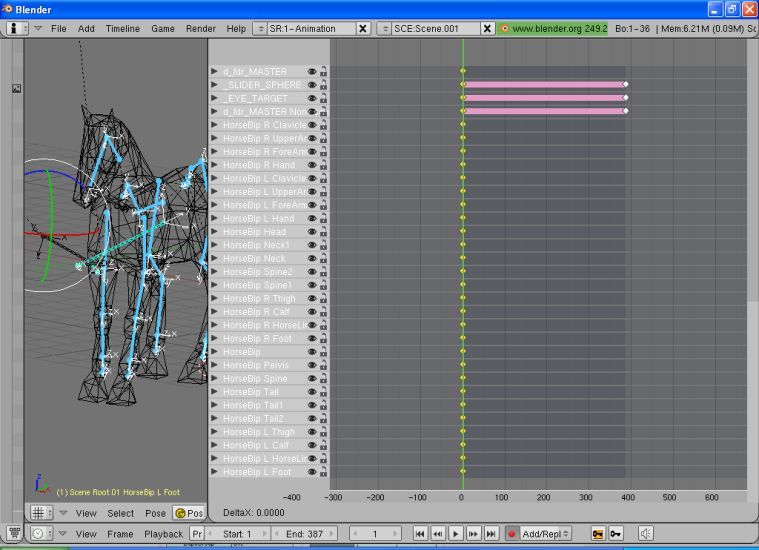
We're going to use Refar's Roaming Horse and the vanilla FDR leaderhead. Make a new folder which contains all of FDR's nifs, textures, and kfs as well as all of Refar's Roaming Horse's nifs and textures.
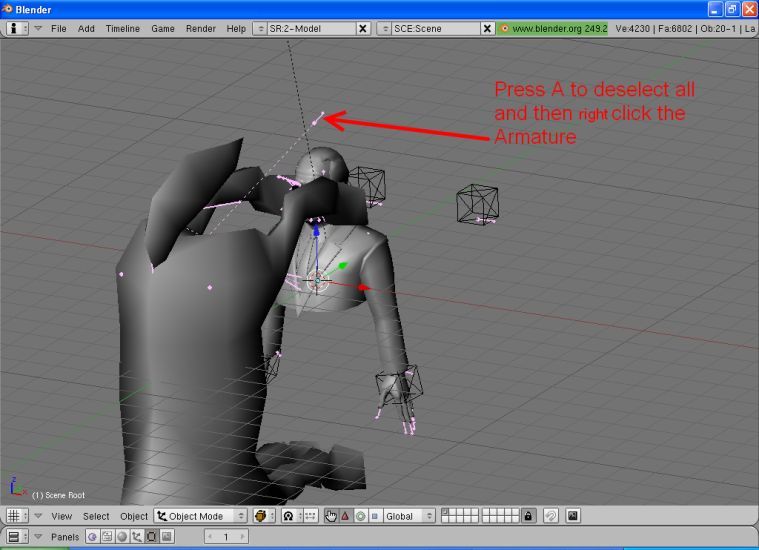
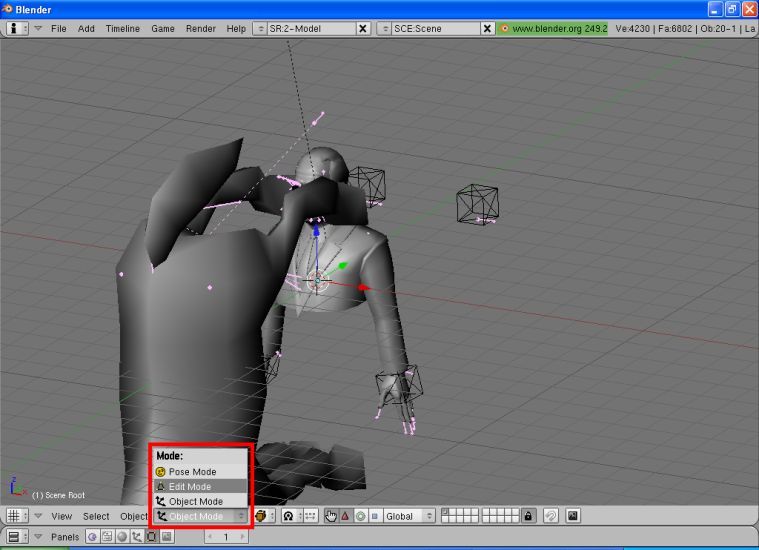
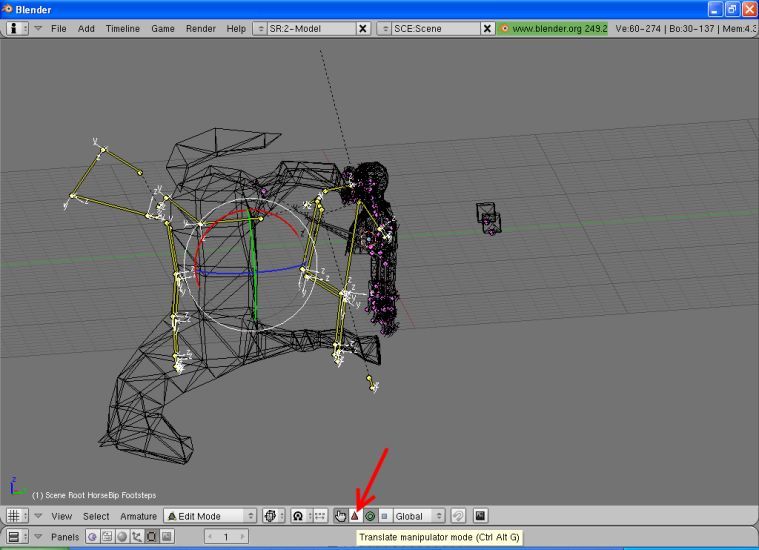
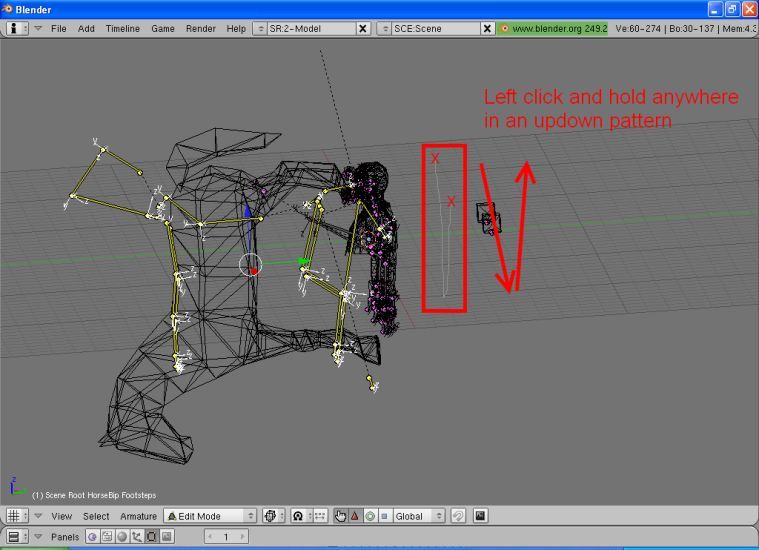
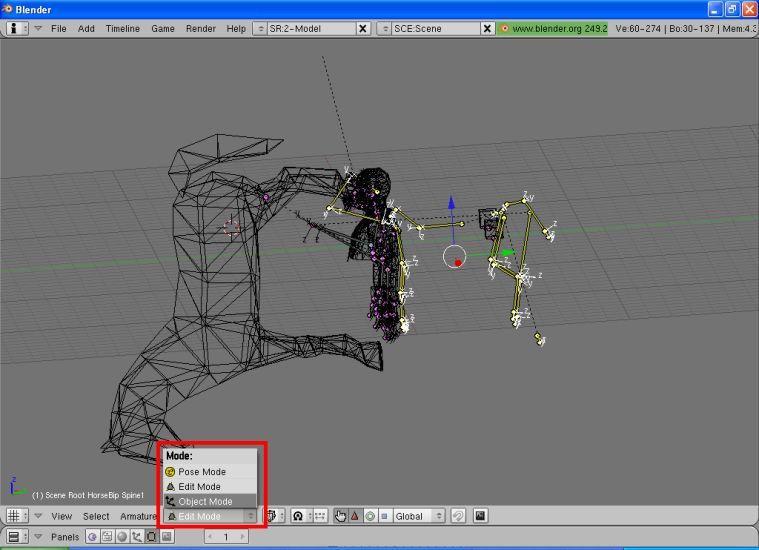
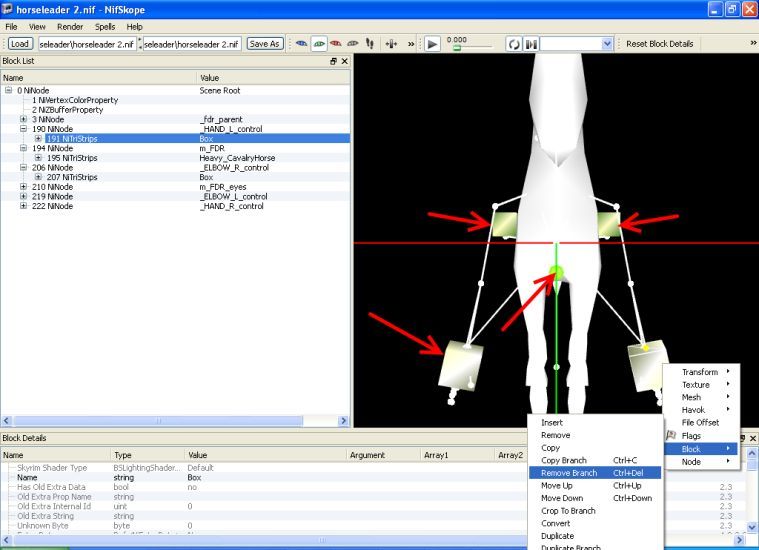
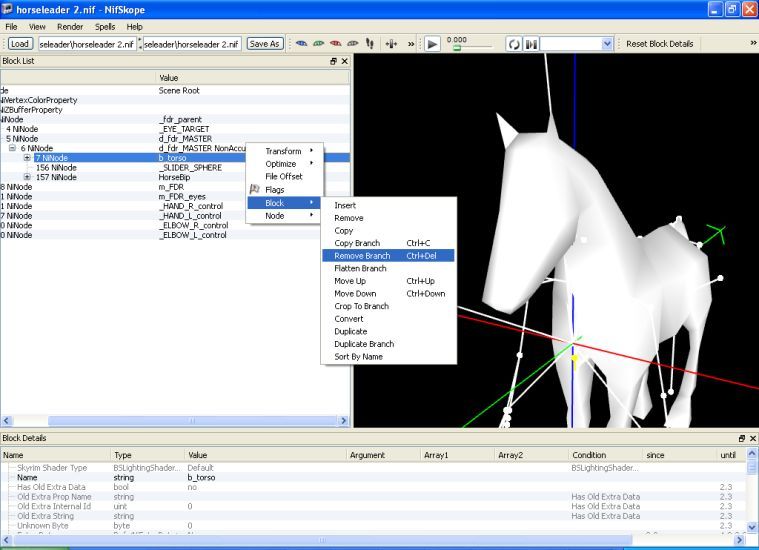
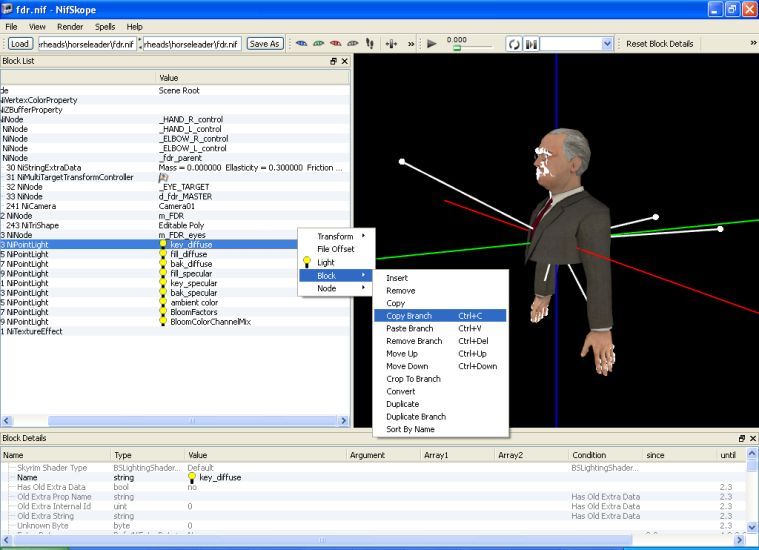
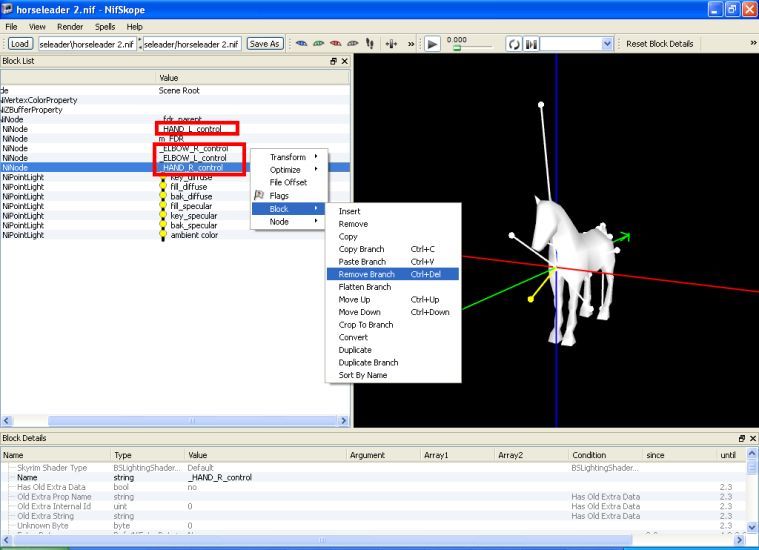
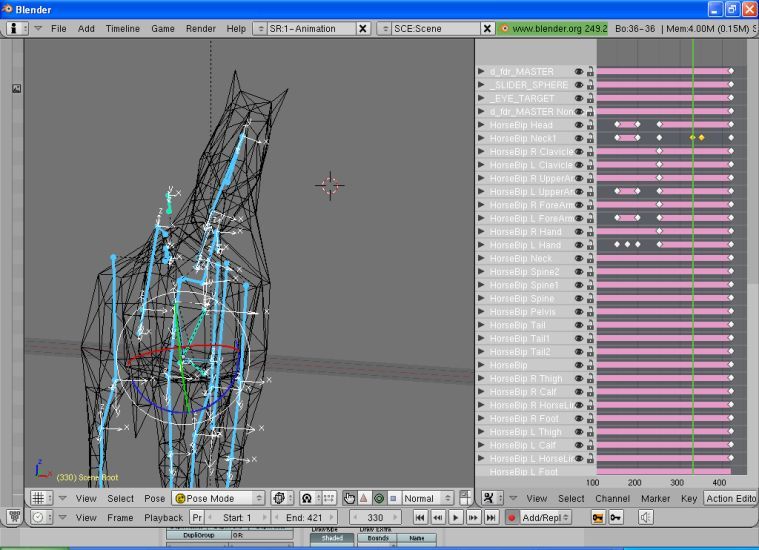
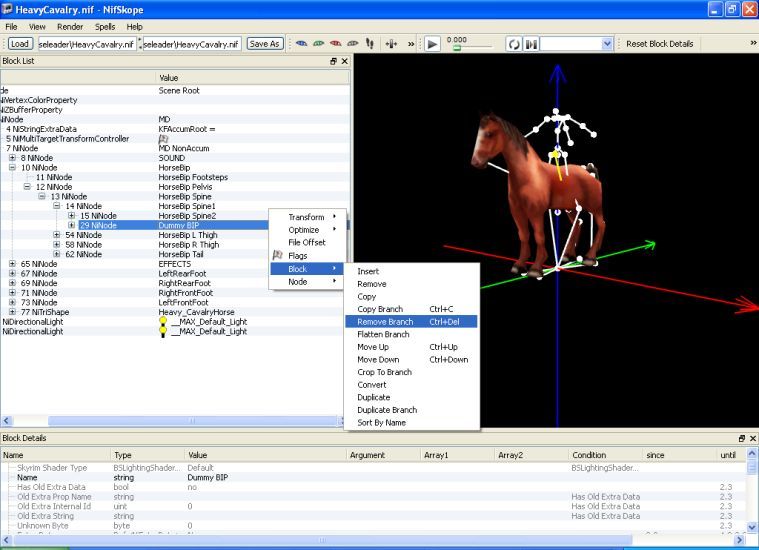
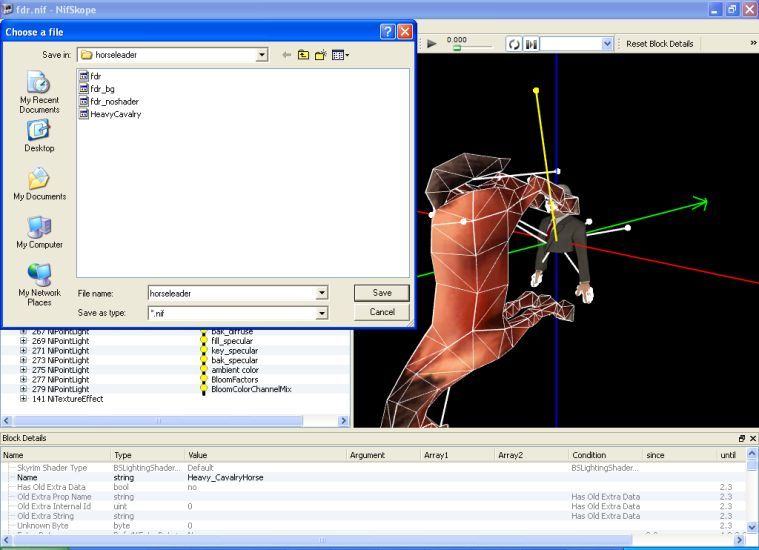
1.) Open up the FDR.nif and the HeavyCavalry.nif. In the HeavyCavalry.nif delete the Dummy BIP by right clicking it and selecting remove branch.
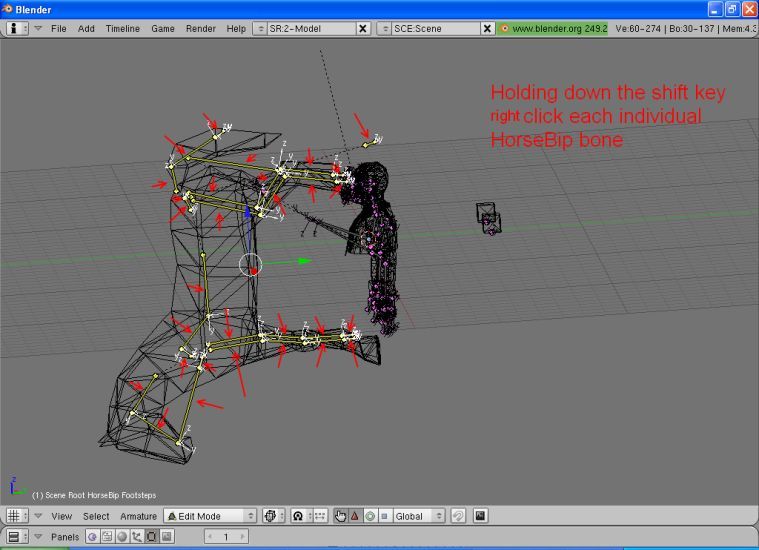
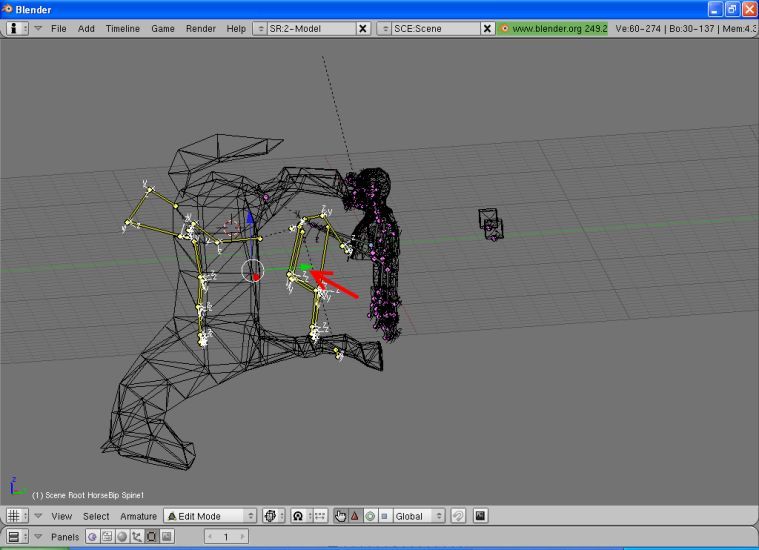
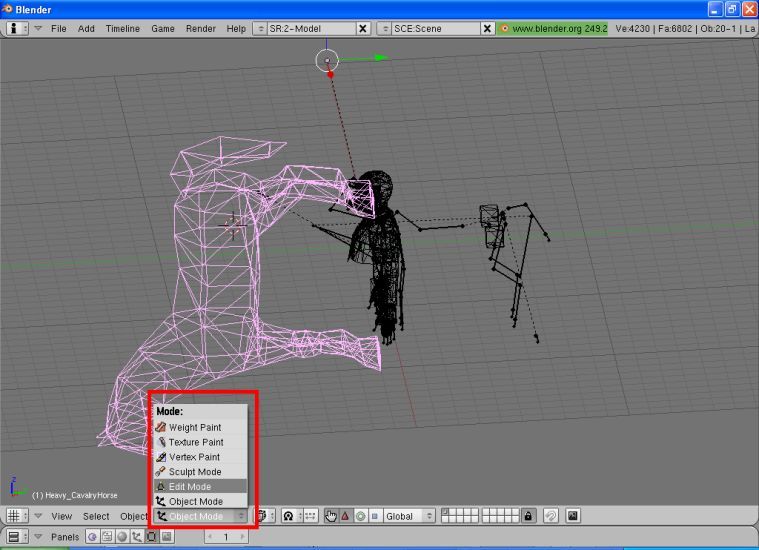
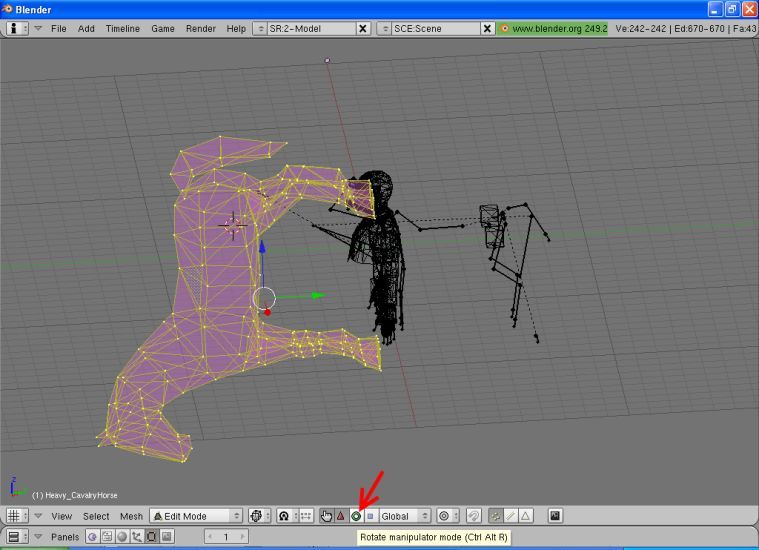
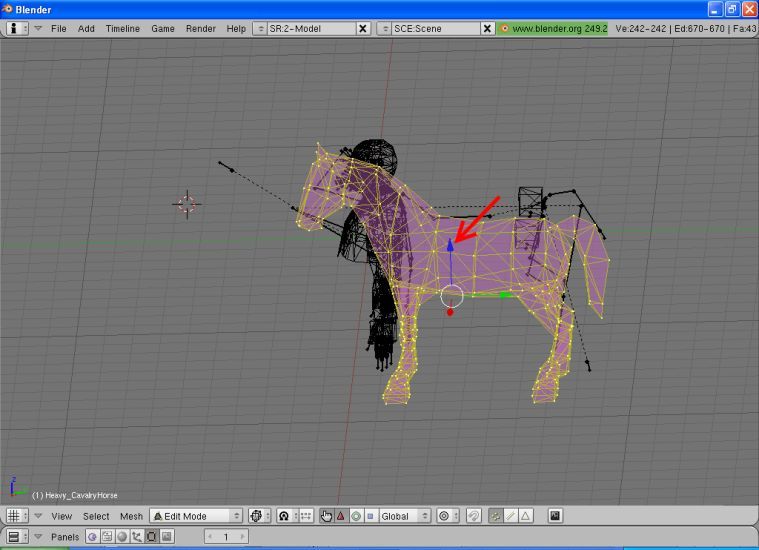
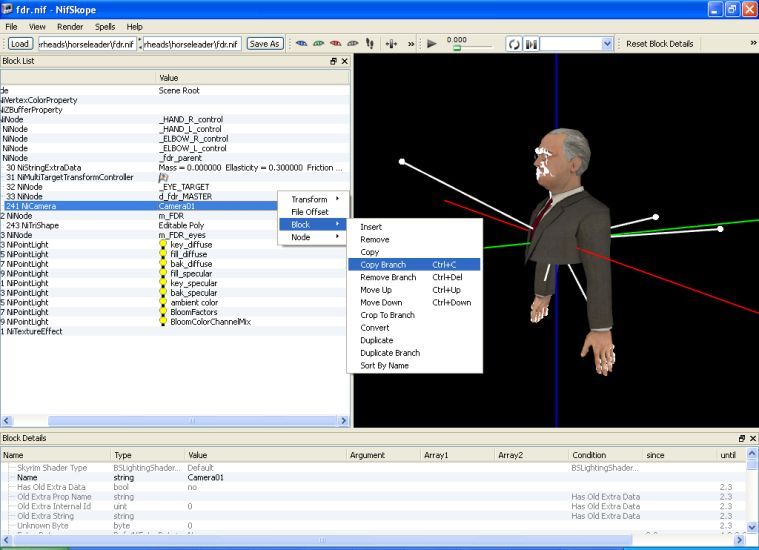
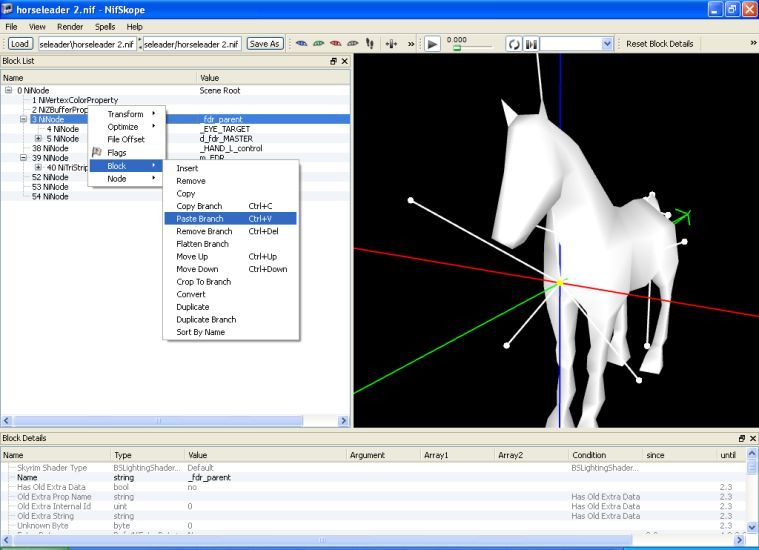
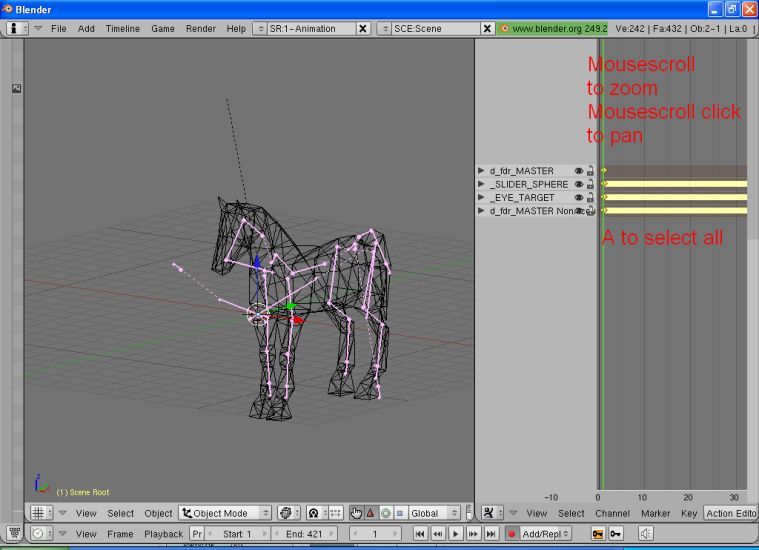
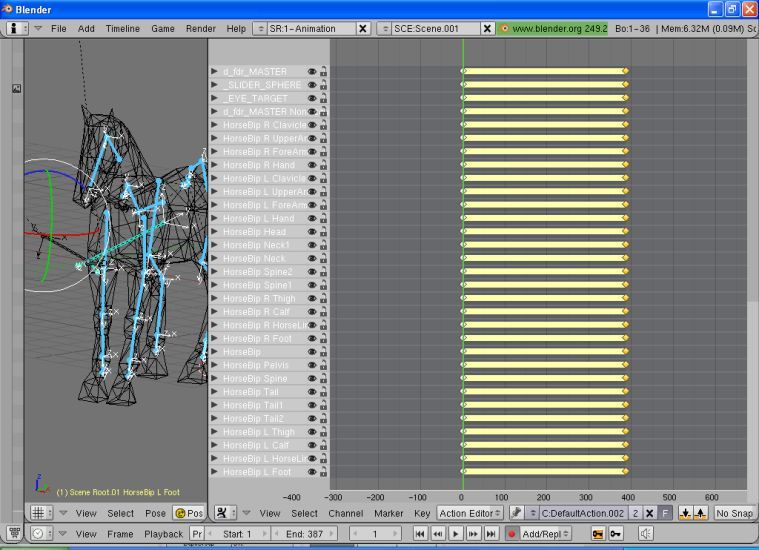
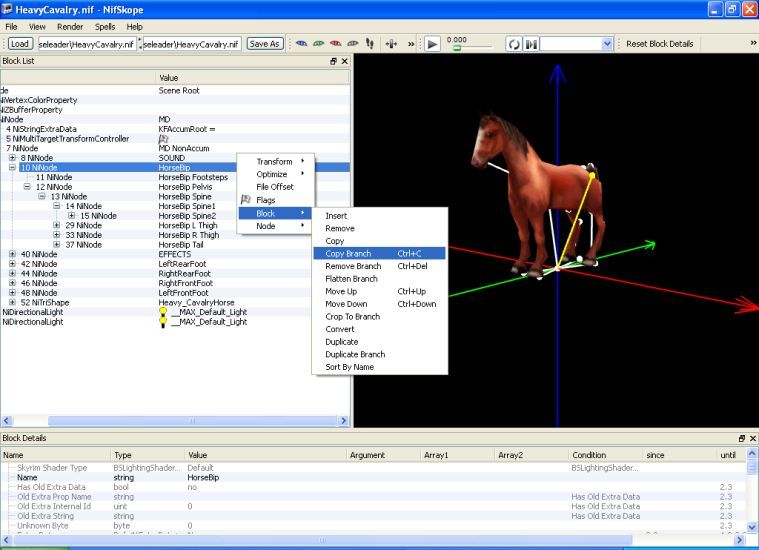
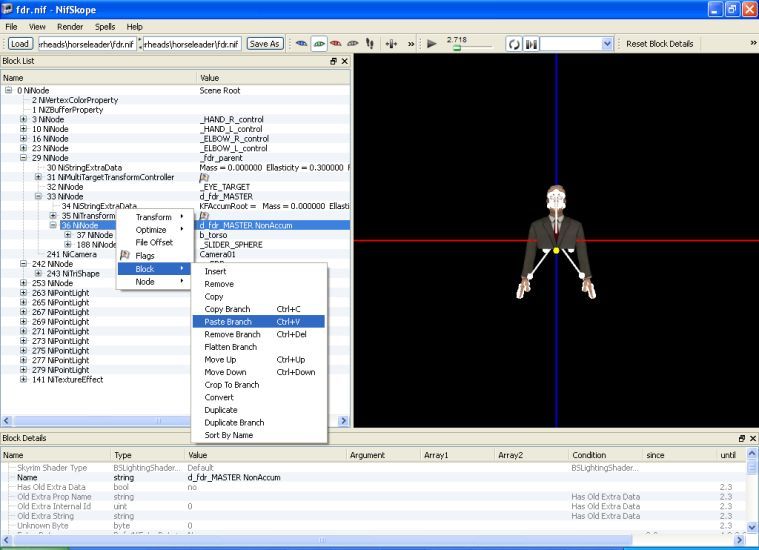
2.) Copy the HorseBip and paste into the d_FDR_MASTER NonAccum in the FDR.nif
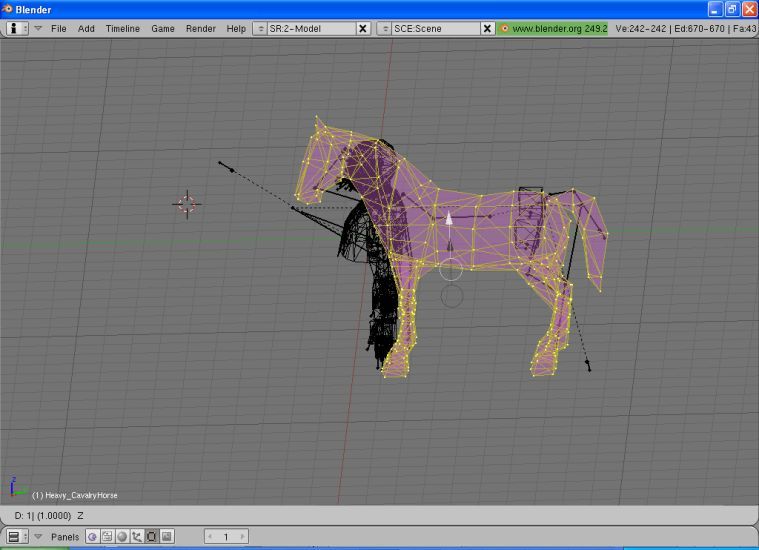
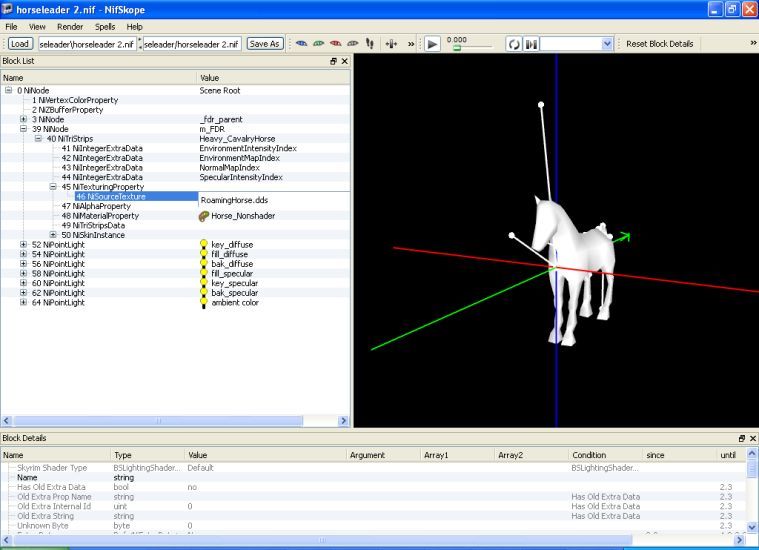
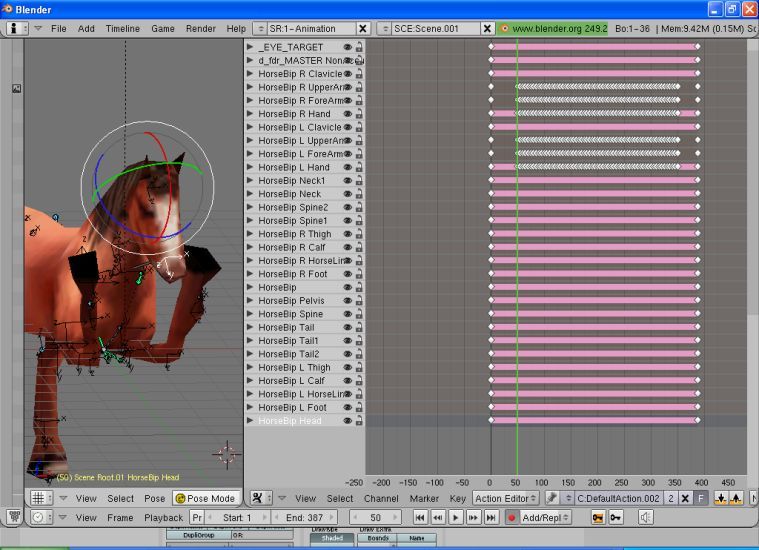
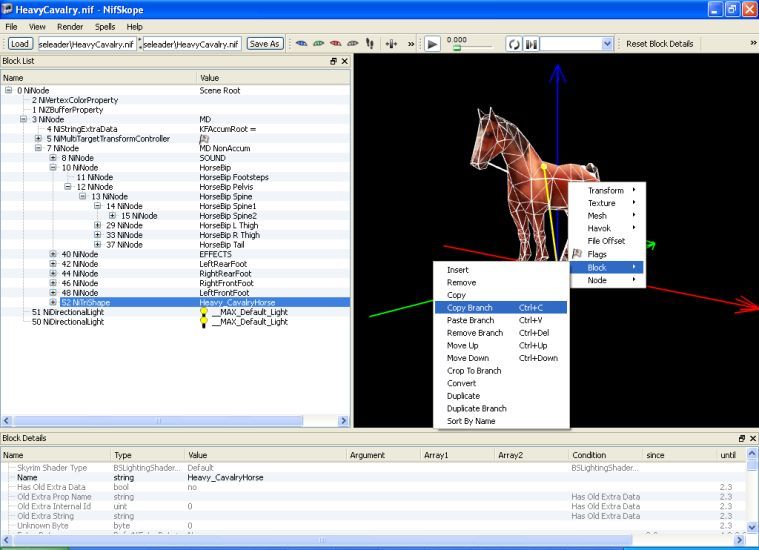
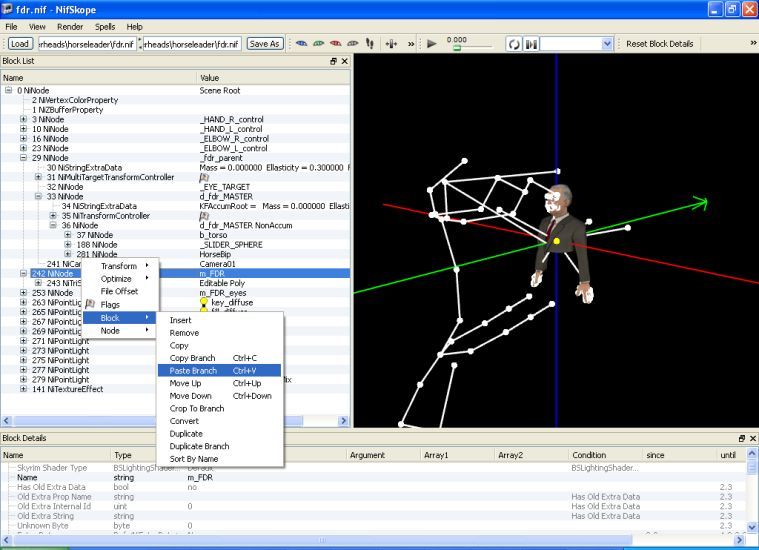
3.) Copy the Horse's mesh and Paste it into the m_FDR in the FDR.nif
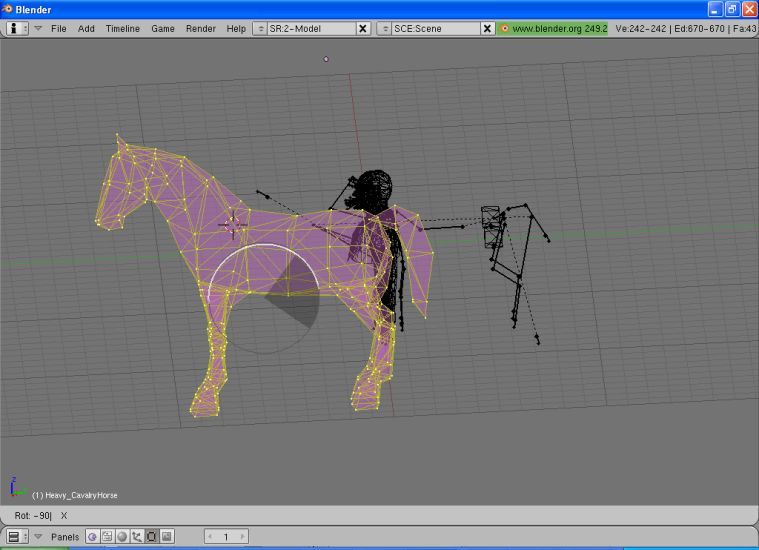
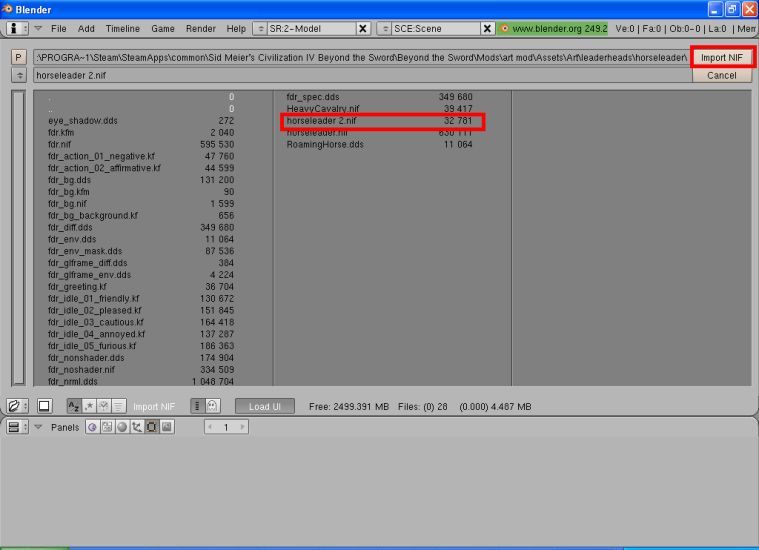
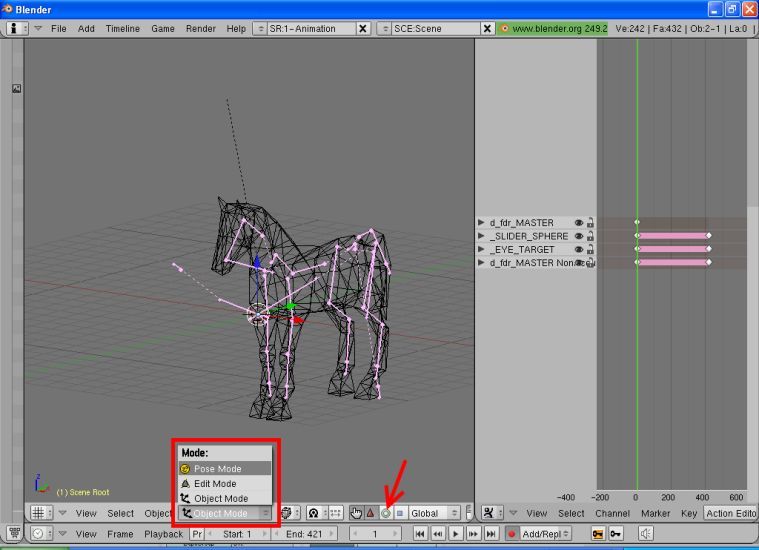
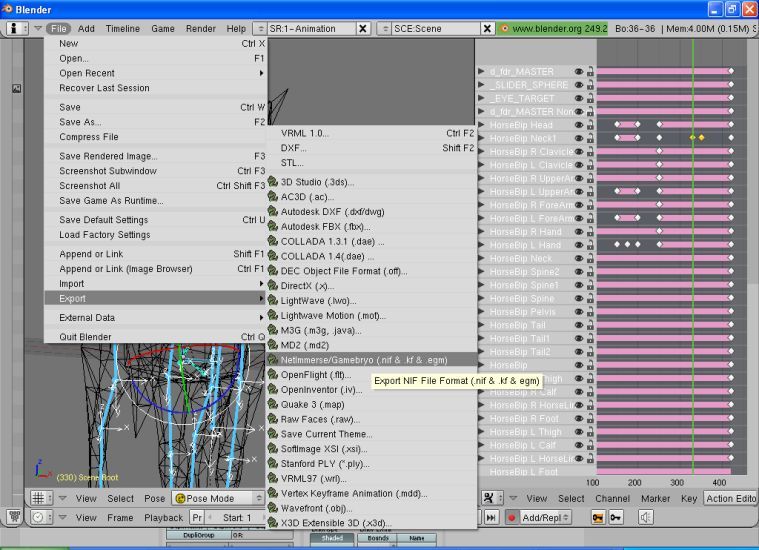
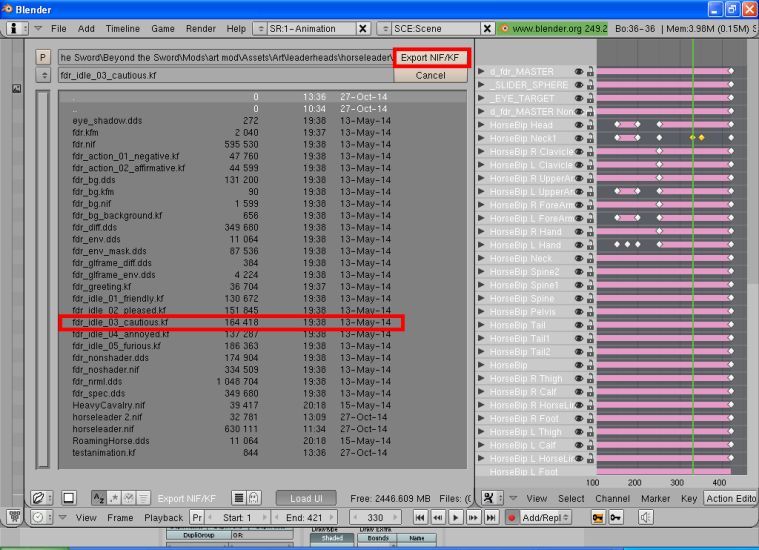
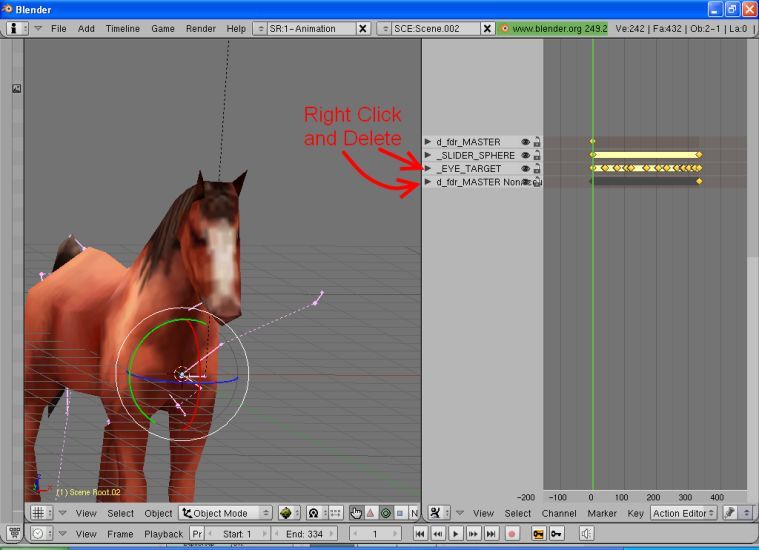
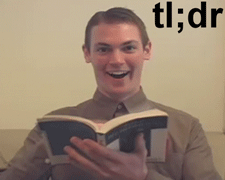
4.) Save nif as Horseleader(or whatever) and try not to get this image stuck in your head
This tutorial doesn't go too in depth about animating. There are a some pretty good tutorials on that specifically if your interested.
http://forums.civfanatics.com/showthread.php?t=435755
http://forums.civfanatics.com/showthread.php?t=296286
Before we get started there are a few programs you are going to need: Blender(and its Nif Scripts) and Nifskope
Blender and its Nif Scripts can all be found here:
http://niftools.sourceforge.net/wiki/Blender
Nifskope can be found here:
http://niftools.sourceforge.net/wiki/NifSkope
- Setting up the Skeleton in Nifskope
- Adjusting the Skeleton in Blender I
- Adjusting the Skeleton in Blender II
- Cleaning up in Nifskope
- Animating with Blender I
- Animating with Blender II
- Last few touchups with Nifskope and Afterword
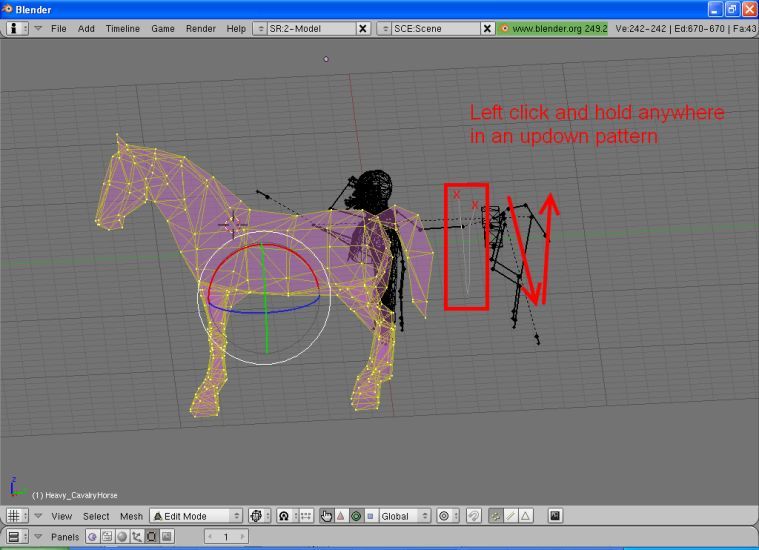
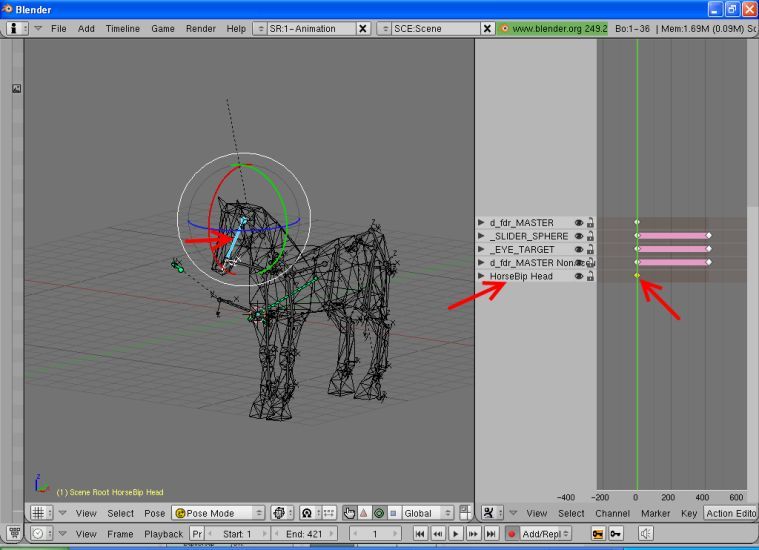
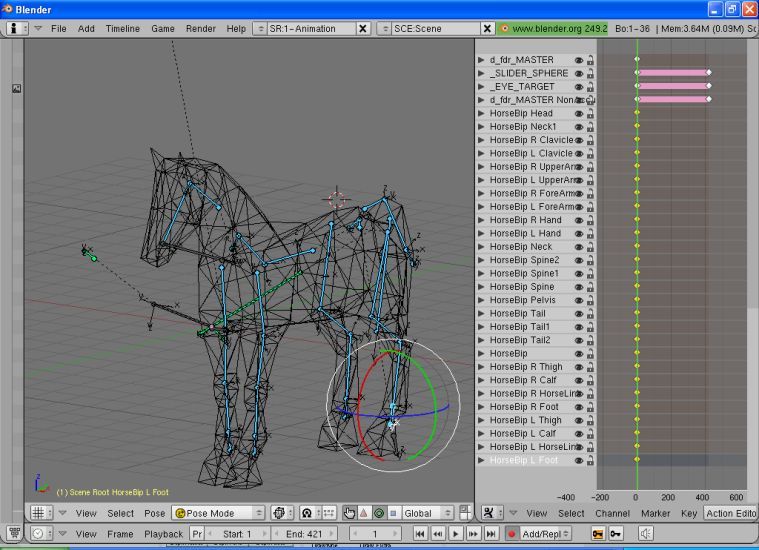
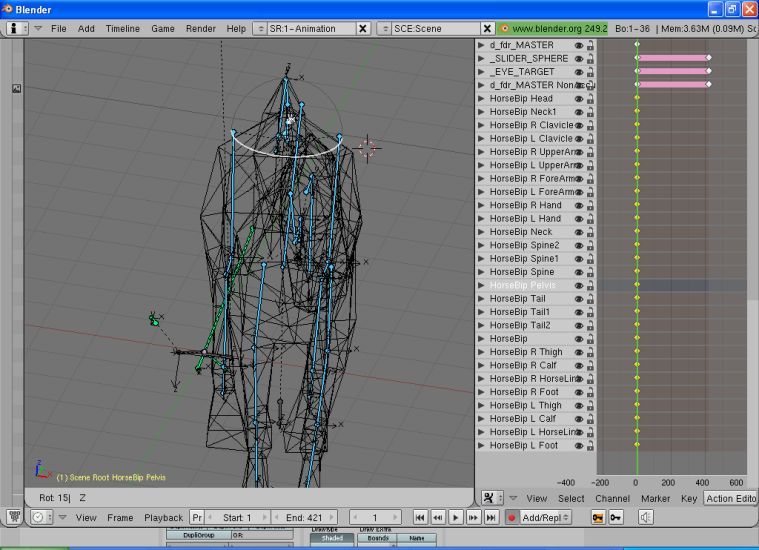
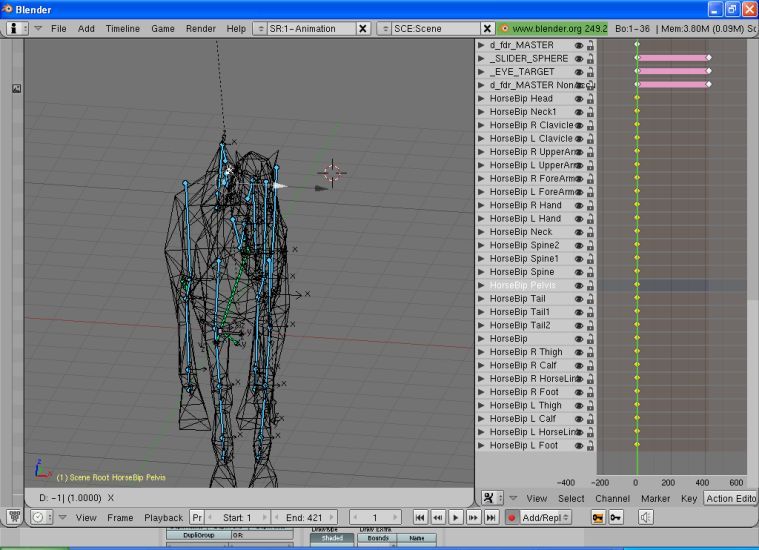
Setting up the Skeleton in Nifskope
We're going to use Refar's Roaming Horse and the vanilla FDR leaderhead. Make a new folder which contains all of FDR's nifs, textures, and kfs as well as all of Refar's Roaming Horse's nifs and textures.
1.) Open up the FDR.nif and the HeavyCavalry.nif. In the HeavyCavalry.nif delete the Dummy BIP by right clicking it and selecting remove branch.
Spoiler :
(its not necessary it just makes things less cluttered)
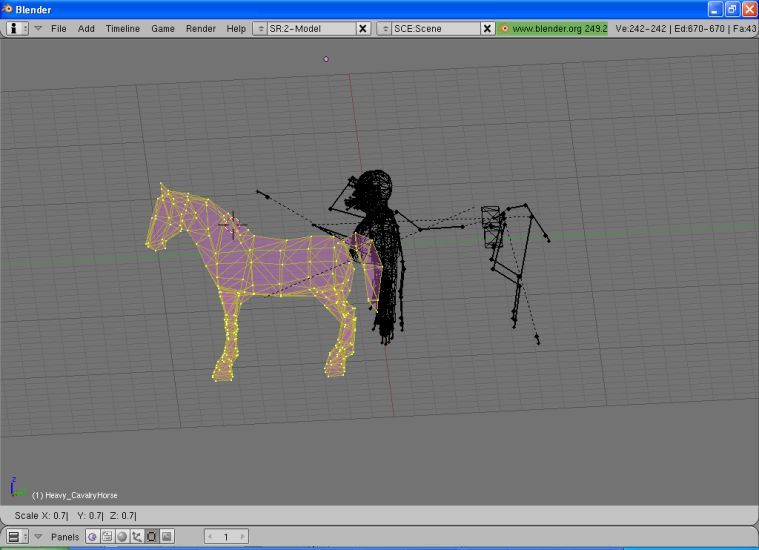
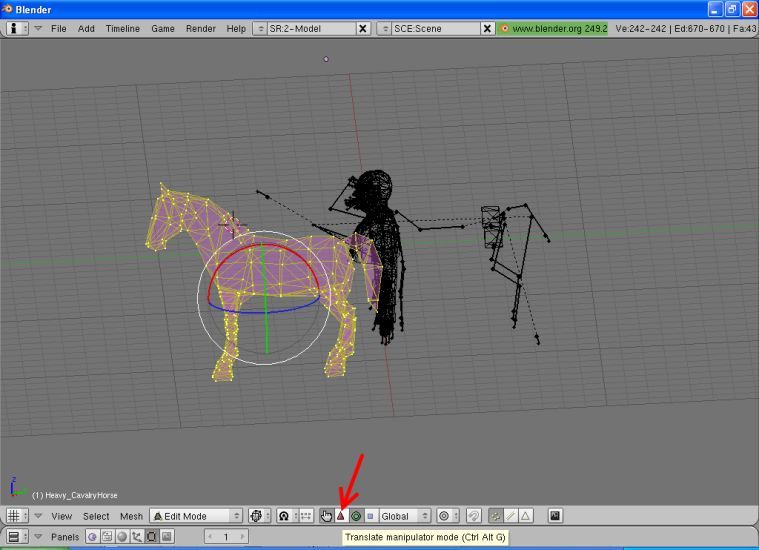
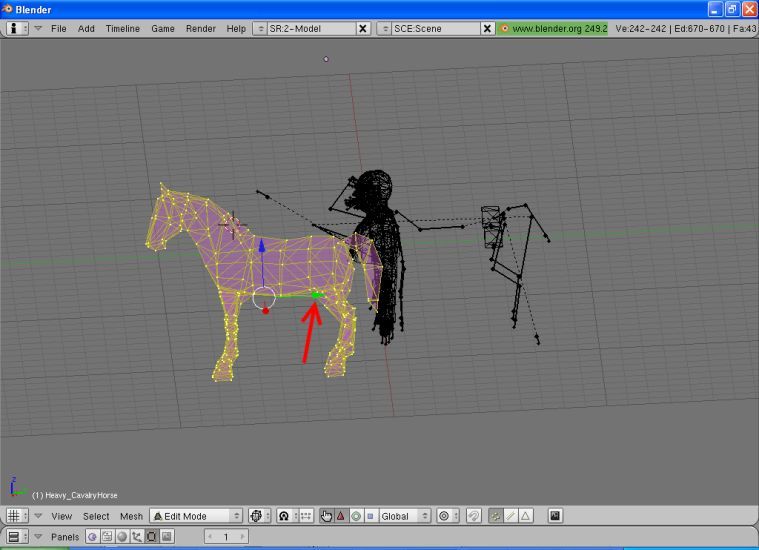
2.) Copy the HorseBip and paste into the d_FDR_MASTER NonAccum in the FDR.nif
3.) Copy the Horse's mesh and Paste it into the m_FDR in the FDR.nif
4.) Save nif as Horseleader(or whatever) and try not to get this image stuck in your head