Round 6
The Battle to Revive - A Fight to Rid the Alien! (Part I) - Early Successes.
1335 AD to 1420 AD [18 Turns]
Sorry guys, this isn't a 59-turn round, but hopefully it's just as entertaining.
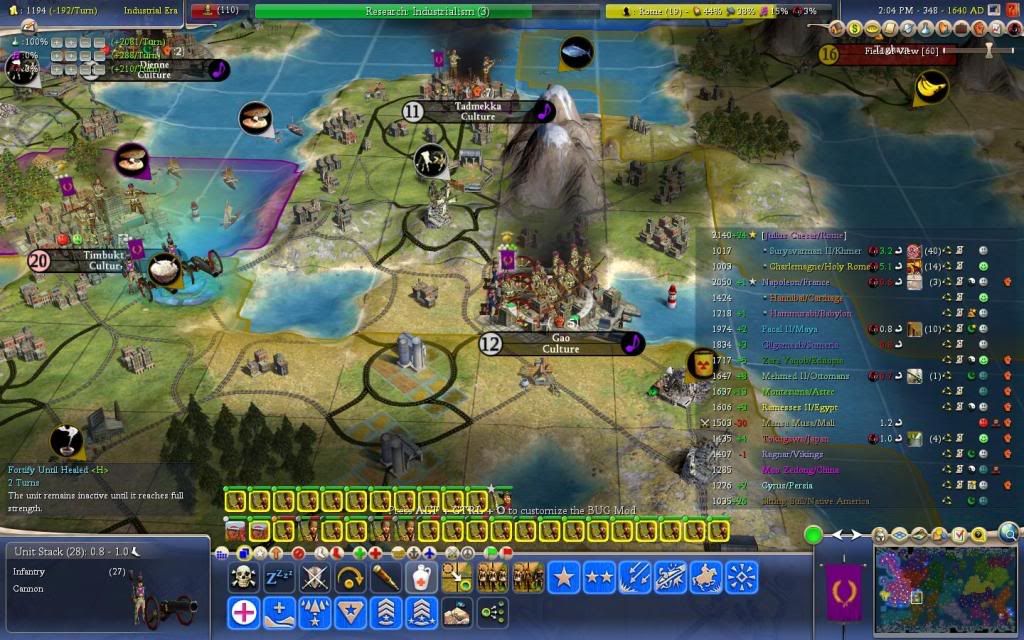
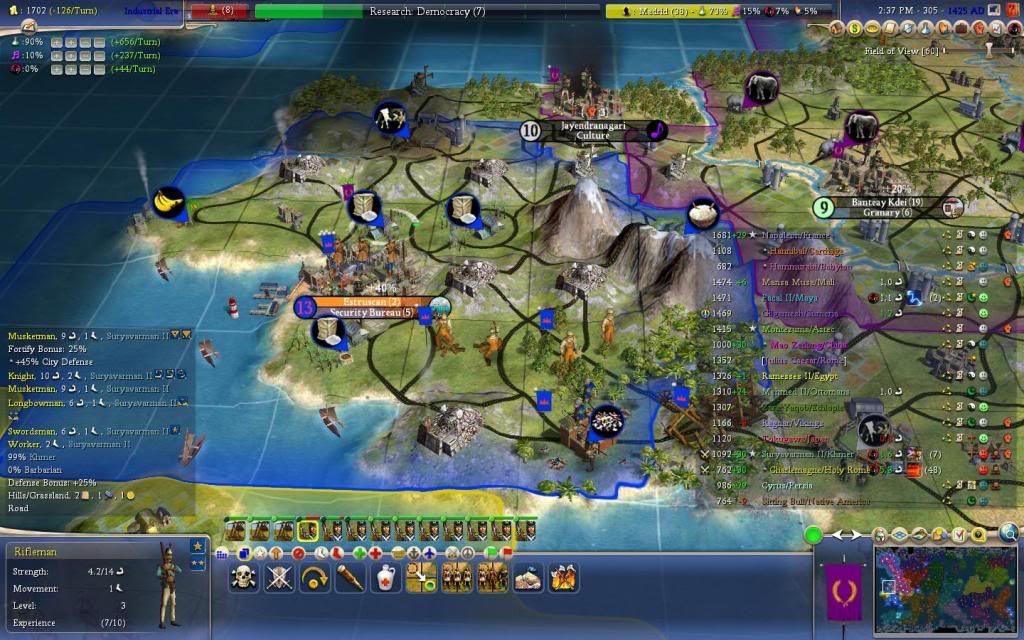
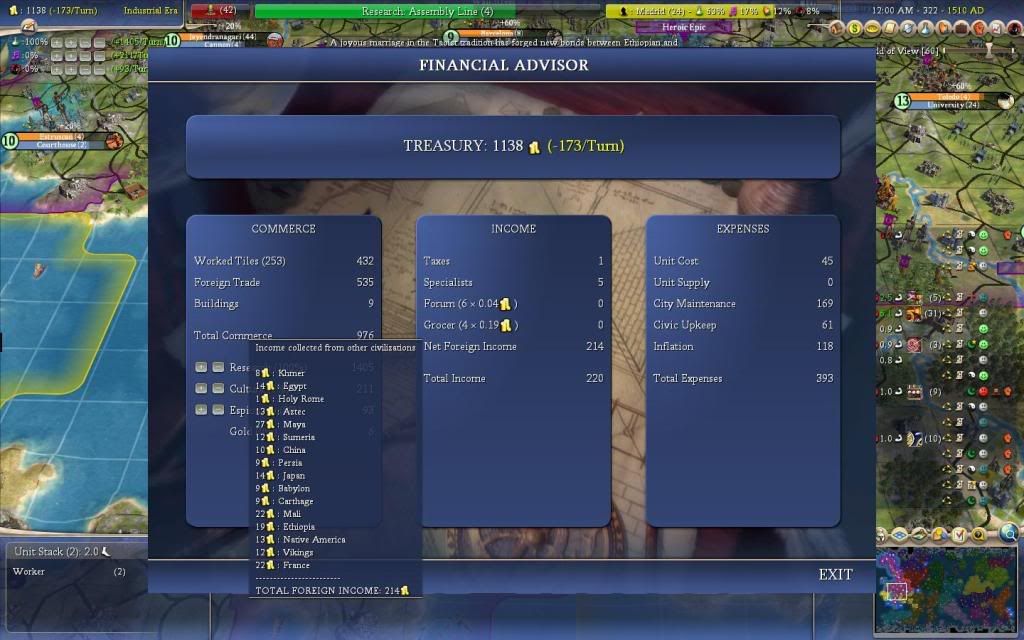
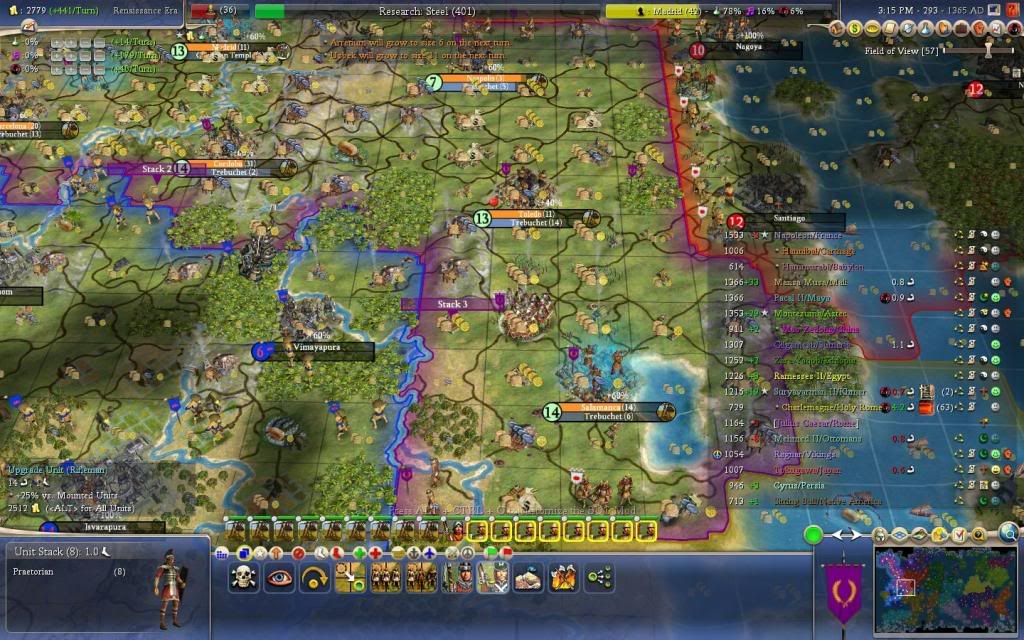
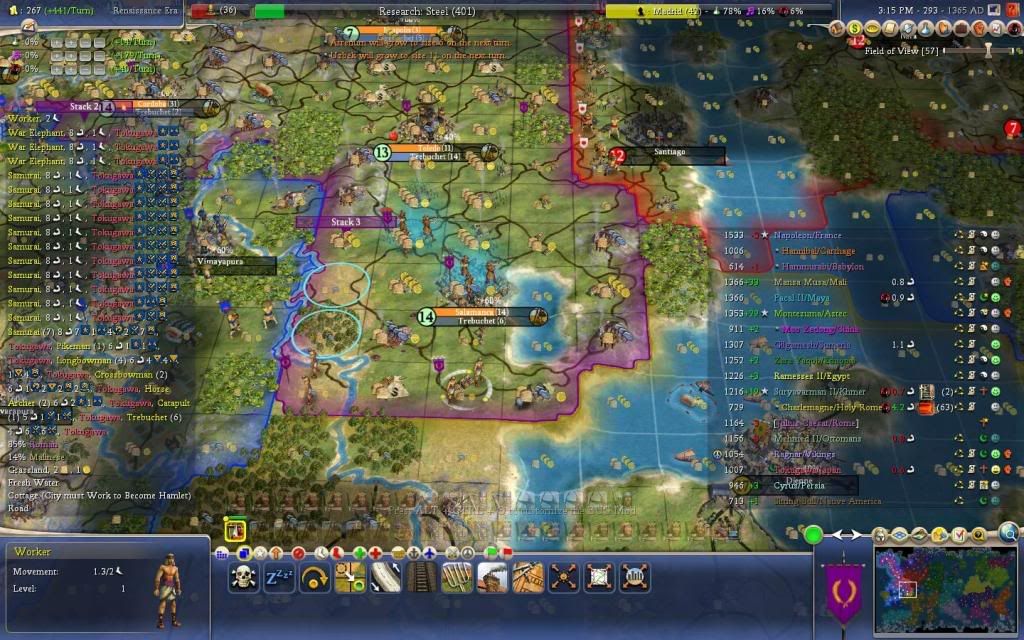
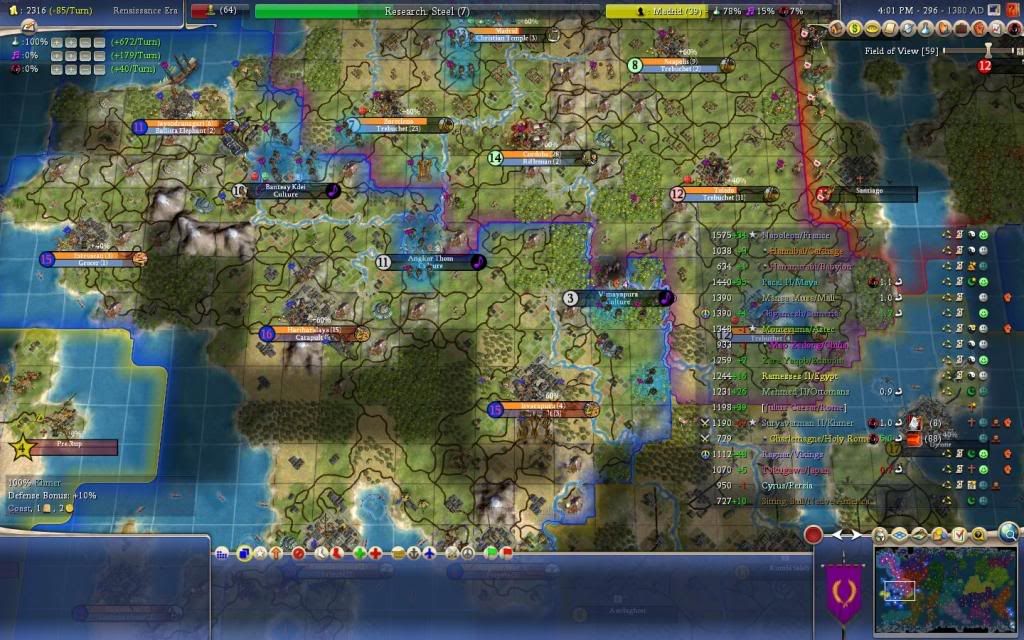
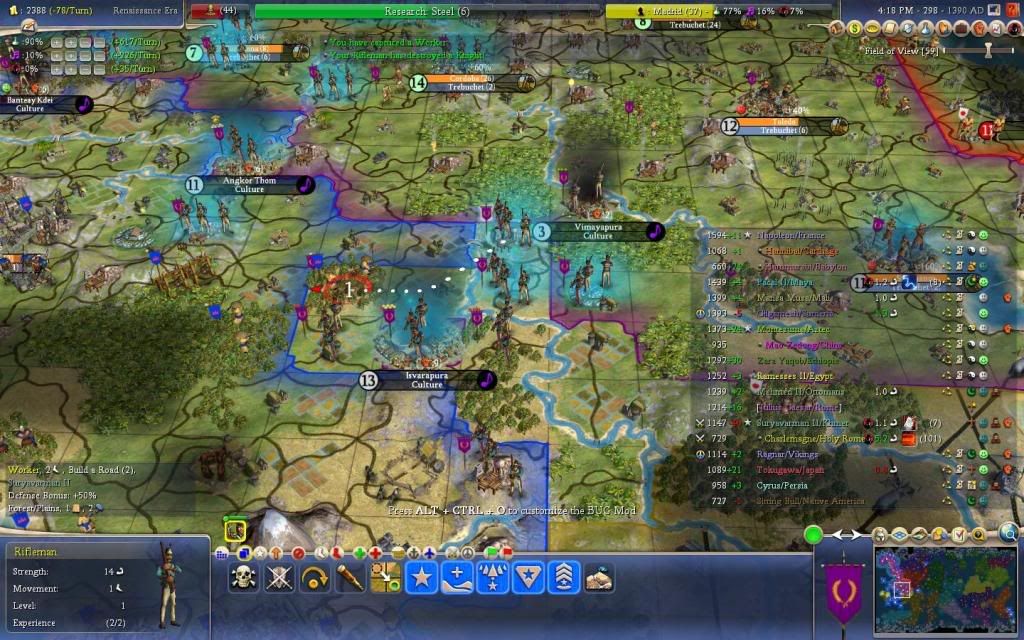
As I was gathering my praetorians, macemen, and musketmen together with my trebuchets and dividing them into three relatively equal stacks, I was building up my stockpile of gold. Upgrading 8 praetorians to riflemen costs 2,512

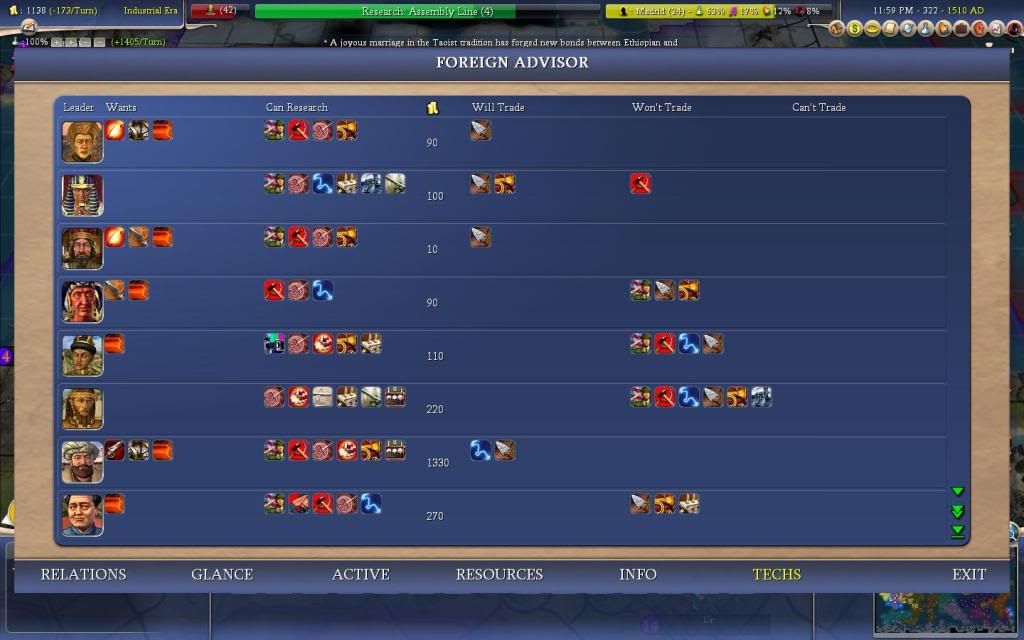
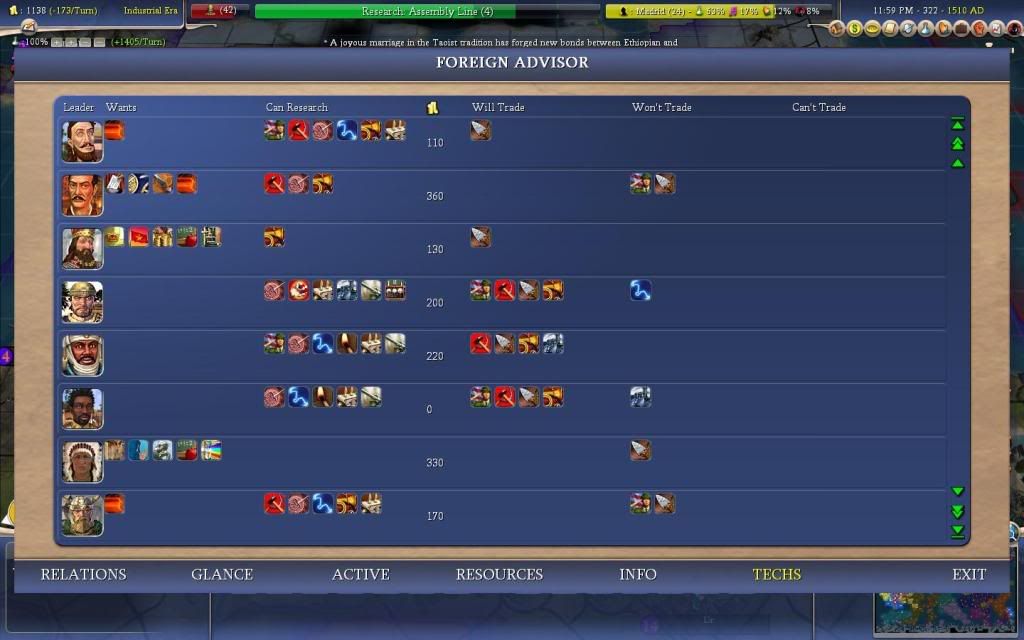
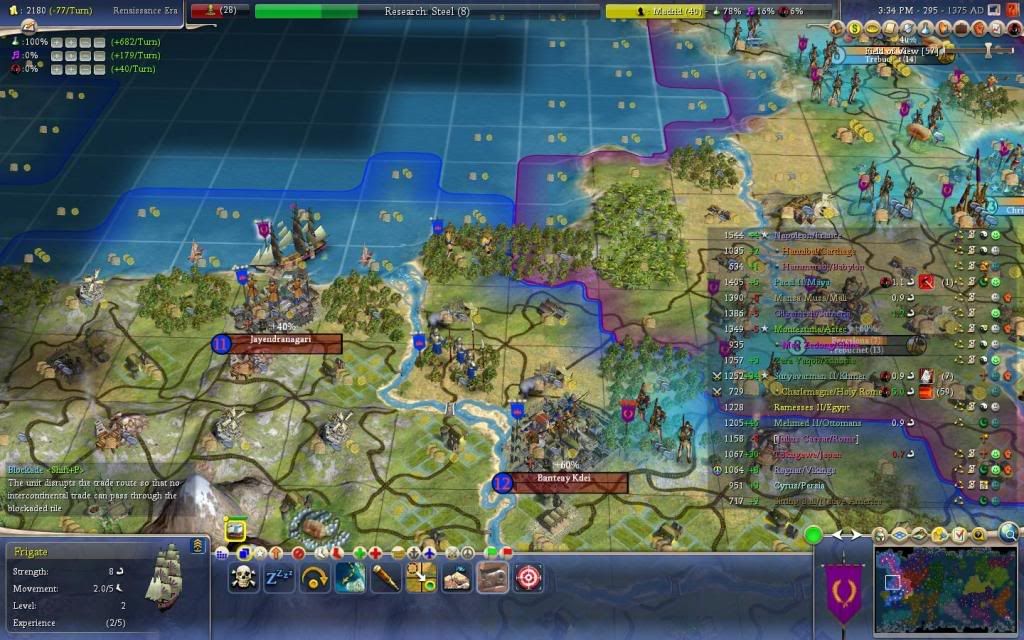
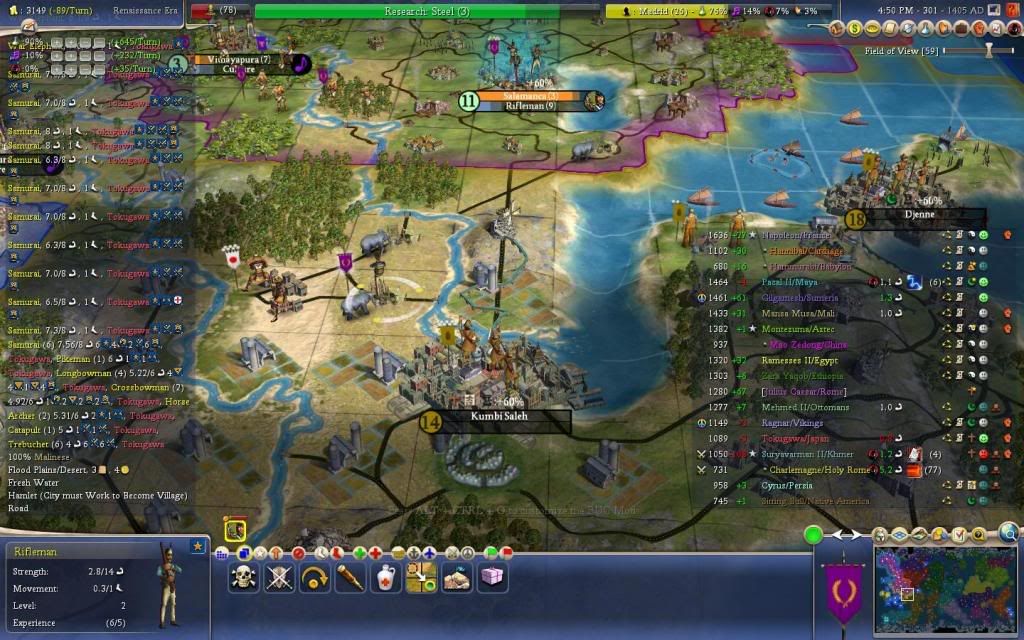
! And as you can see I'm researching steel. Any guesses as to why?
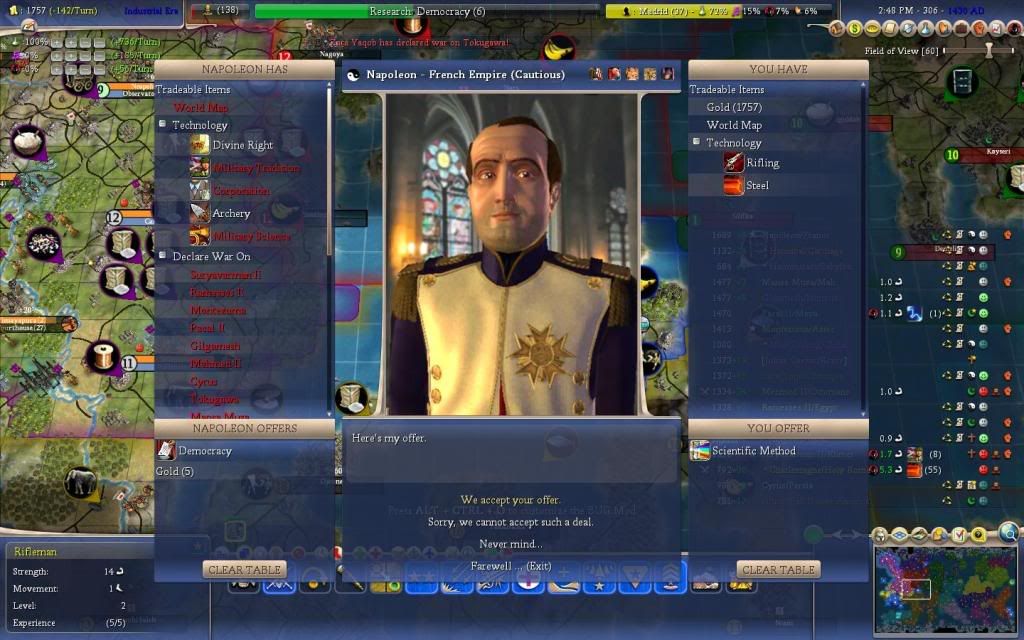
As you can see, Tokugawa is sending his powerful but obsolete troops to take on Mansa Musa. Tokugawa had the highest power rating in the world so I decided to give him a technology in exchange for declaring war on Mansa Musa, who really needed to be taken down a notch.
Tokugawa's stack ended up parking next to Mansa's southern city and never attacked.

He later retreated.
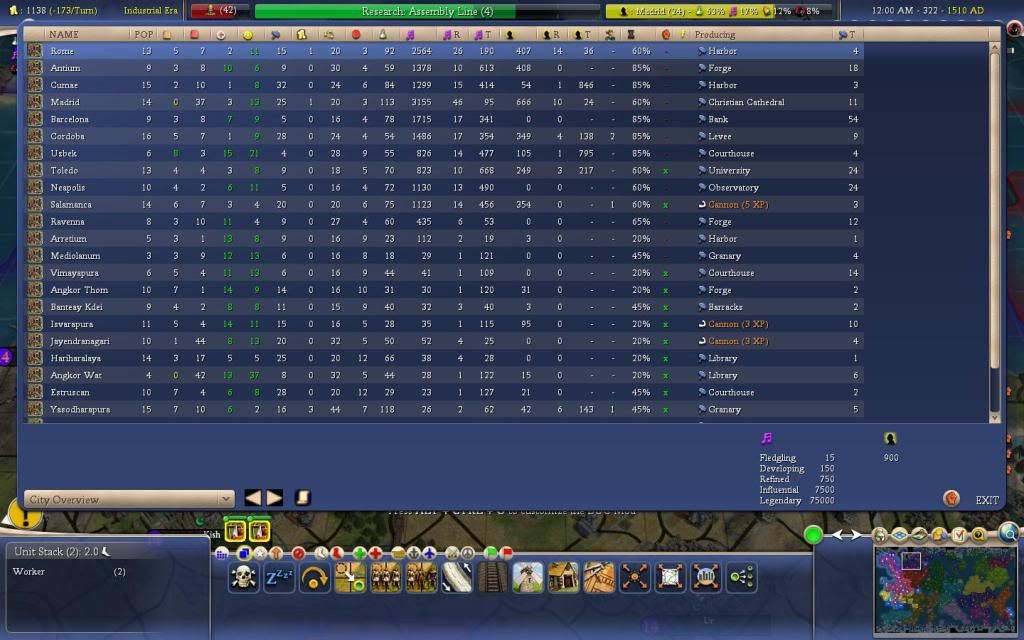
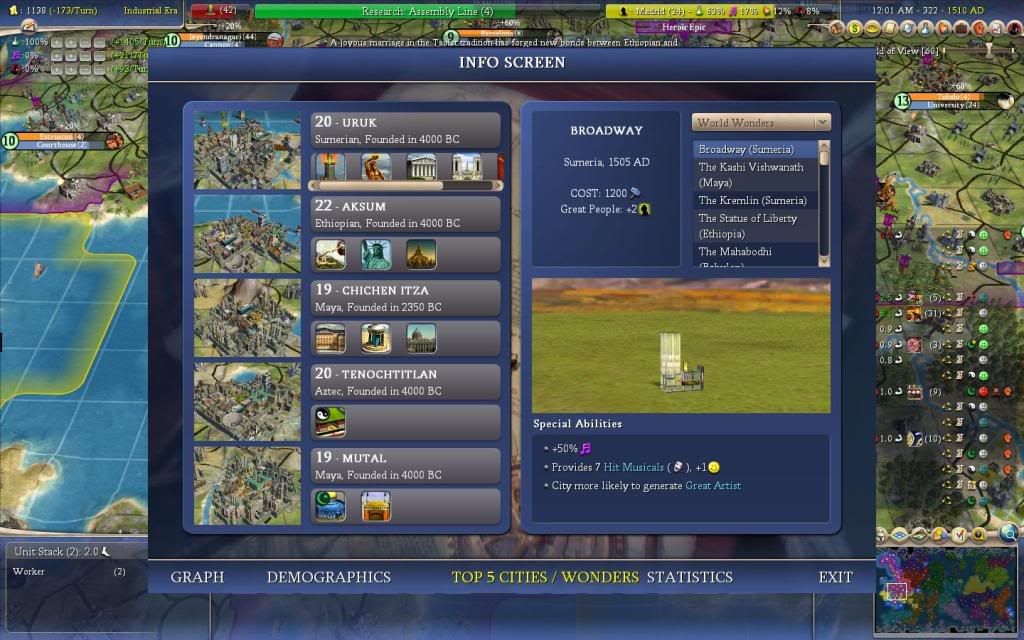
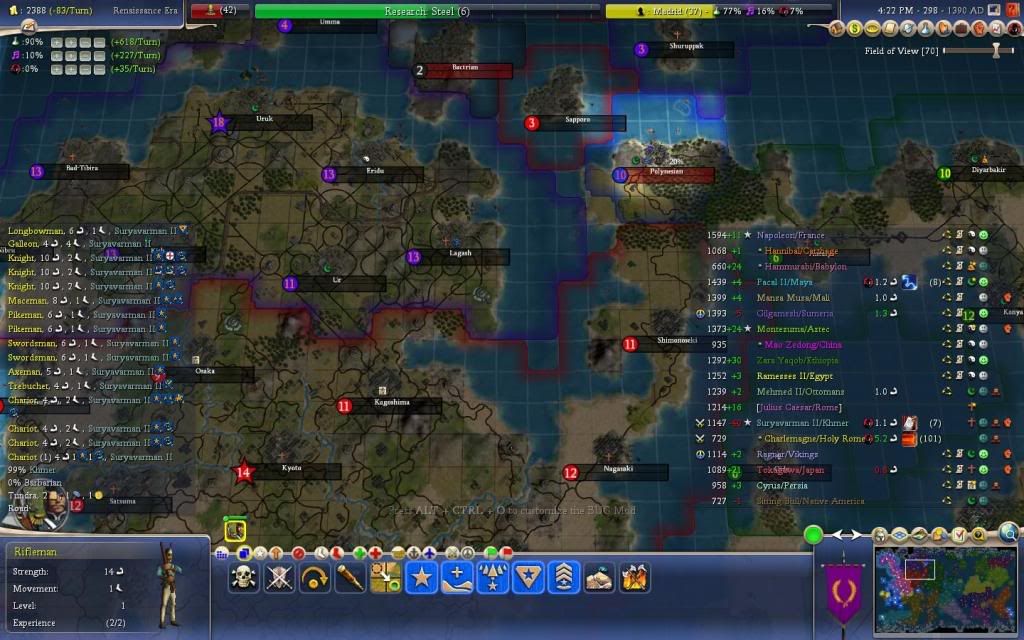
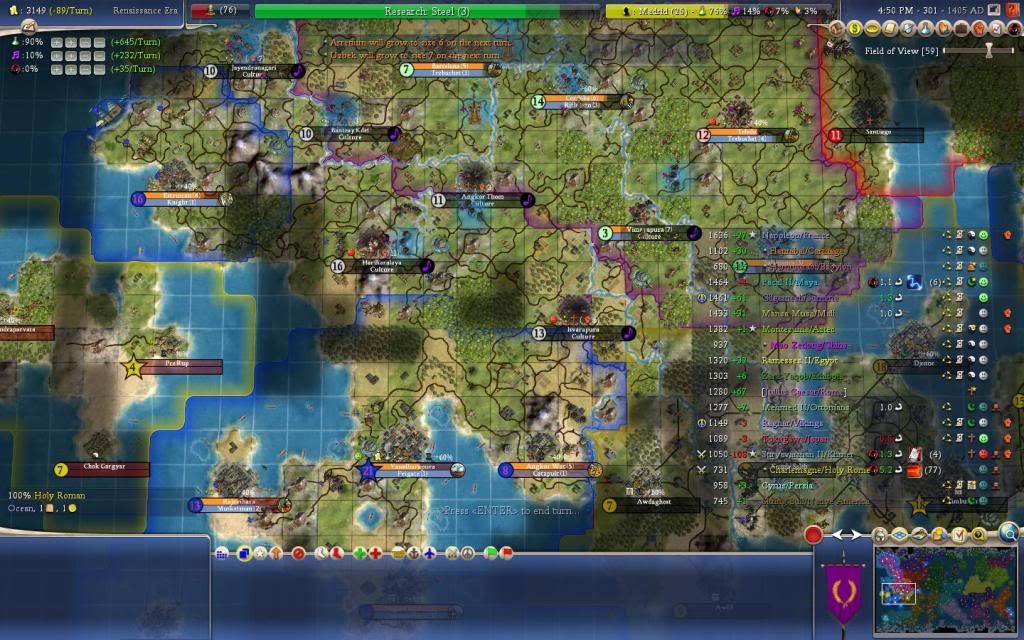
My Great Merchant finally reached Uruk, which was the second highest city on the "Top 5 Cities" list, behind Pacal II's Mutal. Mutal seems to be the top city in every game that has Pacal in it.
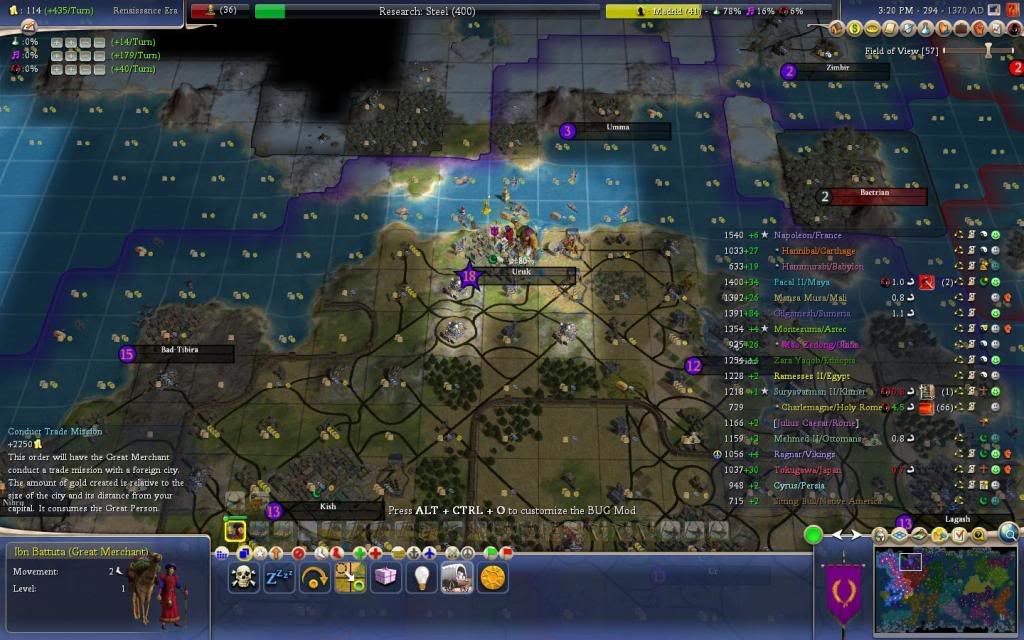
The Great Merchant's gold was welcome, though he was too tardy to be of any aid in upgrading troops.
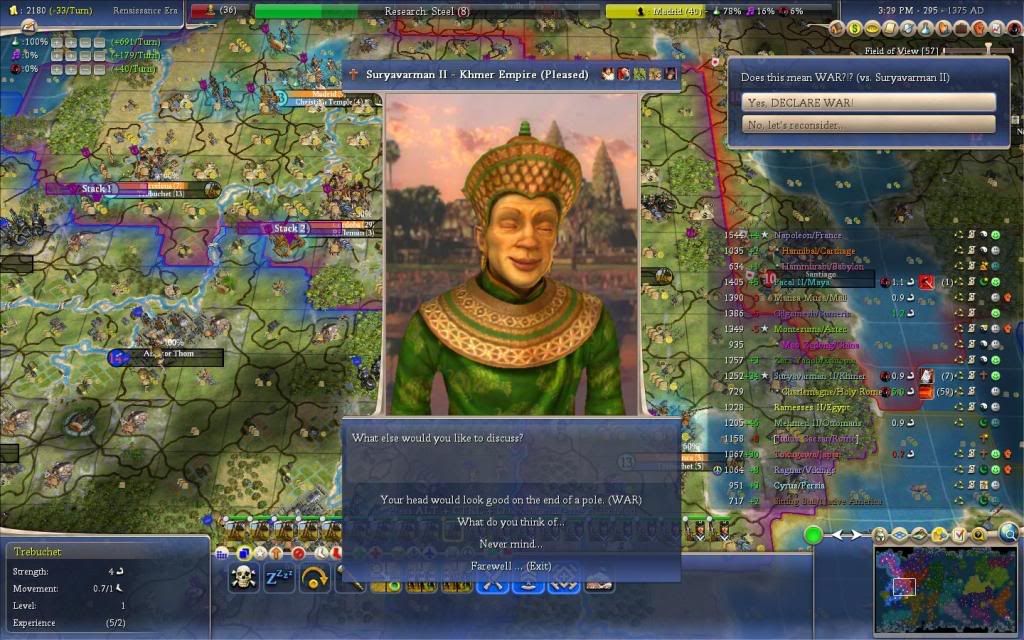
Soon ... it was time. The cordial relationship between Rome and Khmer had to end. War start! Turn 295, 1375 AD.
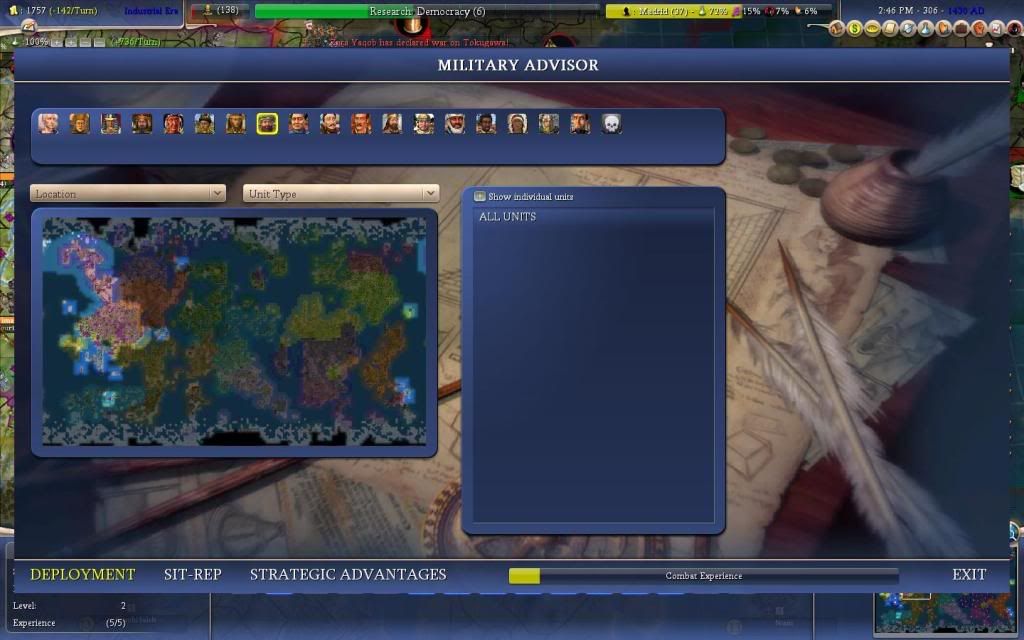
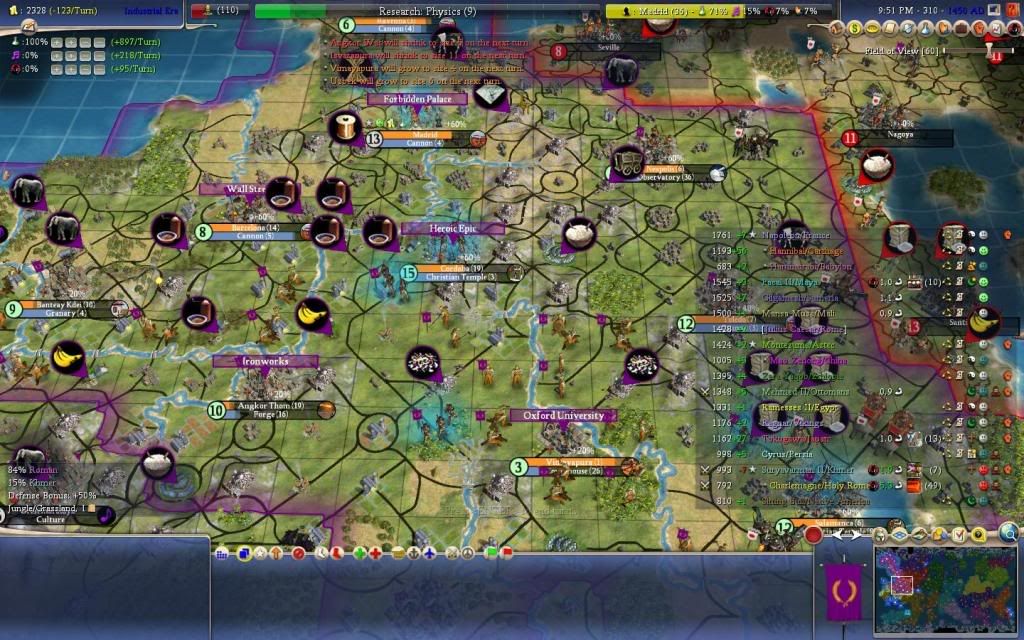
The power graph:
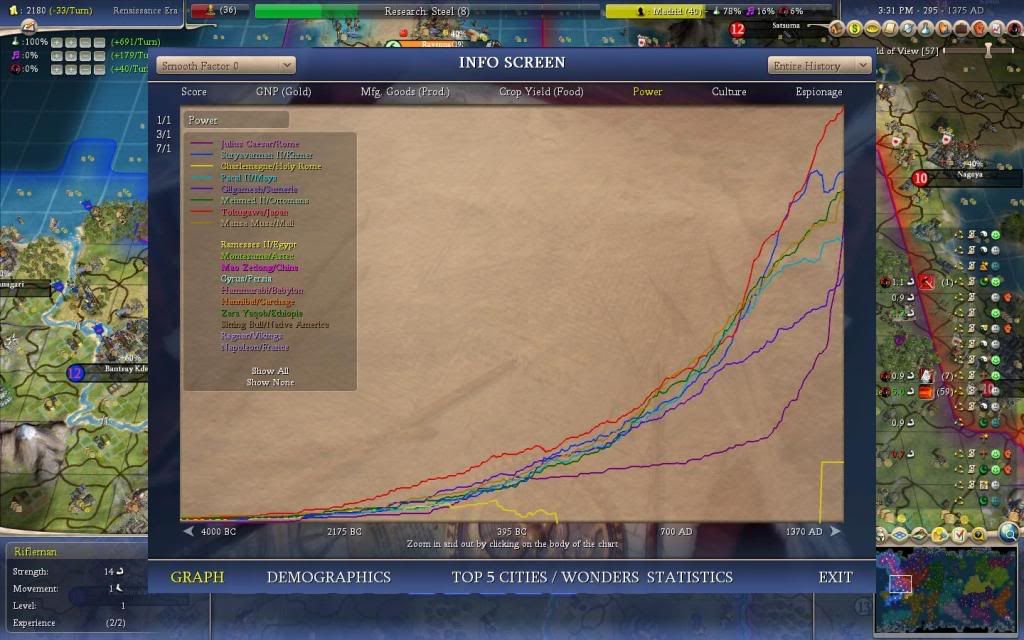
The power graph when a human is all the way down at the bottom is really ambiguous, as drafting and upgrading can cause us to propel all the way to the top.
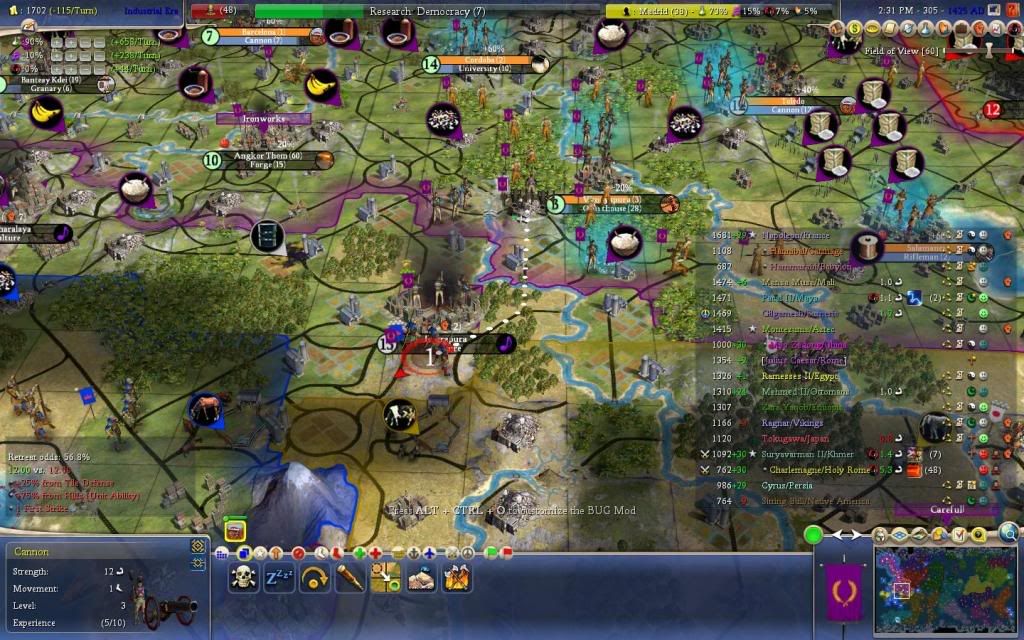
As you can see below, I even enlisted the aid of a frigate to whittle away at coastal defenses.
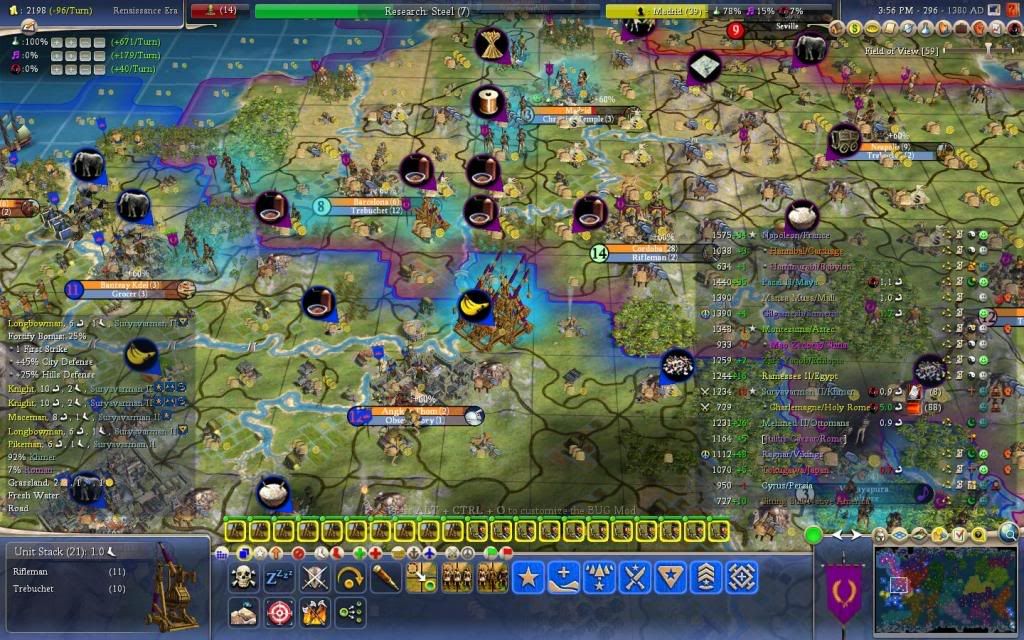
The first few cities of the war were easy pickings. The first step was to rile up the citizens by attacking with trebuchets. The second step was to knock the stuffing out of them with the riflemen. The endeavor was frugal, and there was no reprisal at all.
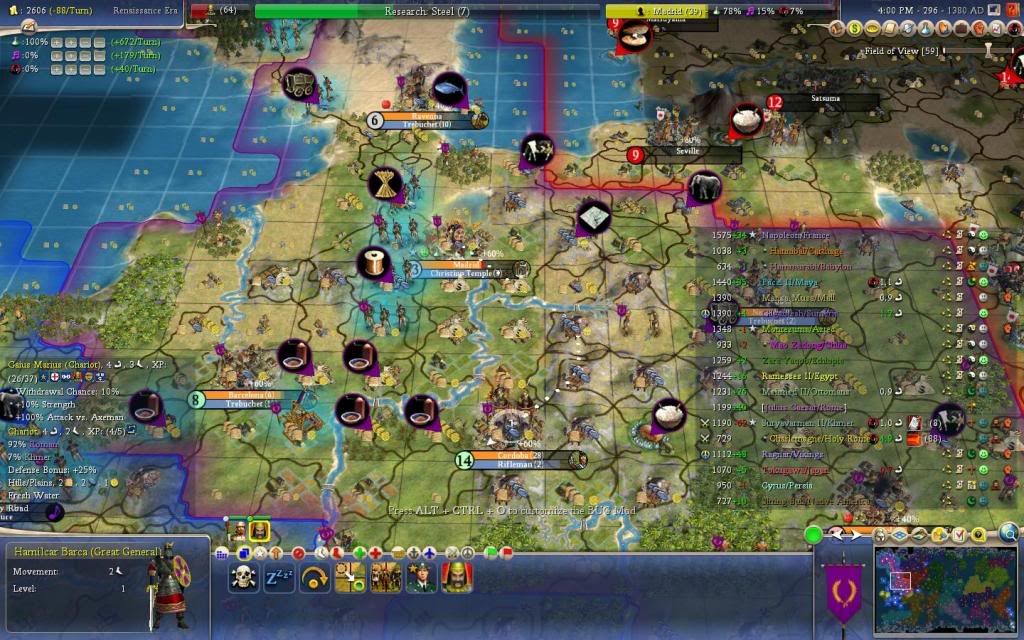
Hamilcar Barca, extolled worldwide for his renowned military skills, became a super medic, hoping to proliferate his knowledge of medication.
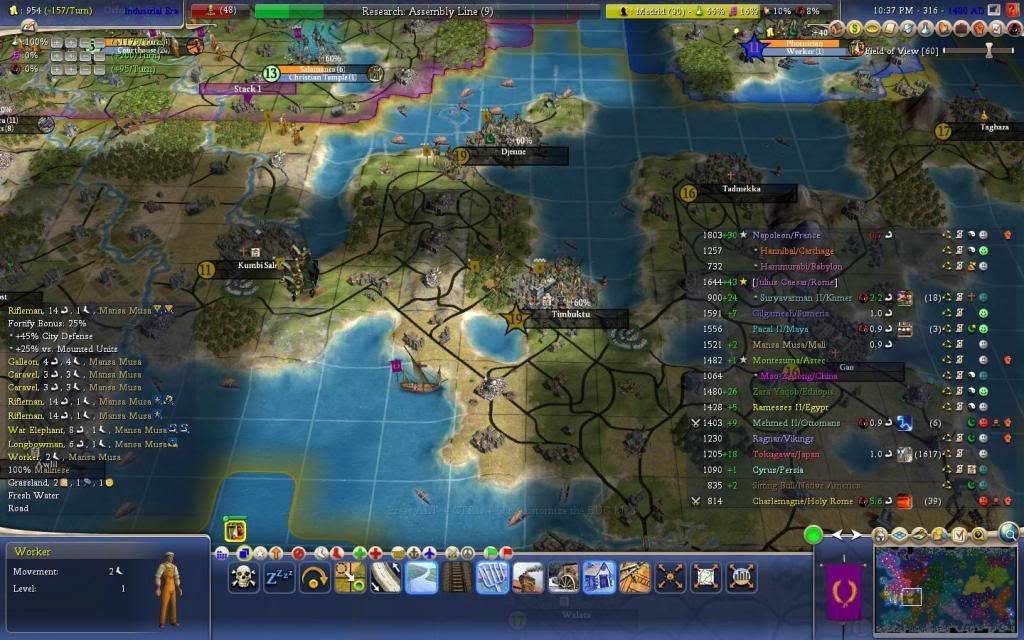
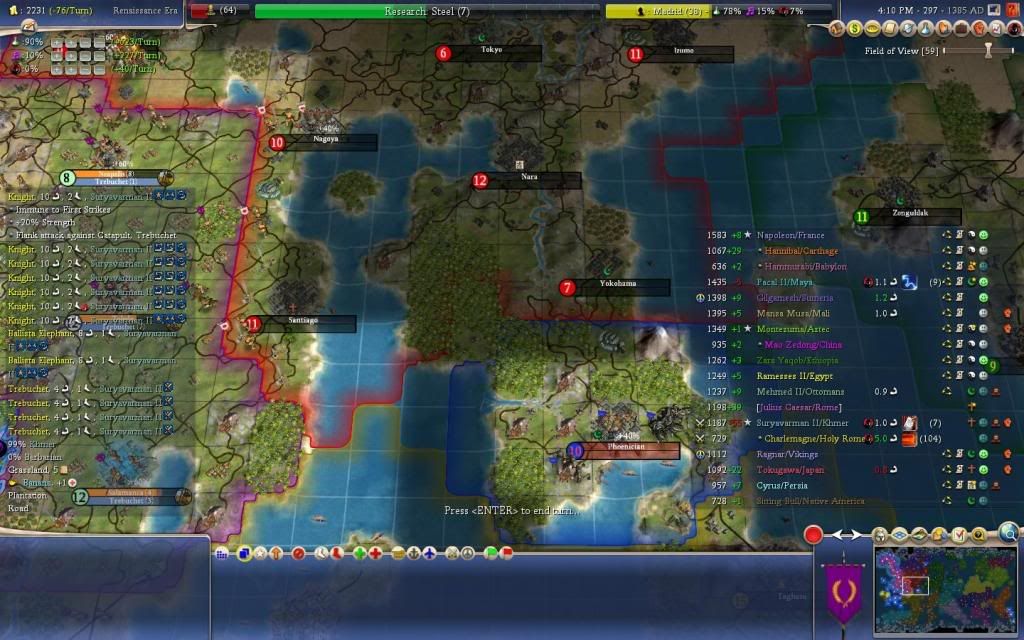
My scouts report: turn 2 of the war.
Tokugawa was a great ally during the war with Suryavarman II. He even agreed without respite to cancel open borders with Suravarman II, protecting me from these troops.
Hm ... I'm betting Pacal II is going to try for a diplomatic victory since he's researching electricity.
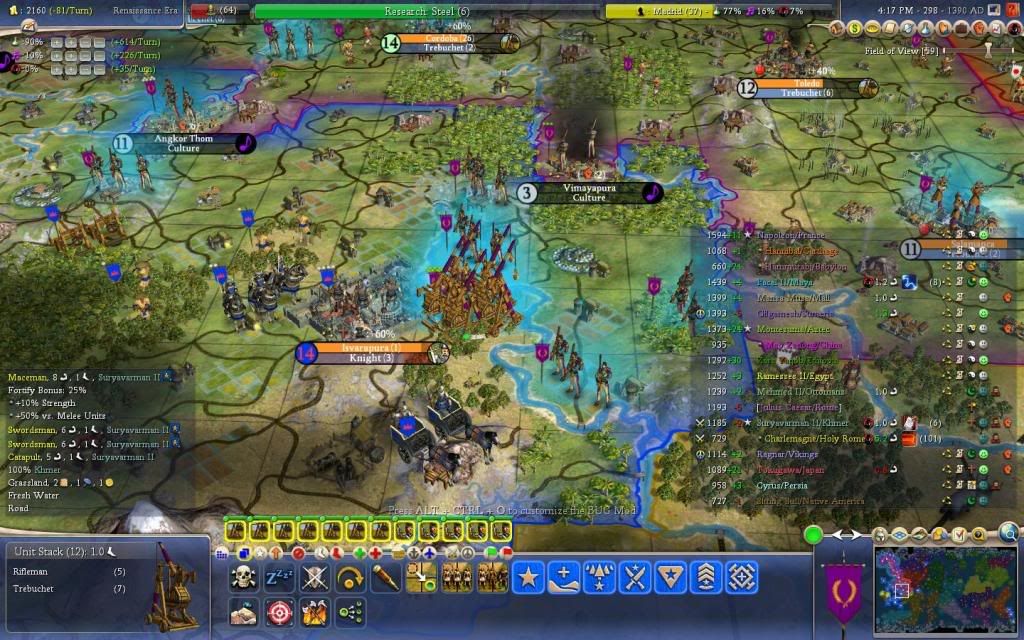
Isvarapara was soon besieged. An immortal AI is defending with a catapult, a macemen, and two swordsmen in 1390 AD.
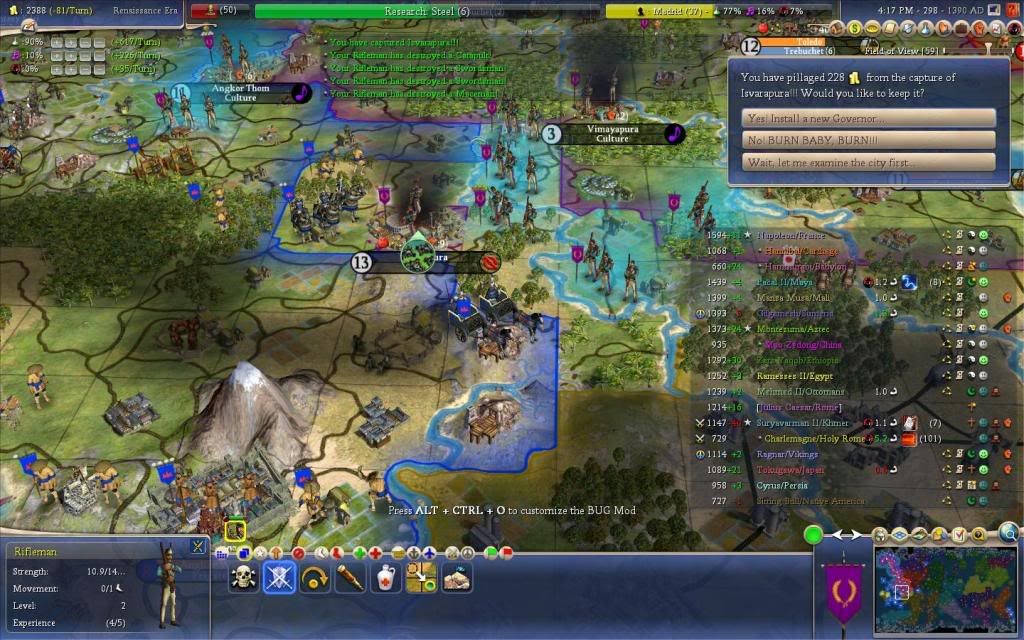
Throughout this war, I stole an incredible number of workers. Here's a tip for wars:
always be on the lookout for laggards!
I am really happy that Tokugawa was friendly enough with me so he would cancel open borders with Suryavarman II. Tokugawa was friendly with Sury, I think.
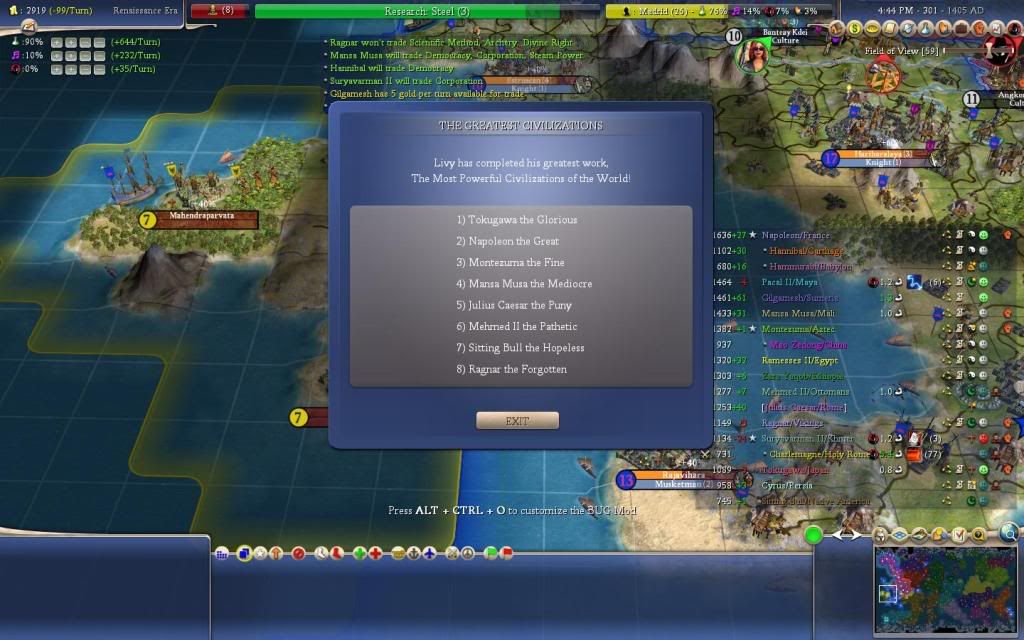
The usual 50-turn report. As you can see, Tokugawa's backwards, but innumerable troops, are tops. That wouldn't last by the end of the war with the Khmer. Also, it seems like Sitting Bull is making too many troops for his own good again. And once again, it results in a bottom-of-the-scoreboard location. His AI definitely needs some tweaking to it.
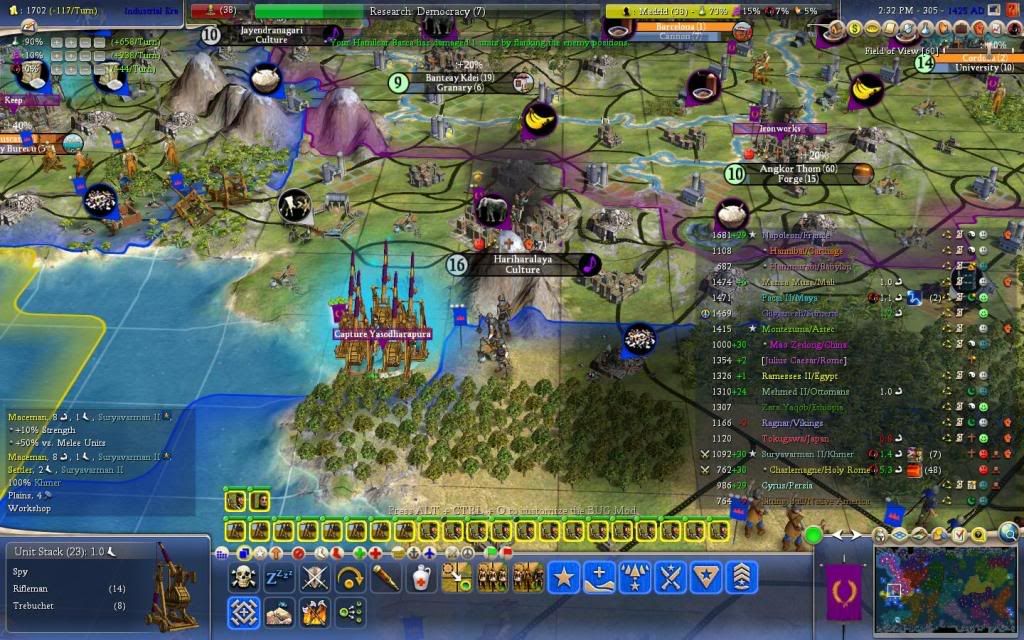
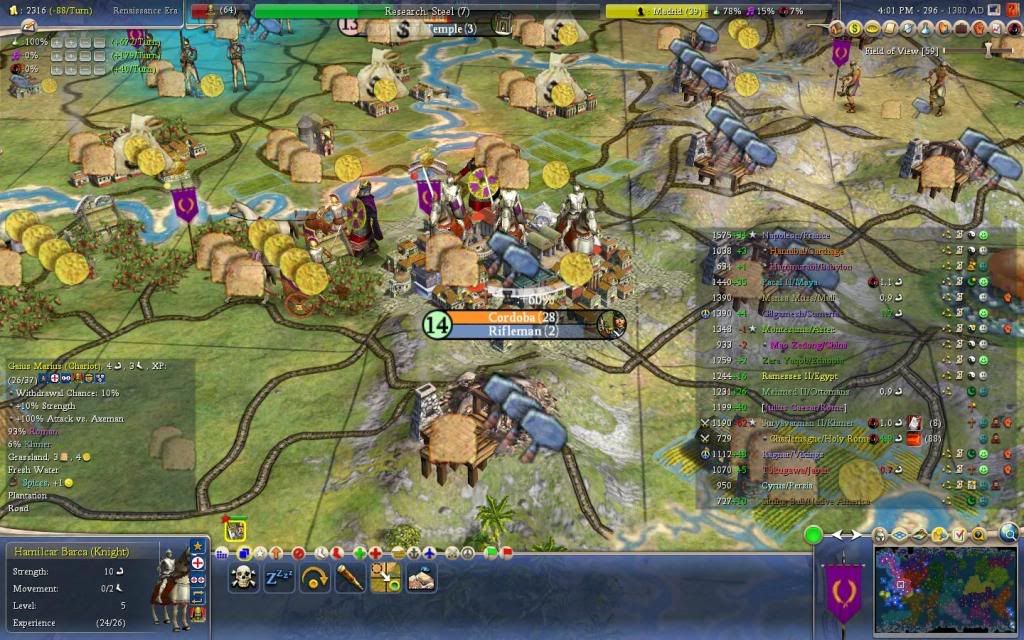
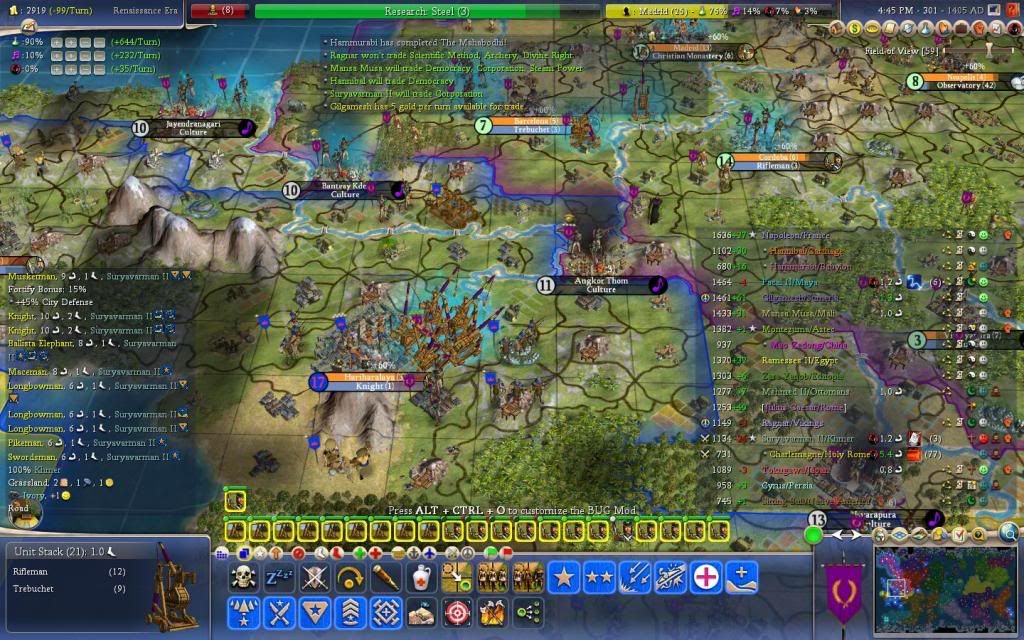
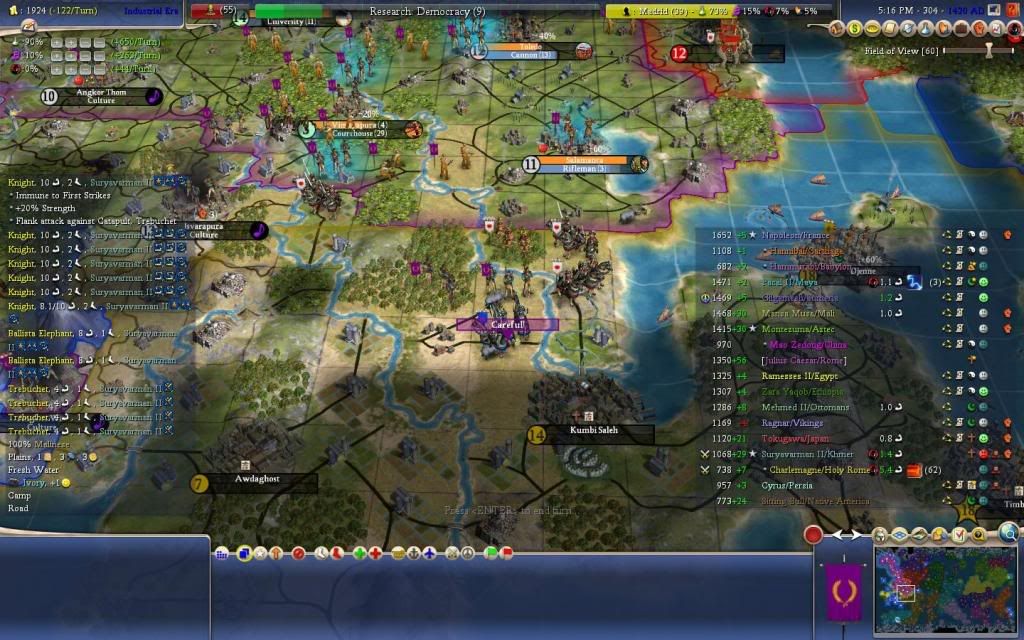
The assault on Hariharalaya was probably the one that Sury II offered the most resistance to me. You can see that by now the war was becoming a cakewalk for me. This is the power of riflemen and trebuchets, my favorite Renaissance combination of troops before the age of steel.
Tokugawa's mighty stack-of-doom was apparently attacked by some Malinese troops. And Tokugawa's not really retaliating. I was hoping that he could take a city or two from Mansa, but it just didn't happen. Also ... just three turns to Steel!
My scouts report: turn 7 of the war.
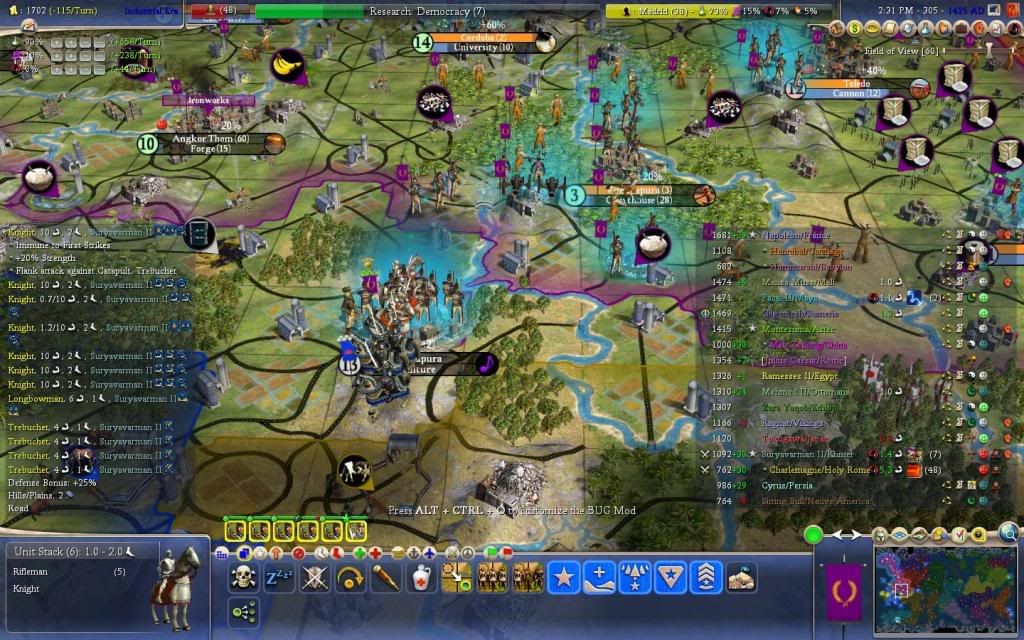
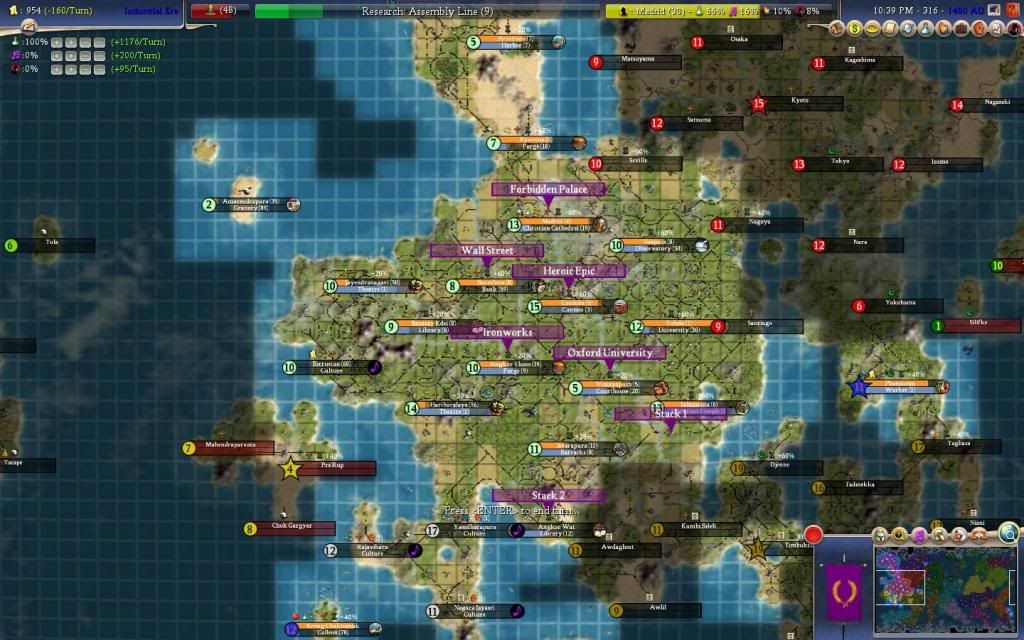
Of course, I knew Suryavarman II had to offer
some resistance. Here's what he provided. This was actually a smart move by the AI, since he was able to sneak his forces through Malinese territory and attack my lightly defended eastern cities which were already suffering from being over-drafted. I marked the stack with a "careful!" sign.
So would they cause trouble to me?
TO BE CONTINUED ... in
The Battle to Revive - A Fight to Rid the Alien! (Part II) - Restoring Roman Dominance.
Coming soon...
---------------
Any comments?


") This is going to be very nice. Tech path after democracy is towards assembly line?
This is going to be very nice. Tech path after democracy is towards assembly line?