Gray Wolf
Winter Wolf
Note: A PDF file of this tutorial is attached below.
OK, this is my latest version of my City Files tutorial. Hopefully it will do a good job explaining how to create city files
with multiple layers in GIMP and use them in the game.
1. City File Basics
The game uses city files to draw cities on the map for civilizations. The type of city file that it uses is based on the culture group of the civilization. So the American, Asian, European, Mediterranean, and Middle Eastern culture groups all have their own unique city graphics.
1.1 City Files
Each culture group uses its own unique city file:
American: rAMER.pcx
Asian: rASIAN.pcx
European: rEURO.pcx
Mediterranean: rROMAN.pcx
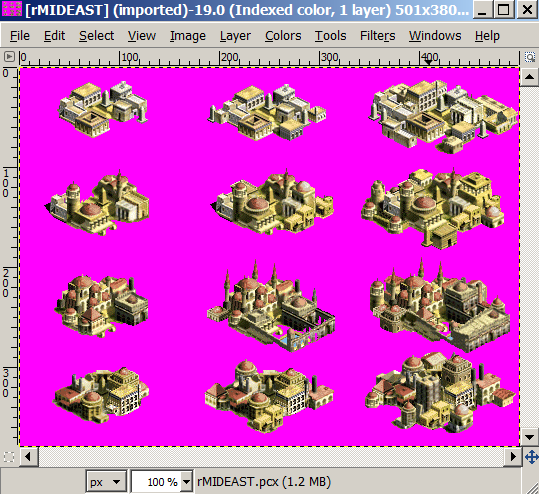
Middle Eastern: rMIDEAST.pcx
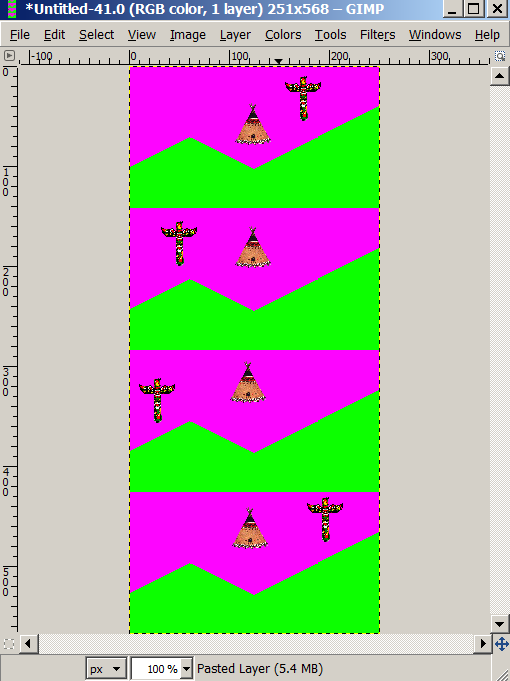
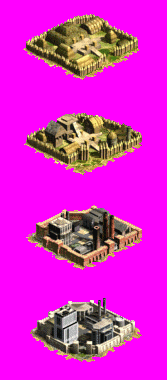
So here is an image of the rAmer.pcx file that comes with the Conquests game:

It has 4 rows and 3 columns.
The rows are for each ERA: Ancient, Medieval, Industrial, and Modern
The columns are for city sizes: City Size 1, Size 2, and Size 3
Example: So whenever a civilization in the American culture group builds a Size 2 city in Medieval times, it would build the city in row 2, column 2.
1.2 Walled City Files
Each culture group uses its own unique walled city file:
American: AMERWALL.pcx
Asian: ASIAWALL.pcx
European: EUROWALL.pcx
Mediterranean: ROMANWALL.pcx
Middle Eastern: MIDEASTWALL.pcx
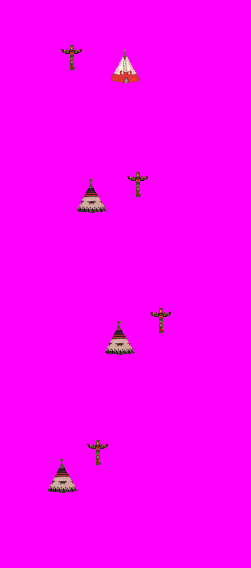
Example Here is an image of the default AMERWALL.pcx file that comes with Conquests:
So, the game will use this file to build any city with walls for civilizations in the American culture group.
Each row is for each ERA: Ancient, Medieval, Industrial, and Modern.
So if the American civilization is building a walled city in Industrial times, the game will use the graphics in the third row.
Note: I understand that most people know all this already but I thought this needed to be here in case someone doesn't understand how the game uses the files...
1.3 Location of Files
You can find the city file images in the Art/Cities folder at this path:
C:\Program Files (x86)\2K Games\Civilzation III Complete\Art\Cities
If you want your own custom city file(s), you will need to create a folder
in your scenario called 'Cities' and put your custom file(s) there.
One of my mods is called LK (for Lions and Kings) so my cities folder is at:
C:\Program Files (x86)\2K Games\Civilzation III Complete\Conquests\Scenarios\LK\Art\Cities.
2. How to Create City Files
Let's say we want to create different cities for the American culture group.
We'd need to change the rAmer.pcx file. So I'll use that as an example here.
2.1 Open up a City Template in GIMP.
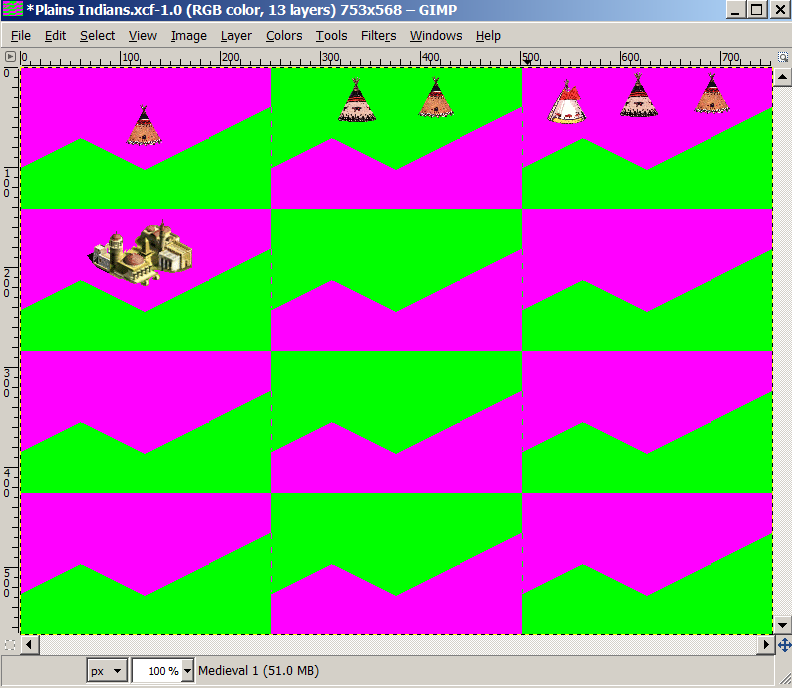
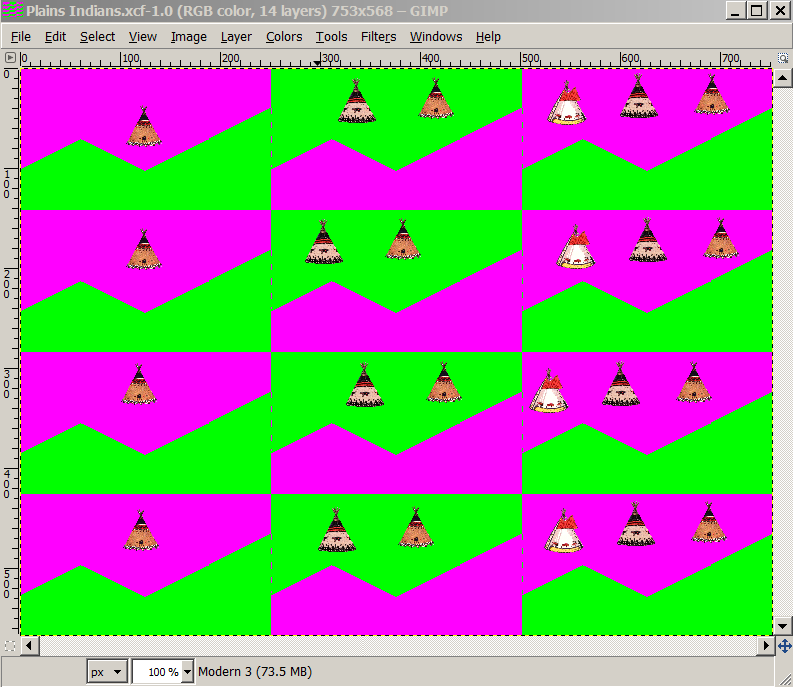
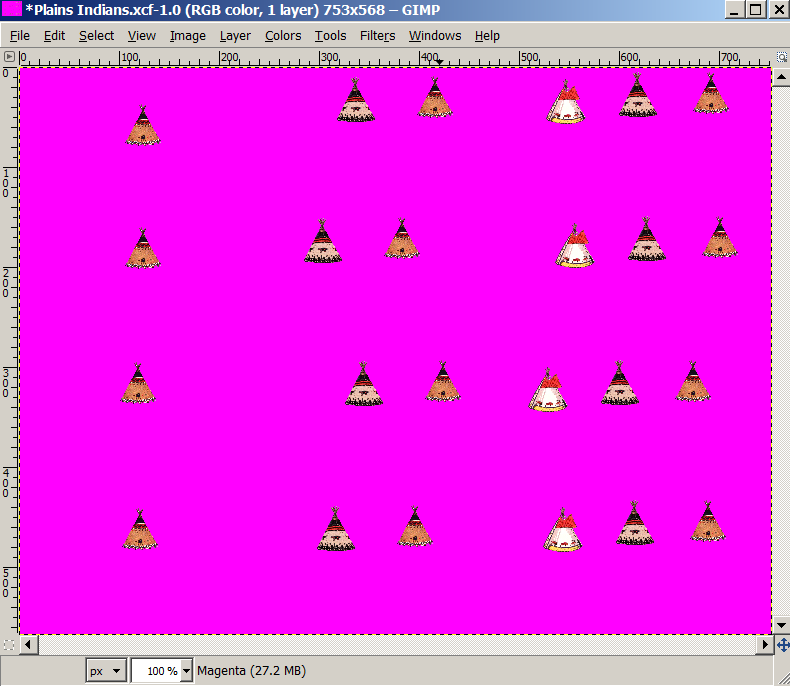
I attached a file called City Template.xcf that we will use to create a new rAmer.pcx file.
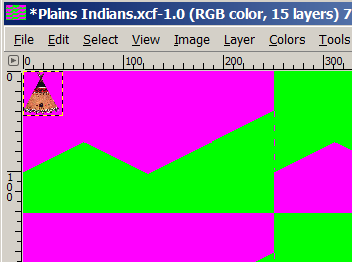
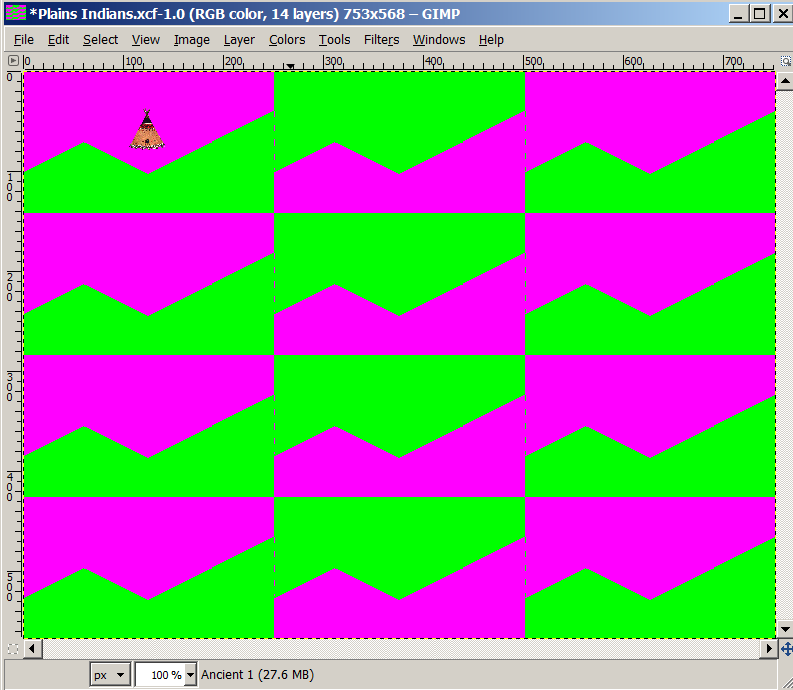
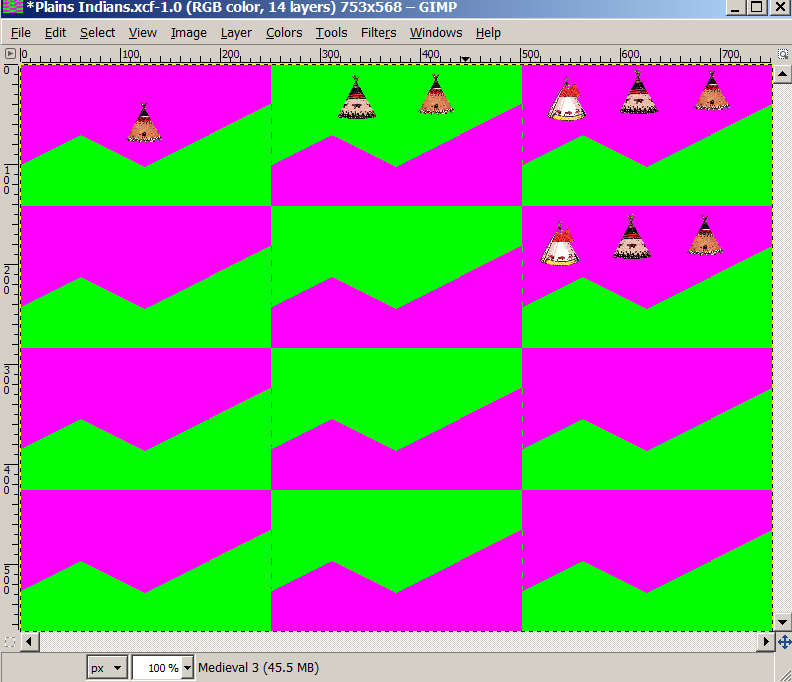
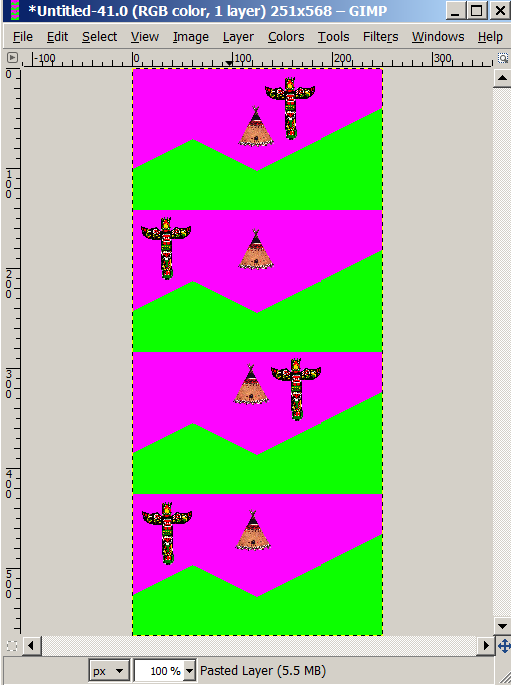
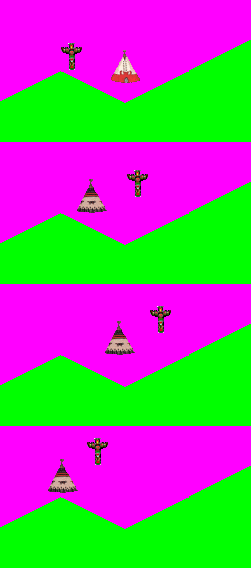
This file is based on Pounder's Large City Template found here which is 753 W x 568 H.
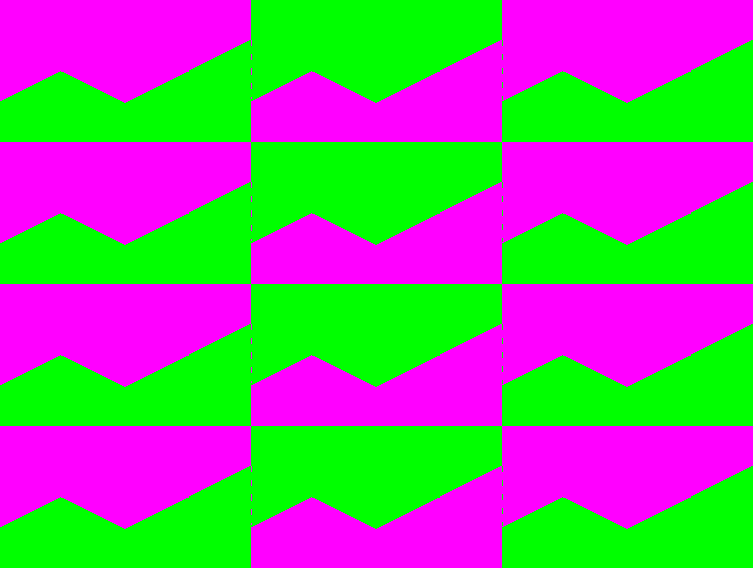
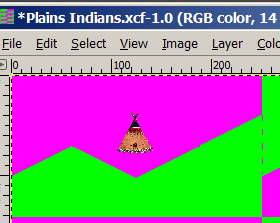
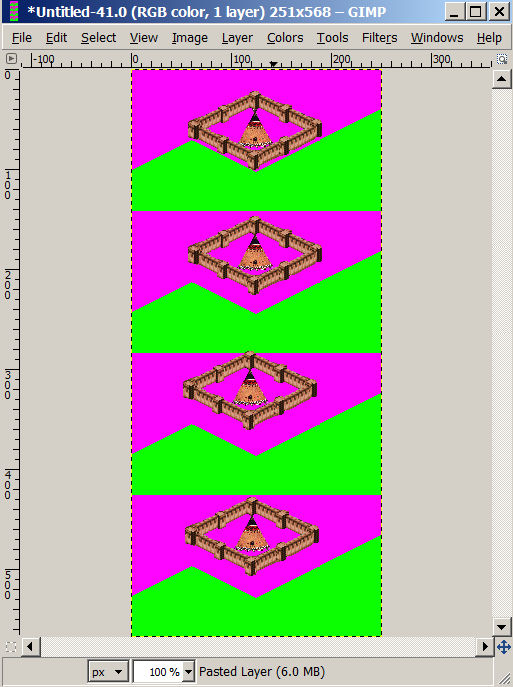
The top section of each square (magenta) is the place where you can safely put city images. If you put city images in the bottom section of the square (green), then irrigation and terrain will overlay your city graphics.
The second column is different. It has green at the top and magenta at the bottom. The same principal applies.
You need to put all your city images on the top section.
Anyway, I basically took Pounder's template and added layers to it, one for each City and Era.
You can download it below in the attached zip file and I'll explain how to use it...
2.2. How to View The Layers of the City Template.xcf file
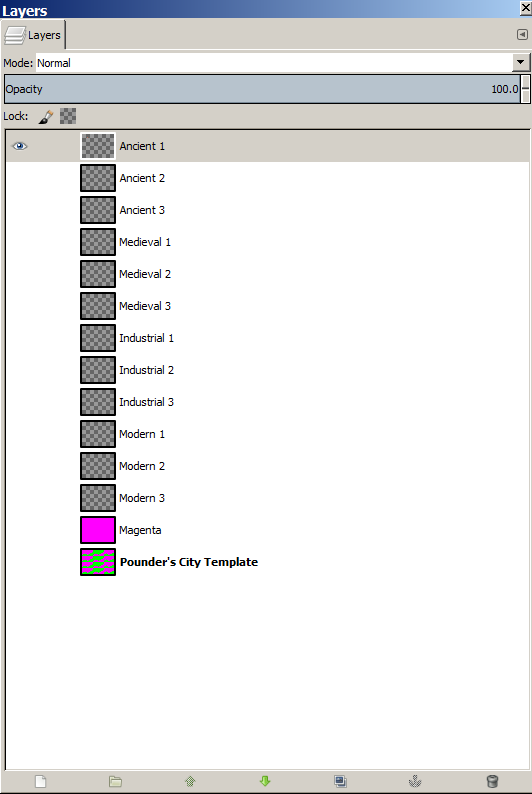
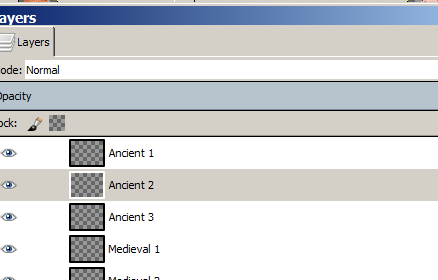
With the City Template.xcf file open, go to Windows/Dockable Dialogs/Layers (or Press CTRL-L for short)
You should see something like this:
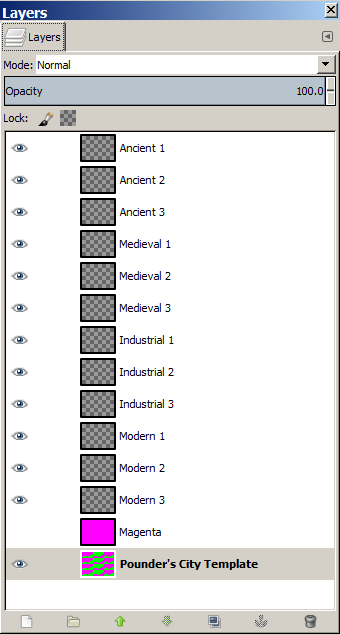
There are 14 layers. Pounders Large City Template is the base layer. I added a Magenta layer which is an optional layer that you may want to use. (I'll explain more about that later). And then the other 12 layers are for each Era and City Size.
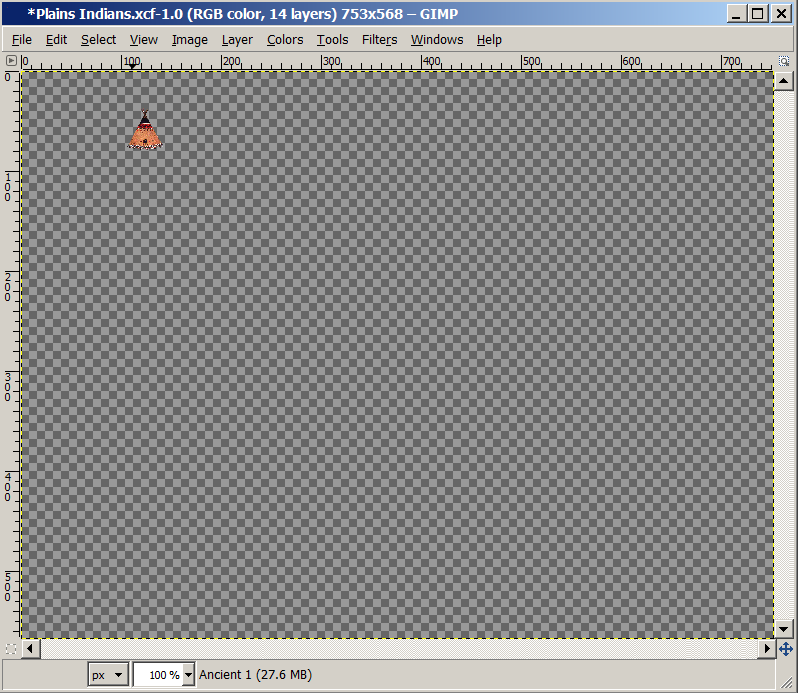
Example: So if we want to create an Industrial, Size 2 City, we would use the layer called Industrial 2.
Or, if we need to create an Ancient, Size 1 City, we would use the layer called Ancient 1.
2.3 How to Create Your Own Layers
Windows/Dockable Dialogs/Layers (or CNTL L for short)
Right Click and choose New Layer
Give the Layer a Name
Layer Fill Type: Transparency
Click OK
Note: For this tutorial you won't need to create any of your own layers.
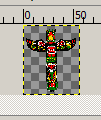
2.4 How to move layers
If you want to move layers, just use your mouse to move layers up and down in the layer box
to wherever you want to put them.
Note: I always keep the base layer on the bottom.
Well, so far so good on the new version of the tutorial! I should probably just stop here. LOL.")
OK, this is my latest version of my City Files tutorial. Hopefully it will do a good job explaining how to create city files
with multiple layers in GIMP and use them in the game.
1. City File Basics
The game uses city files to draw cities on the map for civilizations. The type of city file that it uses is based on the culture group of the civilization. So the American, Asian, European, Mediterranean, and Middle Eastern culture groups all have their own unique city graphics.
1.1 City Files
Each culture group uses its own unique city file:
American: rAMER.pcx
Asian: rASIAN.pcx
European: rEURO.pcx
Mediterranean: rROMAN.pcx
Middle Eastern: rMIDEAST.pcx
So here is an image of the rAmer.pcx file that comes with the Conquests game:
Spoiler :
It has 4 rows and 3 columns.
The rows are for each ERA: Ancient, Medieval, Industrial, and Modern
The columns are for city sizes: City Size 1, Size 2, and Size 3
Example: So whenever a civilization in the American culture group builds a Size 2 city in Medieval times, it would build the city in row 2, column 2.
1.2 Walled City Files
Each culture group uses its own unique walled city file:
American: AMERWALL.pcx
Asian: ASIAWALL.pcx
European: EUROWALL.pcx
Mediterranean: ROMANWALL.pcx
Middle Eastern: MIDEASTWALL.pcx
Example Here is an image of the default AMERWALL.pcx file that comes with Conquests:
Spoiler :
So, the game will use this file to build any city with walls for civilizations in the American culture group.
Each row is for each ERA: Ancient, Medieval, Industrial, and Modern.
So if the American civilization is building a walled city in Industrial times, the game will use the graphics in the third row.
Note: I understand that most people know all this already but I thought this needed to be here in case someone doesn't understand how the game uses the files...
1.3 Location of Files
You can find the city file images in the Art/Cities folder at this path:
C:\Program Files (x86)\2K Games\Civilzation III Complete\Art\Cities
If you want your own custom city file(s), you will need to create a folder
in your scenario called 'Cities' and put your custom file(s) there.
One of my mods is called LK (for Lions and Kings) so my cities folder is at:
C:\Program Files (x86)\2K Games\Civilzation III Complete\Conquests\Scenarios\LK\Art\Cities.
2. How to Create City Files
Let's say we want to create different cities for the American culture group.
We'd need to change the rAmer.pcx file. So I'll use that as an example here.
2.1 Open up a City Template in GIMP.
I attached a file called City Template.xcf that we will use to create a new rAmer.pcx file.
This file is based on Pounder's Large City Template found here which is 753 W x 568 H.
Spoiler :
The top section of each square (magenta) is the place where you can safely put city images. If you put city images in the bottom section of the square (green), then irrigation and terrain will overlay your city graphics.
The second column is different. It has green at the top and magenta at the bottom. The same principal applies.
You need to put all your city images on the top section.
Anyway, I basically took Pounder's template and added layers to it, one for each City and Era.
You can download it below in the attached zip file and I'll explain how to use it...
2.2. How to View The Layers of the City Template.xcf file
With the City Template.xcf file open, go to Windows/Dockable Dialogs/Layers (or Press CTRL-L for short)
You should see something like this:
Spoiler :
There are 14 layers. Pounders Large City Template is the base layer. I added a Magenta layer which is an optional layer that you may want to use. (I'll explain more about that later). And then the other 12 layers are for each Era and City Size.
Example: So if we want to create an Industrial, Size 2 City, we would use the layer called Industrial 2.
Or, if we need to create an Ancient, Size 1 City, we would use the layer called Ancient 1.
2.3 How to Create Your Own Layers
Windows/Dockable Dialogs/Layers (or CNTL L for short)
Right Click and choose New Layer
Give the Layer a Name
Layer Fill Type: Transparency
Click OK
Note: For this tutorial you won't need to create any of your own layers.
2.4 How to move layers
If you want to move layers, just use your mouse to move layers up and down in the layer box
to wherever you want to put them.
Note: I always keep the base layer on the bottom.
Well, so far so good on the new version of the tutorial! I should probably just stop here. LOL.