Next step is to prepare files for Flicster. FLICster1.0.0.17_FullSetup needs a patch FLICster1.0.0.18 to work correctly, otherwise will freeze during export or animation view. Files in attachment.
Open Flicster, press New and start creating flc files. Most of the setting you see here can be left default. You need to change frame size 16x16 to 180x180. That's the size of each render frame, this is set in blend file attached above. Use this size for all your flc files, attack, default, death, fortify, run, victory.
Next is frame count (default 1 )- this is set in Blender too, number of frames each animation have. Most of my foot units have number of frames as follows: attack 15, default 15, death 22, fortify 10, run 10, victory 15.
Next parameter you need to think of is Base file name which is self explanatory, you need to name each files as before attack, default, death, fortify, run, victory.
/Edit/ The last parameter you might think of is Default Delay (80ms). I use default setting for all flc animations 80ms except default animation where I use 125ms. The other creators had this different, so you can experiment here a little yourself.
When you finish this, each file can be exported as pcx image and saved in your unit folder. You will see there empty storyboards which later replaced with storyboards you created earlier from Blender rendered frames. You will also have flc empty files with the same names as pcx files.
In attachment I added mine empty storyboards (pcx) plus flicser files set for export(template). Feel free to open it but only press File Information and Export. All other button will crash Flicster at this stage.

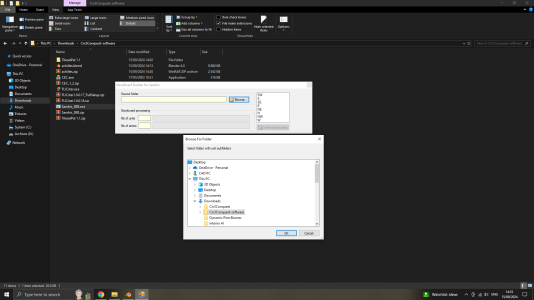
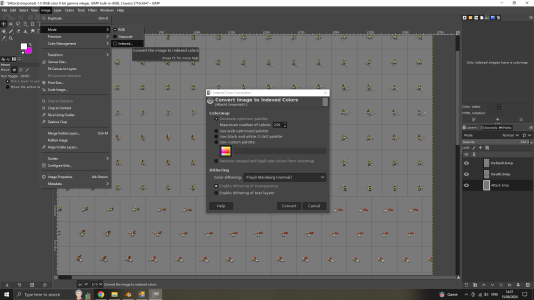
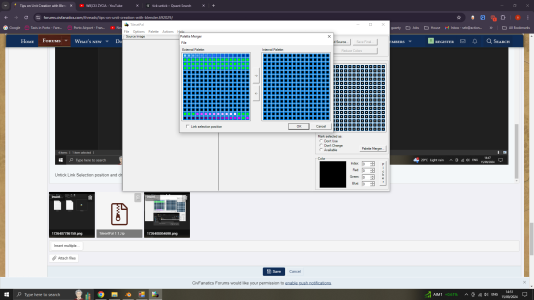
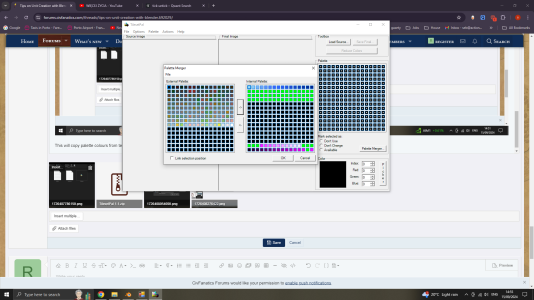
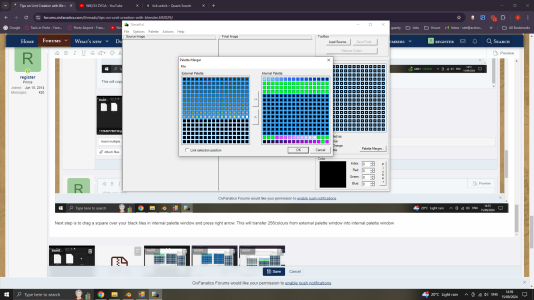
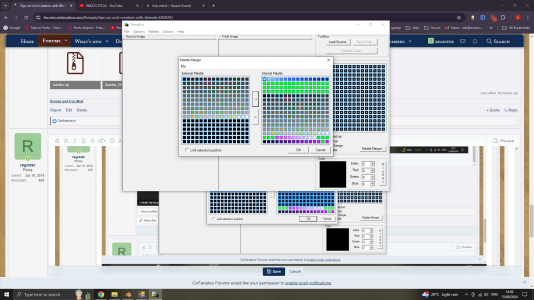
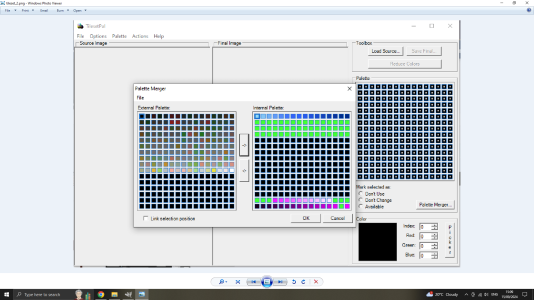
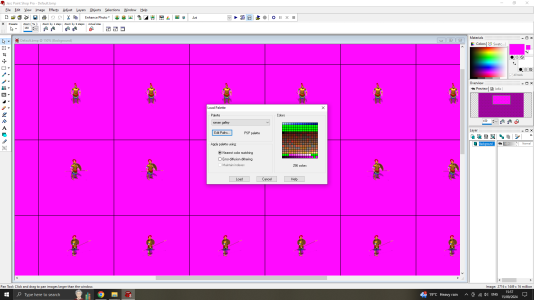
 . If everything you have done until now was correct, then open the Flicster - File>Open> browse of an empty flc file you created earlier, default for instance, and if you saved your storbyoard with applied palette over default.pcx now in Flicster you should see your unit.