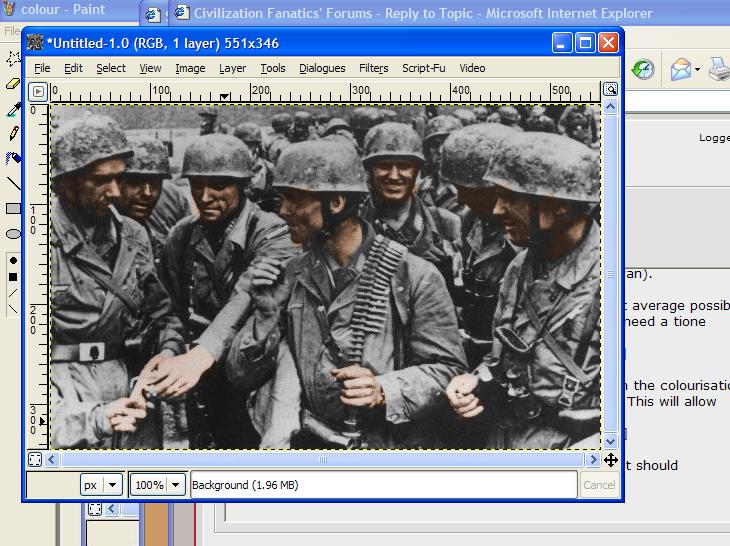
First, you must find a black and white photo. It should be fairly clear and of good quality. That is, it should be more or less clear, with not too many dark or light spots, and be of quite high resolution.
For this, I will use this photo from WWII.
The main idea of this is
trial and error. You will find that some colours will be too bright, too dark, or some photos are jsut plain unusable. Don't be afraid to use the undo button.
This will be the target photo (thanks to PrivateHudson)
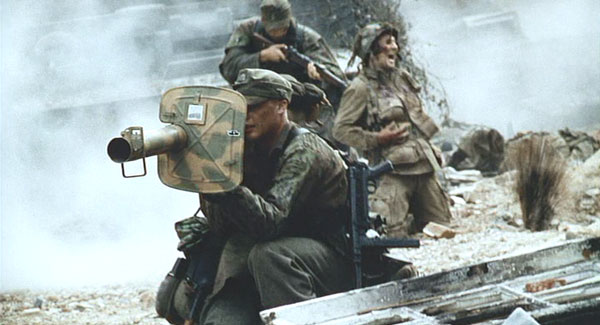
Then, you need to find "source photos".
Try to have a broad range of colours for this. You need generally skin tones, and other colours you will need in the process.
Let's have this as my source picture.
(Having a source picture related to the subject is useful, as it leaves the right range of tones. Here is a scene from Saving Private Ryan).
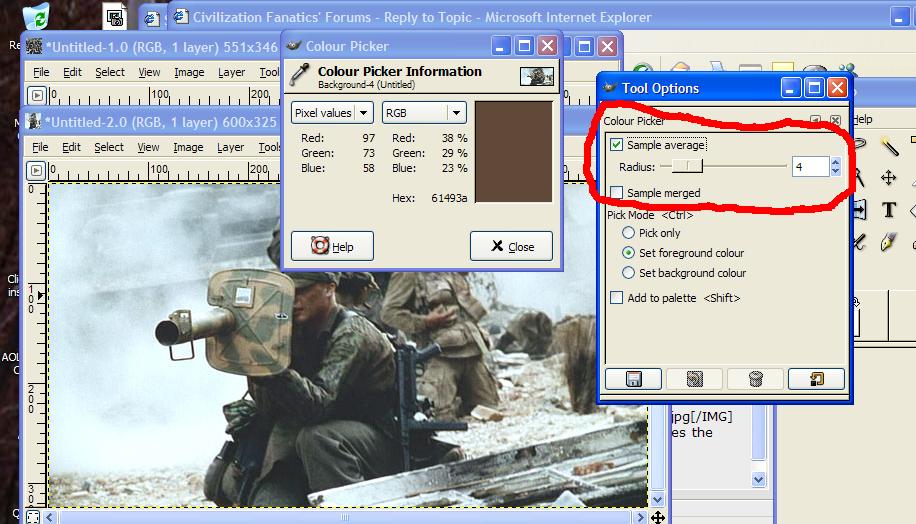
Next, use the "colour picker" option. Try to have the largest average possible (As circled on the picture). You will find that you will often need a tione darker than you want.
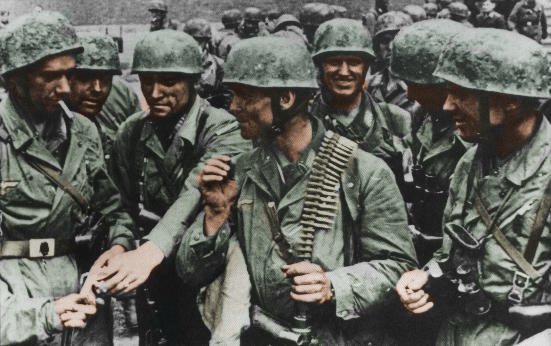
Then, once you have the colour you want, you can start on the colourisation.
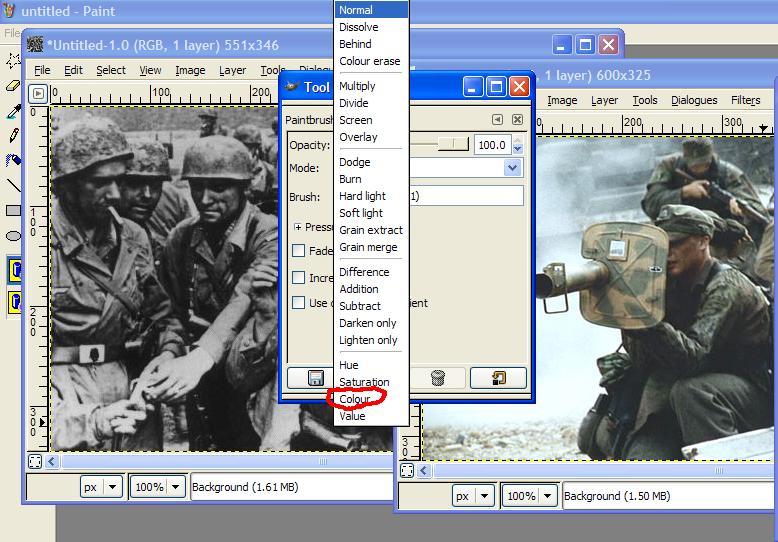
Use the "brush" tool, and on the options, select "colourise". This will allow you to obtain the effect.
Now paint over the area to be coloured in that colour, and it should atomatically adjust to the grey, black and white hues.
The best bit is, you don't even have to be neat. Over shoot into the black? No problem, the black wwon't be copied over.
Overshoot into another colour? No problem, just paint it over later.
I'll have the finished product up in a jiffy, so keep tuned in, folks!
") Im curious too to know how you do it
Im curious too to know how you do it 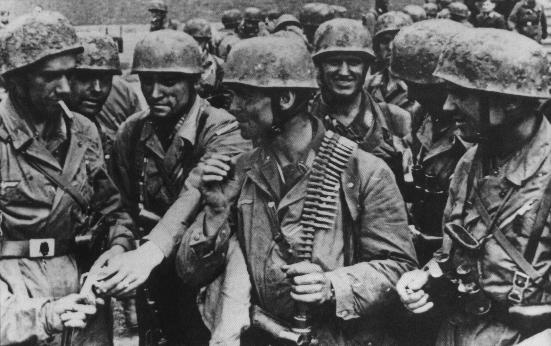


")

