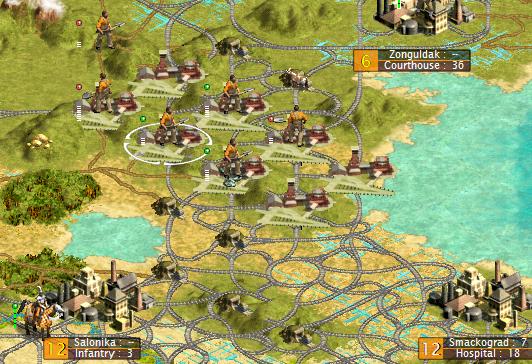
1455 AD: Persia has declared war on me after I made my justified demand that he move his devastating THREE infantry from my sovereign territory. But then, hey, the Arabs and Zulus got spanked for a lot less....
The minute I declared war, my GPT dropped from +140 to -34. OOPS! Forgot Persia was paying me in GPT for Combustion. Oh well, the contract only had five turns left anyway.
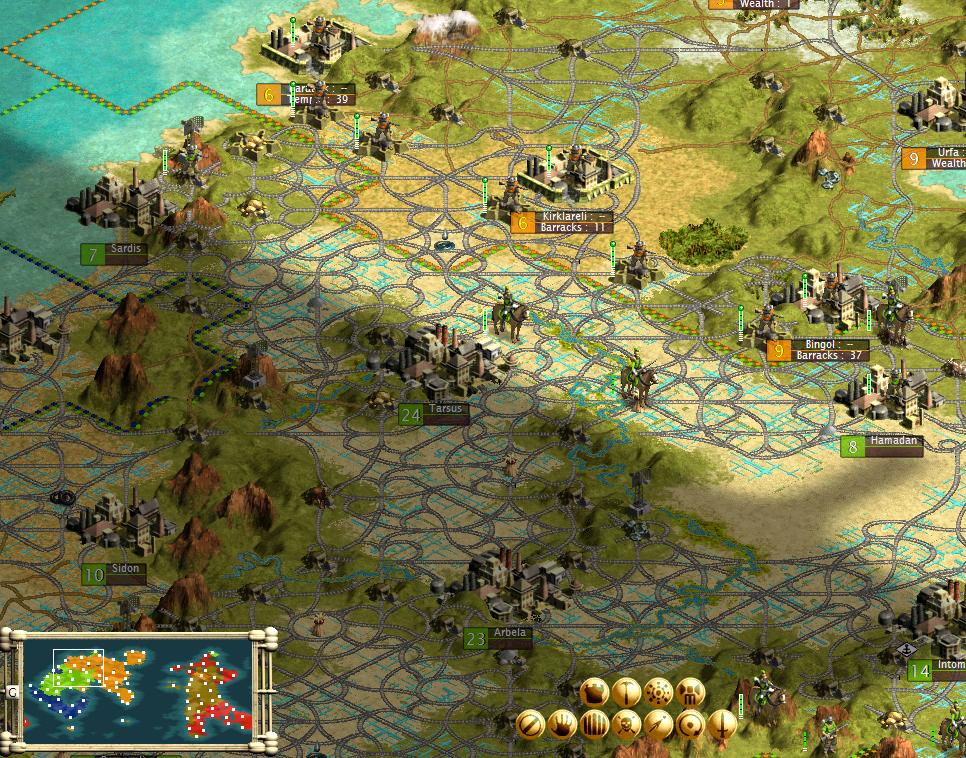
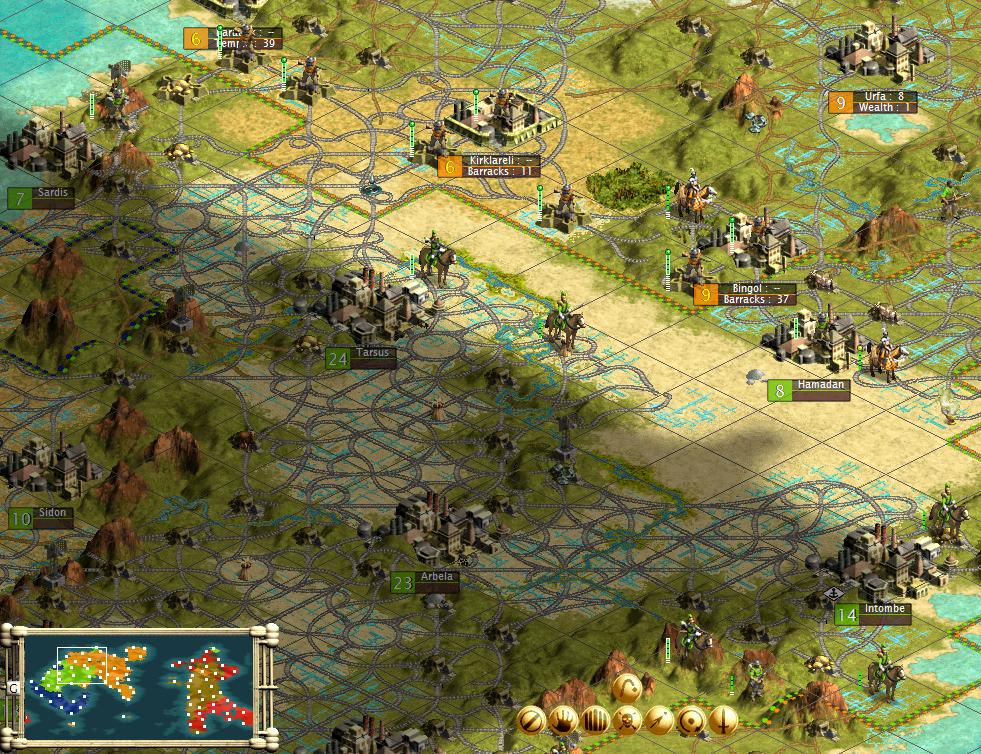
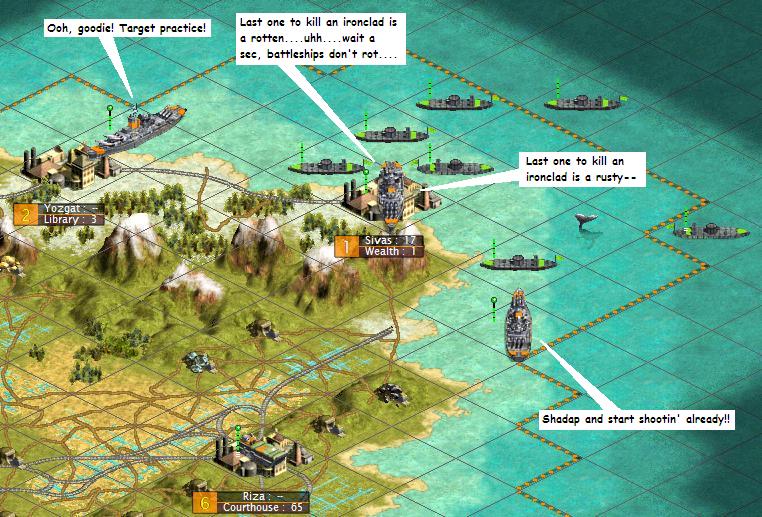
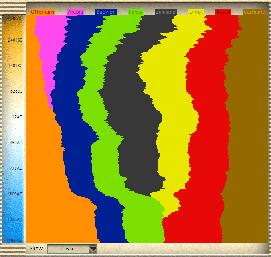
The theater of battle. Northwest section of the border:
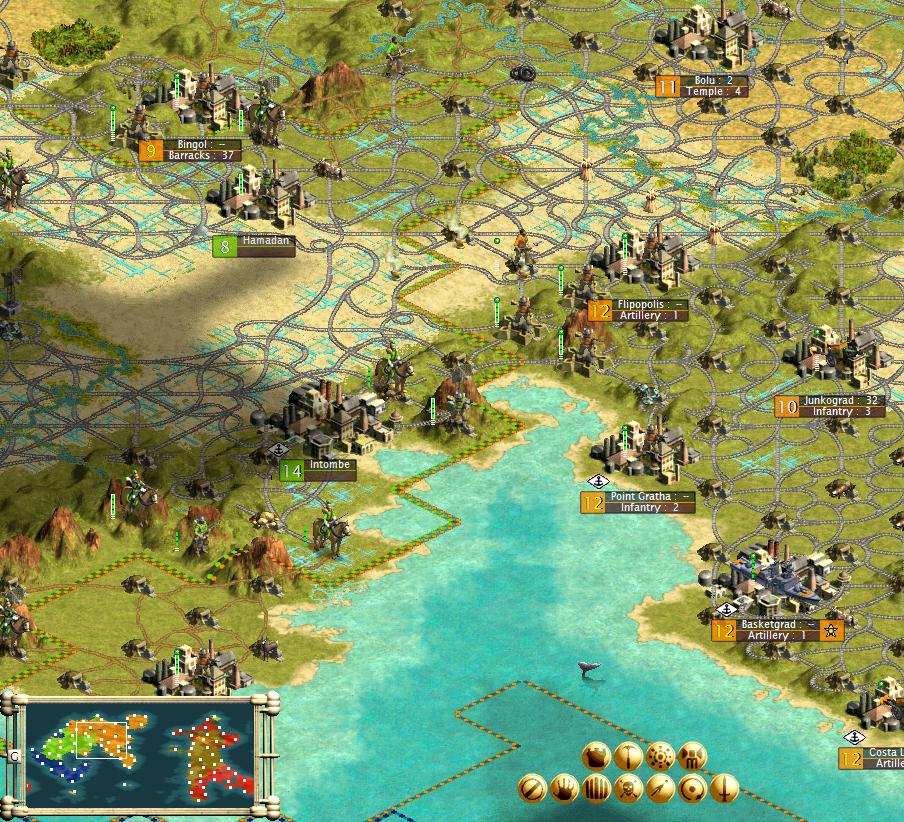
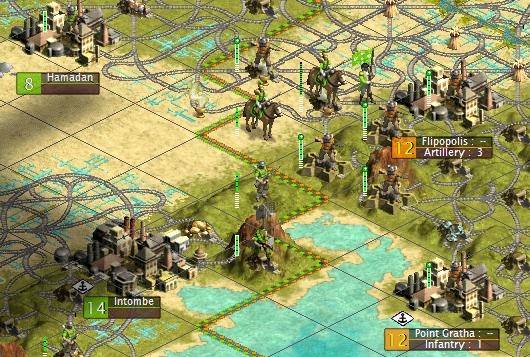
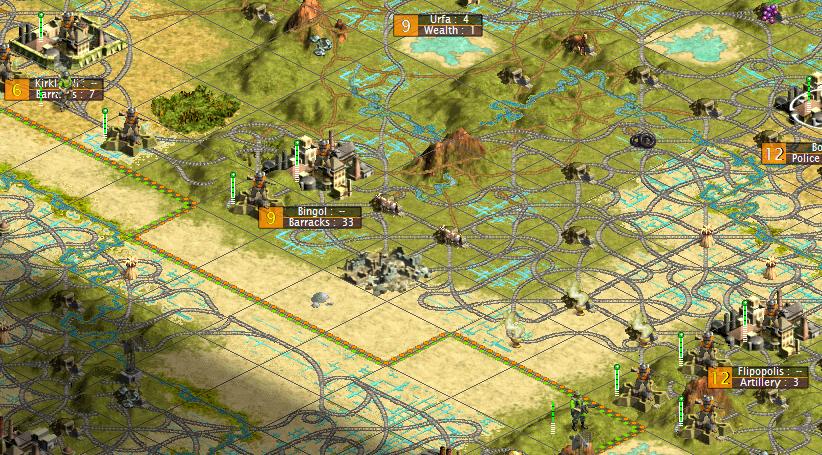
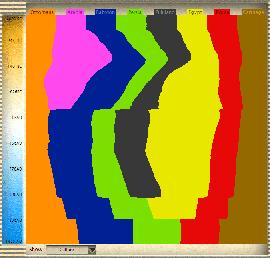
And the southeast half, near Flipopolis:
Step 1 is to gather up all my Sipahis behind the front line. I stick them all in a pile on the railroad. I've got 19 of them. Now, here's why I kept them around:
I grab two Sipahis and move them both across the border onto a flat ground tile with a Persian railroad on it. That takes one move point. Then both Sipahis pillage the square; it takes two pillages to eliminate the railroad and then the road. Then the two Sipahis use their last move point to retreat into an Ottoman fort on my side of the border.
So basically, my Sipahis leap into enemy territory, cut nearly all the roads on the Persian side, and retreat to safety before Persia can even blink.

Once my Sipahis have done this to all the tiles they can reach, my artillery stack moves around and bombs the other tiles on the border, including the hill tiles. End result:
Persia's offensive units will now have to use almost their entire move just getting into my territory, they won't be able to get deeper in than one square, and they will be subject to immediate counterattack when it's my turn. Persian tanks will be cannon fodder at the border once they start showing up.
Next thing to do is clear out that Persian pimple on the pristine prairies of my parish. Persia has three cavalry camped on the border. They're bombed to redline by artillery, and then killed. Next, the city's defenders are shelled to redline--that takes a lot of work--and four Sipahis are able to attack and destroy the city immediately. Acheron (named after the mythological river to Hell) is founded in its place.
The three Persian infantry still in that area are three tiles away from the nearest Ottoman city; they're ignored for now.
Next target: Hamadan. I need to get rid of that big Persian spike through the heart of Ottoman territory. I move my artillery there and start shelling the city, but don't hit much.
All right, time to get my troops dug in and see if Xerxes has any stones.
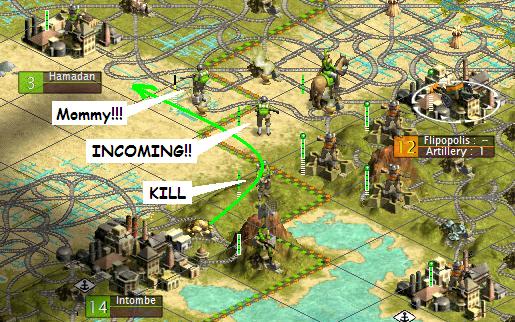
In between turns, I discover Persia actually does have a LOT of stones. At least, troops that are about as smart as stones. His main thrust is directed a Flipopolis:
The Persian counterattack consists of fifteen infantry divisions and eighteen cavalry divisions--four of those in an Army. These units don't attack anything. The cavalry units simply rush past the forts to position for an attack on Flipopolis next turn. Only fourteen cavalry (including the army) get that far; the other four are left one tile short. None of these Persian scum are going to reach the gates of the city.
A second Persian army appears out of thin air and attacks Point Blanke. The city has four fortified Ottoman infantry defending it; one is killed. The Persian army attacks again--and dies. Tough luck, fellas.
Then Persia delivers a genuine surprise--their third army (my spy reported three) appears at, of all places, SUICIDOGRAD! Well, that was sure unexpected.
Unfortunately--for the Persians--Suicidograd is built on a hill, has city walls, and has two fortified infantry defending it. The Persian army is dropped to one hit point, and retreats without having inflicted so much as a scratch on the defending troops. No other Persian units attack Suicidograd this turn.
So, the first turn of the war was one of unanswered success for the Turks.
1470 AD: Persia finishes its turn, and the ball is back in my court. First thing I do is un-fortify one infantry at Suicidograd and use him to kill that Persian army. Risk is minimal. When Egypt was getting beat up, that army was the only Persian unit I spotted. I'm confident Suicidograd is safe. Just in case, I'll be airlifting some more infantry over next turn.
I sort my troops by rank (vet or elite) and health:
My artillery stack positions itself in Flipopolis and has a field day on the Persian cavalry--it's impossible to pull the trigger without hitting something. Nevertheless, amazingly, one gunner does manage to miss. He is demoted and assigned KP next turn. If he can't hit forty square miles' worth of enemy troops, maybe he should practice his aim on dinner plates with a ladle.
All 18 Persian cavalry are dropped to yellow or red health; the army is knocked down to two points. My elite Sipahis get exercised first. None pop any leaders. My veterans attack next. One is killed. When the smoke clears, the score for the day is Persians 1, Ottomans 18. Intel reports show Persia has exactly four cavalry divisions left.
The Persians evacuate their wounded troops near Flipopolis, moving them towards Hamadan and bringing in fresh troops from the south. It looks like a damn military parade: troops move in, get hammered by artillery, and continue past to Hamadan for medical attention. Unfortunately, the troops on that last step get obliterated by Ottoman cavalry before they can reach Hamadan. Come and get it! Step right up!
The Persian navy appears in the northeast, shelling the roads around the completely unimportant town of Sivas. All their shots miss.
1475 AD: The Persian Parade at Flipopolis is repeated: fresh troops get shelled, wounded troops at front of parade get killed. Up northeast at Sivas, the Ottoman navy tastes blood for the first time; the battleships Oppressor, Imperator, and Dominion plunge full-steam into battle, and their massive guns sink the smaller Persian ironclads without effort.
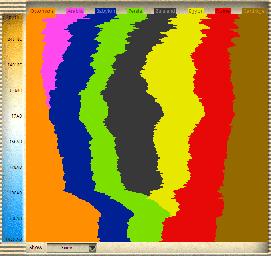
1480 AD: The ongoing shelling of Hamadan has levelled most of the city, and its defenders are finally reduced to red-line. Ottoman cavalry hit the city from the north and finish the job. The map changes dramatically.
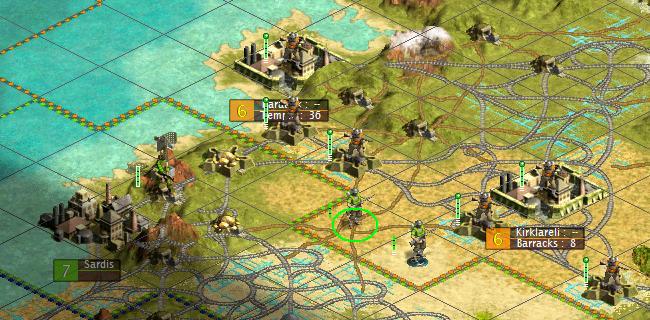
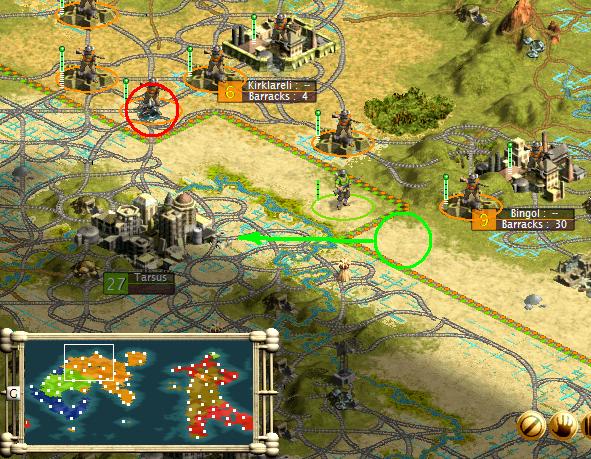
My second target will be Sardis; this will require some extra planning. Here's the situation:
As it stands, my troops will need two turns to reach Sardis. That means one turn during which the attacking troops will get pounded on the way to their target. The key tile I need to control is circled in green. The three Persian infantry in the area are cleared out the easy way; then workers are sent to rebuild the railroad on that tile, covered by infantry. During their work, Persian marines attempt to attack the workers. Three Ottoman infantry units are killed holding off the attack.
Once the road is back up, my artillery brigades take firing positions on the green circle. The radar tower northeast of the city needs to be dropped first. Two atillery shots and an elite Sipahi take care of that. Then, the other 41 artillery hit Sardis with everything they've got.
It's not enough; some of the city's defenders still have two hit points. This is going to need the best of the Turkish military. Seven elite Sipahi divisions attack. One is red-lined and retreats--and two others are killed. The other four elites each kill a defender, but there's still one left. Two veterans are needed to finish that one off, and Sardis is bulldozed. A Persian battleship caught in port at the time is captured and scuttled.
At Sivas, the damaged but still seaworthy Ottoman warships continue their savage assault on the inferior Persian navy, sinking three more ships. The battleship Dominion is red-lined, but finishes off its target and docks in Sivas for repairs. The Imperator and the Oppressor both promote.
It's a day of smashing victories for the Ottoman Empire!! The long march to victory continues. Oh, and one more thing--I'm now building tanks......

") I have only a few cities that can really benefit from commercial docks; those cities get started building them.
I have only a few cities that can really benefit from commercial docks; those cities get started building them.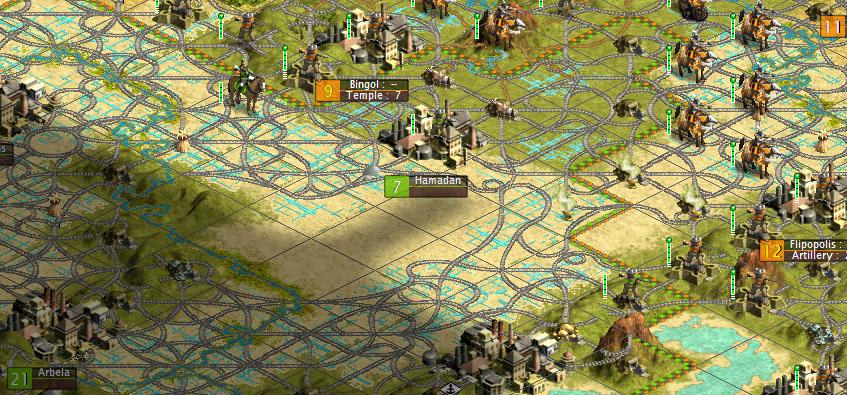


![[party]](/images/smilies/partytime.gif "Party [party]")
 Didn't really think about upgrading...heheh.