How to Create and Animate Units with Openfx, Step by step
BY: Polyphemus
How To Design and Animate a Unit With Openfx
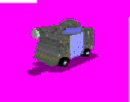
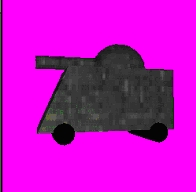
For this Tutorial I am going to use the Muffin Tank (previously created by Muffin, but modified by me).
Here is a pic of the tank:
You have to have FLICster, a 2D program that edits pcx files (I prefer Paint Shop Pro 8 which is what I will be using), Animation Shop (this program comes with PSP), Openfx, the attached camouflage color, and the blue color. Save them in Openfx>Maps>presets and [save it as Camo.gif and the blue one as blue.gif in Animation Shop]. Continue through all the optimizing prompts and then we shall continue. If all you want to do is Animate, then you dont need FLICster or a pcx-editing program. But if you want to import your animation into civilization then you will need all of the above to follow along with this tutorial. OK, all set. Now open the Designer. Go to Window>Show Open GL Shaded Viewer.
I APOLOGIZE IN ADVANCE IF SOME PICTURES DONT COME OUT RIGHT
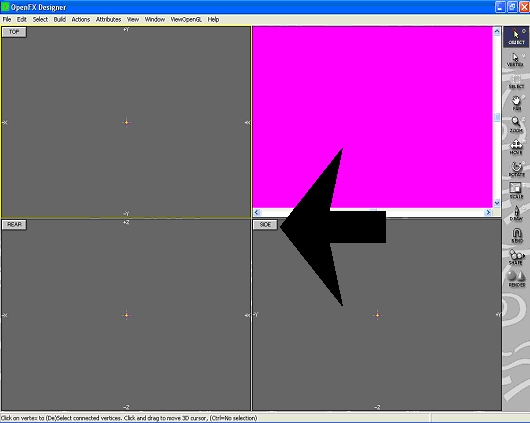
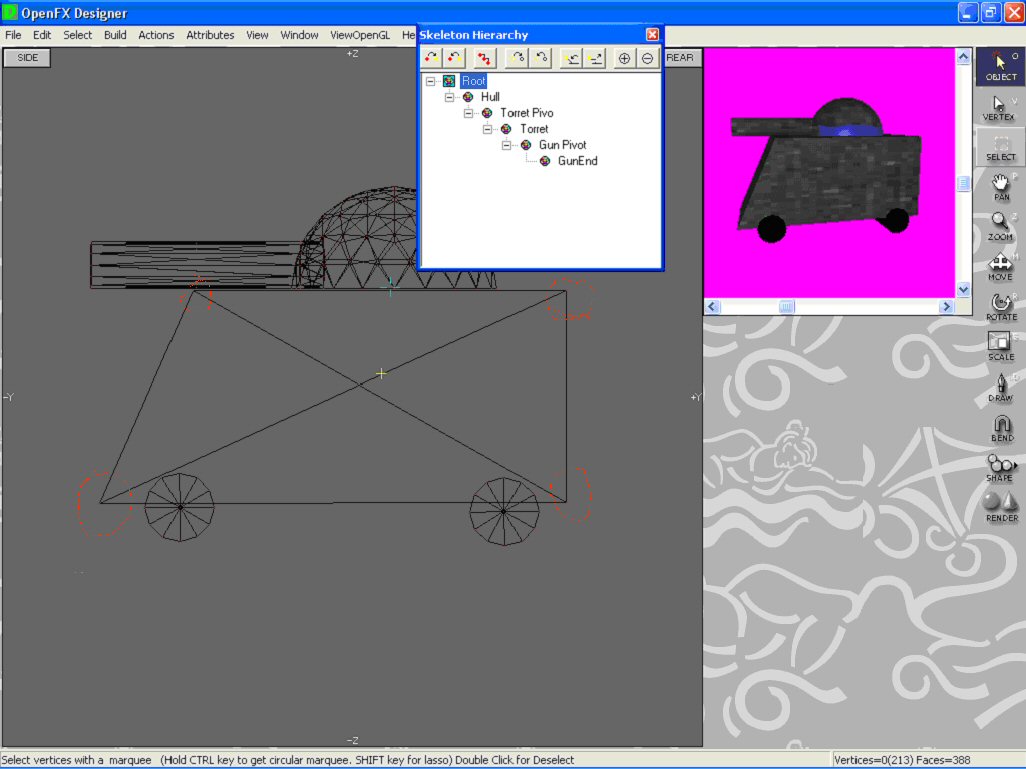
Then go to OpenGL>Preferences>Back Colour and choose Magenta. The viewer should then be displaying a Magenta background.
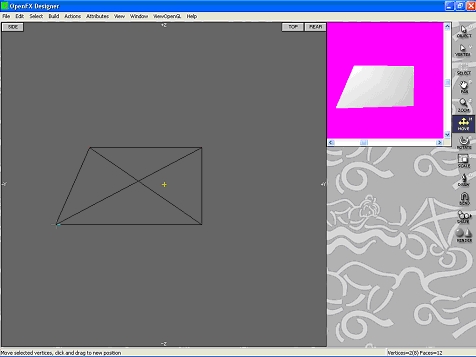
Next, go to shapes>Cube. Press ctrl+D to deselect all vertices. Now click the side button to view only the side.
Then, with the selector tool, select the two vertices on the left edge of the box.
With the move tool, move the two vertices to the left about half the cube in front of you.
Make sure that the box is straight. Press ctrl+A to select all of the vertices. With the scale tool, click the box and push the mouse up to make it a little smaller.
Then deselect by pressing ctrl+D and select only the bottom left vertices.
Then, with the move tool, move it to the left so it looks a little like this picture:
Once again make sure the tank is level by moving the vertices up or down.
Deselect and click in empty space. Now Insert a Sphere.
Make it smaller with the scale tool. See if it is the right size to lie on the tank by moving the GL viewer. Resize it so it looks like it is just the right size to fit on top of the tank. Then deselect all vertices. Then select only the bottom half of the sphere.
To make sure its selected, the vertices will turn yellow. The deselected ones are red. Now press Delete. Now only half of the Sphere is there.
Now select that half and drag it over the tank. Make sure it is close to the tank but not touching it. Use the scale tool if the picture is too big. Select all of the vertices (select>select all) to move as a whole or only select a part of the model to move as an individual part. When you think you got the sphere in the right location go to the top view. Re center or resize to fit on the tank. Then go back to the side view.
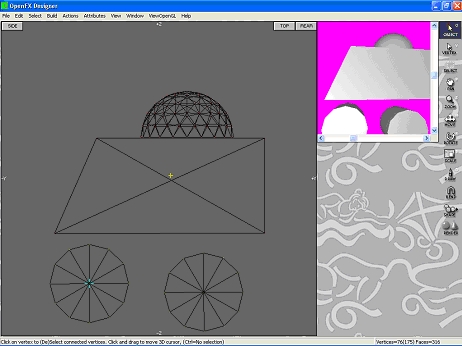
Deselect all and then click in empty space. Insert 1 cylinder, then click elsewhere and insert another.
Resize them with the scale tool to look like wheels.
Deselect all and then select one wheel. Set it about 2 inches under the tank and do the same with the other wheel.
With the vertices on both wheels selected go to the top view. If the model is off to the edge, use the pan tool to center it. Move the wheels off to the side so you dont interfere with the other images.
Deselect, and re select only the vertices on the right side of the wheels.
Move the vertices to the right. Deselect, and do the same to the left vertices but this time moving left.
Move the vertices until they are about an inch away from the left side of the tank.
Now deselect, and select all the vertices on wheels to right of the tank. Move them in until they almost touch the tank.
Deselect and do the same to the left side. Remember to keep the wheels straight.
Notice the yellow cross that is the center. So select the whole model and move it there. Then re center the model with the pan tool. Now switch back to the side view and select all the vertices on both wheels. Move the wheels up into the tank so it looks like the wheels are attached to it. Go to Materials>Default Materials and select the color palettes. Change both to white if they are not already then close the menu. Go to Attributes>Material Settings.
Click on the color palette and select black or dark gray. Then go to the textures tab and click the color palette. Select the same color you chose first. Then go to the Maps tab and select Set. Click new and then and then click drop and then close. Your model so far should look like this in the GL Viewer on the right corner of the screen.
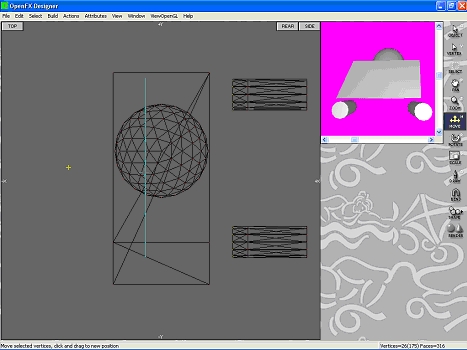
Now deselect all and click on an unused portion of the screen. Insert a Cylinder and re size it so that it is small enough, but no too small, to be where the tank shoots. Now go to top view and move it outside of the tank. Then rotate it to the left about 90 degrees using the Rotate tool. Deselect all, and select the front vertices of the recently worked on cylinder. Move those vertices about 4 inches towards the front of the tank.
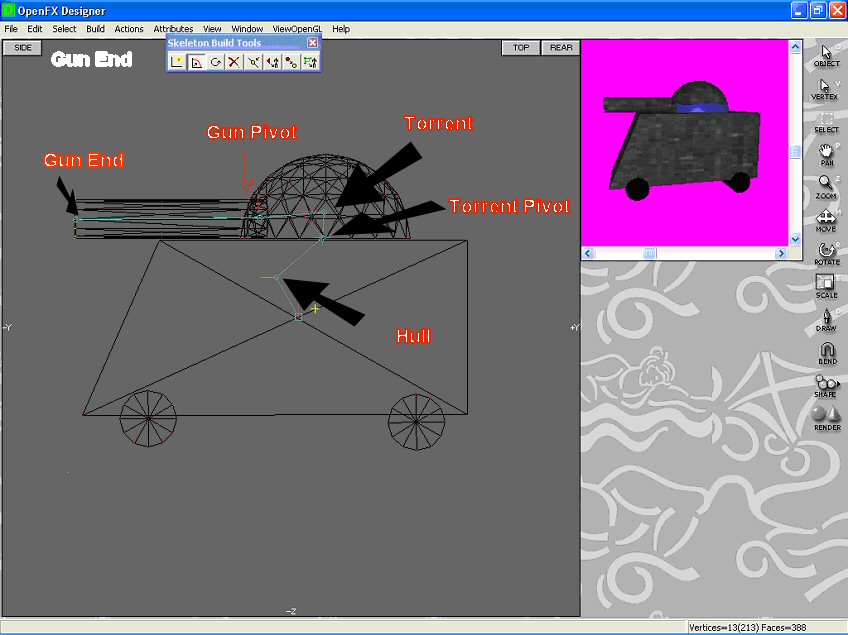
Now select the whole thing and move it towards the tank. Attach it to the Dome.
Now go to the side view and move the Gun and attach it to the Dome.
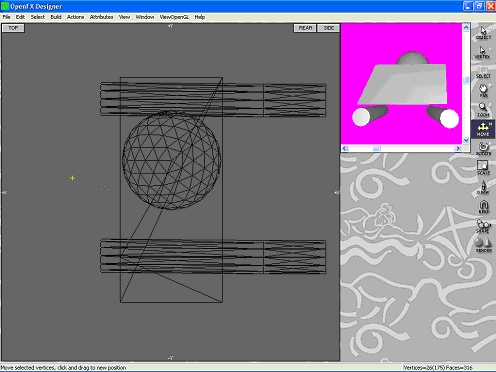
Make sure that the torrent is not touching the body of the tank itself. Next, select everything except the wheels. Make sure the vertices of the tank on the bottom are selected. Go to Attributes>Material Settings, click the Maps tab, click set, click new, click edit, check the surface box and find the Camouflage color, open it. Then close all the pop ups. Notice how the wheels changed colors. First deselect all, then reselect all the vertices for the wheels and then go to Attibutes>Material Setting. Click on the palette. Select the black color and. click On the Maps tab, click drop. Click done and the image immediately restores to black wheels. So far you image should look like this:
But that is not all. We are only 3/4ths done. Now deselect everything and select the bottom half of the dome.
Now go to Attributes>Material Settings and click on the color pallette. Put in these values (red/green/blue) 199/255/255. Add to custom colors, select that color, and click OK. Now go to the Maps tab and click set, click Drop. Close all popups. Now deselect all and select the vertices at the end of the gun.
Now change the color to black or any color you desire, bearing in mind that the more variety of colors you add to the model the more arduous it will become in making a palette, and then go to the Maps tab and drop the current map.
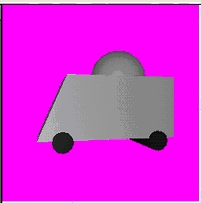
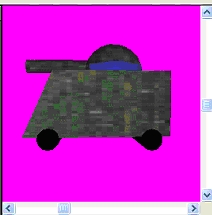
Your final product should look like this:
:Side View
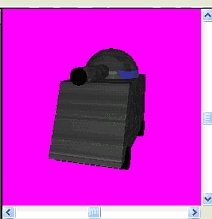
:Front view
 (but it lacks some pics)

 HELP!!!! I want to make a unit! PLEASE!!