robotlincoln
Chieftain
- Joined
- Sep 29, 2018
- Messages
- 54
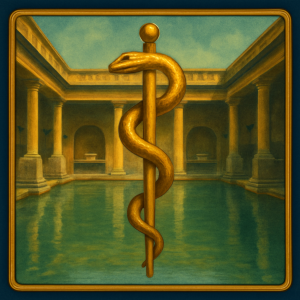
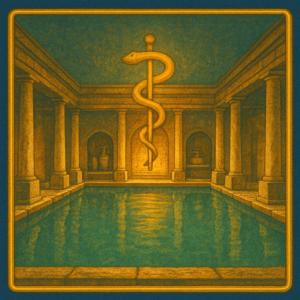
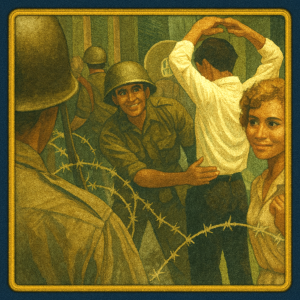
I've made some tech chooser icons with ChatGPT that I'm pretty happy with, and I'm using GIMP to convert the files to .pcx format, but the icons are showing up as black boxes when I try to use them. They have the right dimensions, but I don't know if there are other parameters that need to be met for them to be readable. Does anyone know a fix?
Attachments
-
 Advanced Fuels.png1.6 MB · Views: 3
 -
 Health v2.png1.8 MB · Views: 1
 -
 Health.png2.1 MB · Views: 2
 -
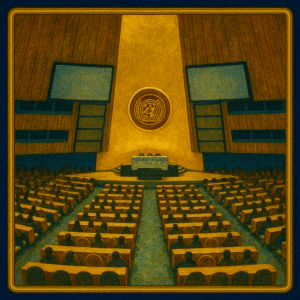 Internationalism.png1.9 MB · Views: 3
 -
 Military Training.png2.1 MB · Views: 3
 -
 Refrigeration.png2 MB · Views: 4
 -
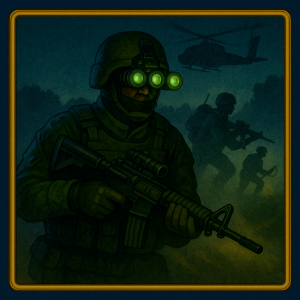 Special Operations.png1.9 MB · Views: 3
 -
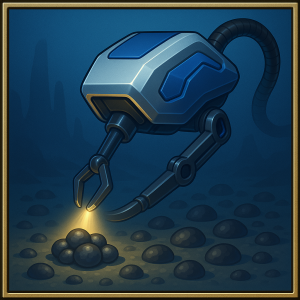 Subsea Extraction.png1.8 MB · Views: 2
 -
 Television.png1.7 MB · Views: 1
 -
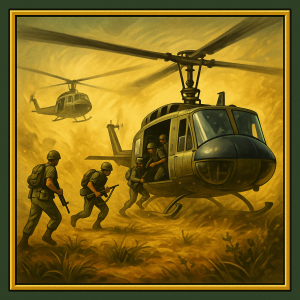
 Guerilla Warfare.png2.3 MB · Views: 2
 -
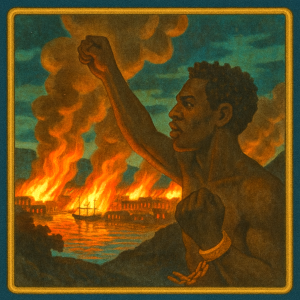 Emancipation.png2.1 MB · Views: 2
 -
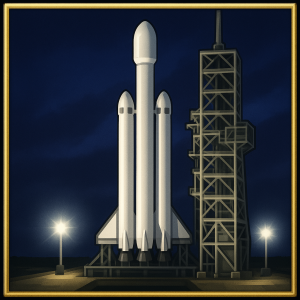 Advanced Spaceflight.png1.8 MB · Views: 1
 -
 Artificial Intelligence.png2 MB · Views: 2
 -
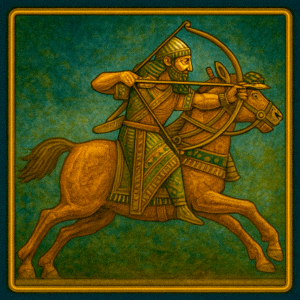 Cavalry Tactics.png2.1 MB · Views: 1
 -
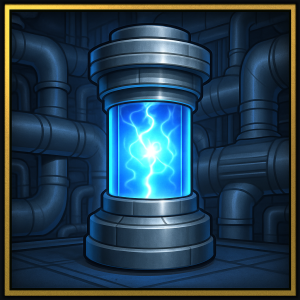 Cold Fusion.png1.6 MB · Views: 1
 -
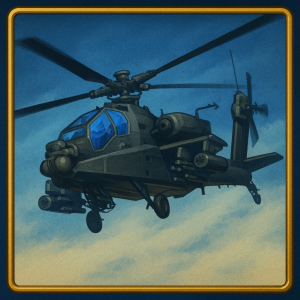 Combined Arms v2.png2.2 MB · Views: 1
 -
 Combined Arms.png2.3 MB · Views: 2
 -
 Democratic Republic.png2.2 MB · Views: 3
 -
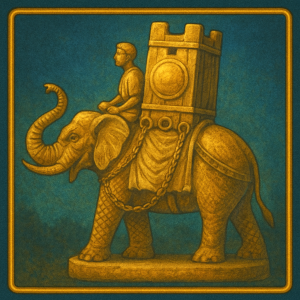 Elephantry.png2.1 MB · Views: 3
