FramedArchitect
Reluctant Modder
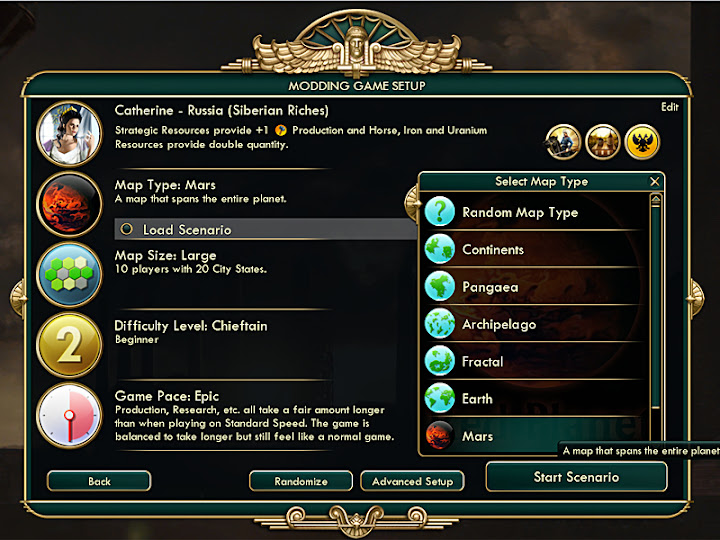
When you create a custom WorldBuilder map, it displays in the Setup Screen maps list with a ? Icon. This method allows you to replace the ? Icon with your own Custom Icon, which will help users quickly find your WB map.
First, load your WorldBuilder map into a Modbuddy project:
Next, add your map information to the database:
After building the project, navigate to Modding Game Setup, and you should see your new icon in the list. Note that this method accommodates WorldBuilder scenario maps, too.
See this project for reference.
Spoiler :
First, load your WorldBuilder map into a Modbuddy project:
- Project --> Add Existing Item --> YourMapName.Civ5Map
- Project --> Properties --> Content Tab --> Add --> Type (Map) --> Name & Description (Any) --> File (YourMapName.Civ5Map)
- Right-click YourMapName.Civ5Map --> Properties --> Import into VFS --> TRUE
Next, add your map information to the database:
- Project --> Add New Item --> GameRules (SQL) --> Name (Any) --> Add
- Paste the following code template into the new sql file:
Code:INSERT INTO Maps (Type, Name, Description, FolderType, IconAtlas, IconIndex) SELECT 'MAP_CUSTOM', 'TXT_KEY_MAP_CUSTOM_TITLE', 'TXT_KEY_MAP_CUSTOM_HELP', NULL, 'WORLDTYPE_CUSTOM_ATLAS', 0; INSERT INTO Map_Sizes (MapType, WorldSizeType, FileName) SELECT 'MAP_CUSTOM', 'WORLDSIZE_SMALL', 'YourMapName.Civ5Map';Note: You can add a map for each World Size (up to six) via more entries into Map_Sizes table. See Civ5Worlds.xml for reference. FolderType is NULL by default, which places your custom icon in the initial map list. Changing NULL to 'MAP_FOLDER_ADDITIONAL' will place your custom icon in the "Additional Maps" list.Spoiler :
- Paste the following code template into the new sql file to add an image Atlas for your new icon:
Code:INSERT INTO IconTextureAtlases (Atlas, IconSize, IconsPerRow, IconsPerColumn, Filename) SELECT 'WORLDTYPE_CUSTOM_ATLAS', 128, 1, 1, 'MyMap_MapIcon128.dds' UNION ALL SELECT 'WORLDTYPE_CUSTOM_ATLAS', 64, 1, 1, 'MyMap_MapIcon64.dds' UNION ALL SELECT 'WORLDTYPE_CUSTOM_ATLAS', 32, 1, 1, 'MyMap_MapIcon32.dds';Note: You will have to create and save your Map icon in the .dds format. Three sizes are required: 128x128, 64x64, and 32x32 named as above under FileName. Add the .dds files to your project, and set VFS = TRUE. See attachment for .psd template. - Add text strings to a new xml file:
Code:<Language_en_US> <Row Tag="TXT_KEY_MAP_CUSTOM_TITLE"> <Text>Map Name Here</Text> </Row> <Row Tag="TXT_KEY_MAP_CUSTOM_HELP"> <Text>Map Tooltip Here.</Text> </Row> </Language_en_US> - Project --> Properties --> Actions Tab --> Add --> new sql file
- Project --> Properties --> Actions Tab --> Add --> new xml file
After building the project, navigate to Modding Game Setup, and you should see your new icon in the list. Note that this method accommodates WorldBuilder scenario maps, too.
See this project for reference.