Leveraging Vassalage VI - Tokugawa's Great Great Nephew, Shaka

Really cool write up of interesting games, thanks!

As always, thanks for the feedback!


This is a 3-game thread, with a different map for each game. I like this format myself because it allows me to learn different maps for each leader.

The thread is named after Tokugawa because the initial strategy focused on using Tokugawa in combination with Vassalage and Pacifism on Emperor level. Now that I've moved up to Immortal level, using Pacifism during wartime is trickier because the AI uses larger armies, forcing the human to use a larger army to defeat the AI armies.

However, with new strategies that I'm still learning, such as the Music beeline and the Philosophy bulb, it is possible to accelerate early research, especially through tech trading. The next experiment is to see how much I can gain from the Golden Age triggered by the free Great Artist. If this works, I may be able to start using Pacifism again, as in the earlier games of the series.
 
The next start (and last start of the thread) is definitely one of the most interesting starts I've played for a while. Lately, I haven't had any low-food starts in this series. The last one was probably the Charlemagne game on Emperor level several months ago. This one is not only a low-food start, but also...well, you'll see soon enough.

This start is on a Tectonics map, 60% water.

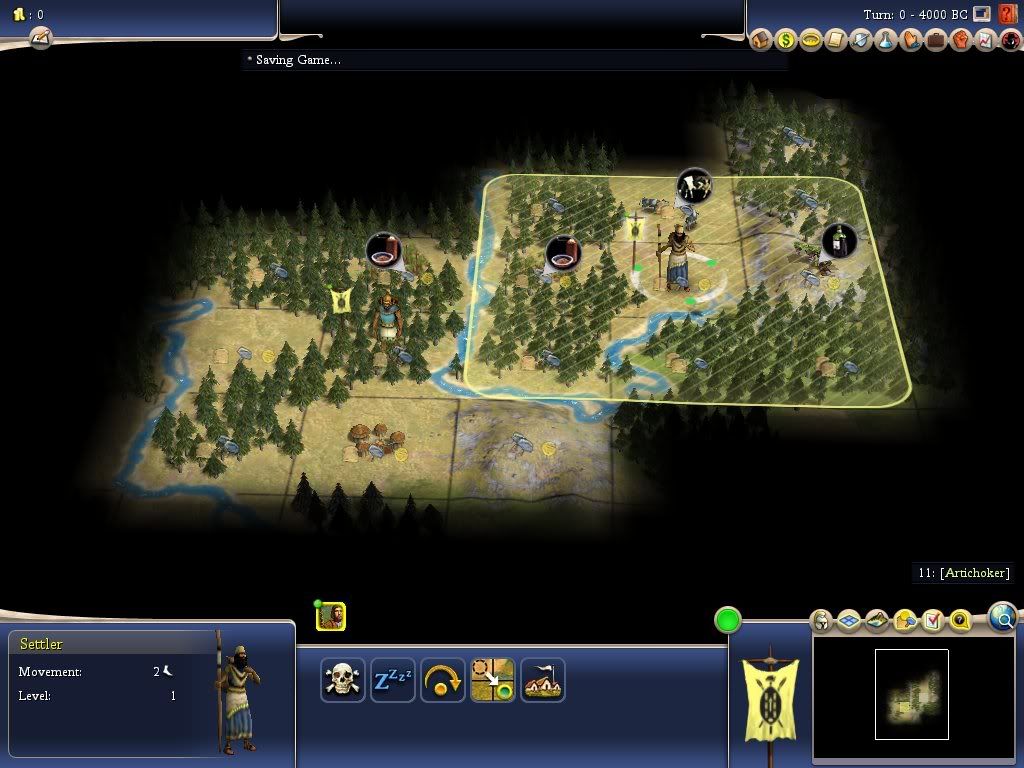
at 4000 BC:

Spoiler :


map1_4000bc-2.jpg


Update to 850 BC to come soon.
 

Attachments

to 850 BC:

Spoiler :


map1_4000bc-2.jpg


The numerous forests and hills made 1st-turn exploration quite difficult (the best I could do was move the Scout 1SE), and I was happy to settle in place. As scouting revealed soon after, this was indeed a low-food capital location. Even after Calendar, the Spices will not provide any surplus food because, unfortunately, they are on plains. To my good fortune, however, there was a 2nd Cow in the initial BFC to boost the capital's production.

I began with Animal Husbandry, and then Mining-Bronze Working. The 1st Settler came out too late to claim a recently discovered Horse to the NW, which Gandhi grabbed quickly. However, Bronze Working revealed that the Horse was completely unnecessary...

map1_2800bc.jpg


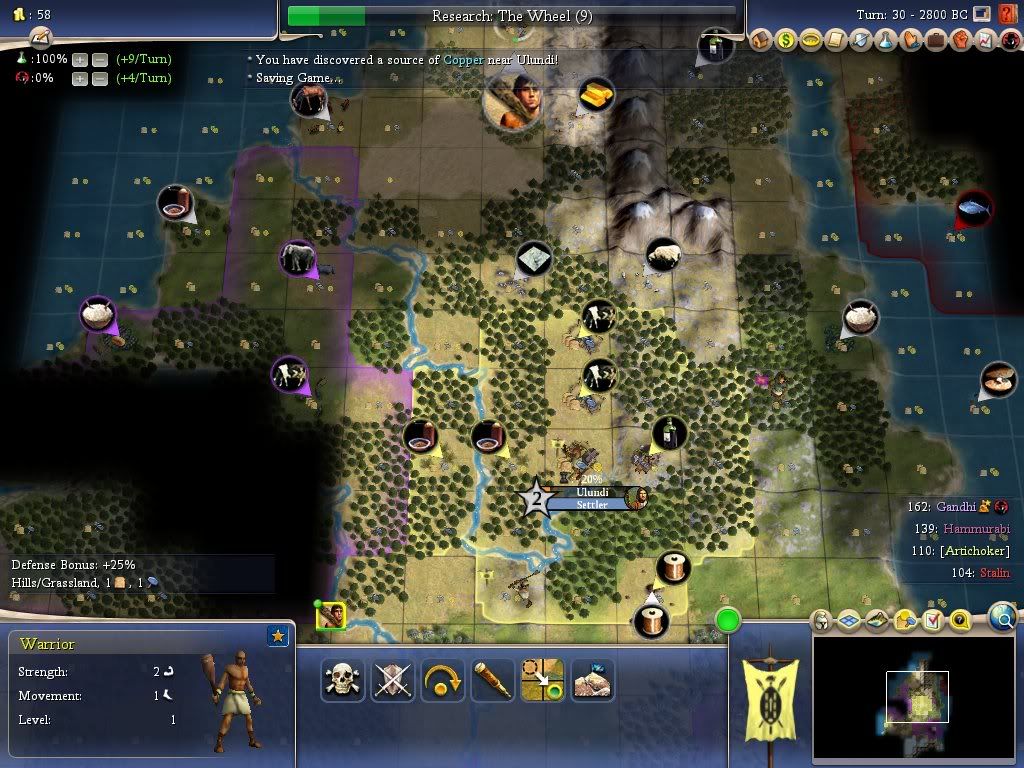
The 2nd city was no longer necessary to claim a strategic resource, after Copper was revealed in the BFC of the capital.

I then made some medium-term plans. With Hammrabi and Gandhi both nearby, the obvious plan was to rush Gandhi with Axemen. Babylonian Bowmen were a direct counter to my Axemen, and Gandhi's low unit production rate and lack of military bonuses would make this attack easier than usual. Still, I had to prove it, since this is an Immortal-level game, after all.


I decided to settle my 2nd city as a production city, by claiming the Sheep and Rice to the NE. This city would also act as a blocking city against both Stalin and Hammurabi for the narrow passage between the mountains to the north and the sea to the east.

(An alternative option would have been to settle 1N of the Marble, to claim the Gold to the N in addition to the Sheep. Although the Gold was important in this early phase of the game, I decided to claim it with my 3rd city, and leave the Marble for a later city. The advantage of 1E of Sheep is that the city also claims the Rice and shares a Cow with the capital, providing the potential for very high production.)

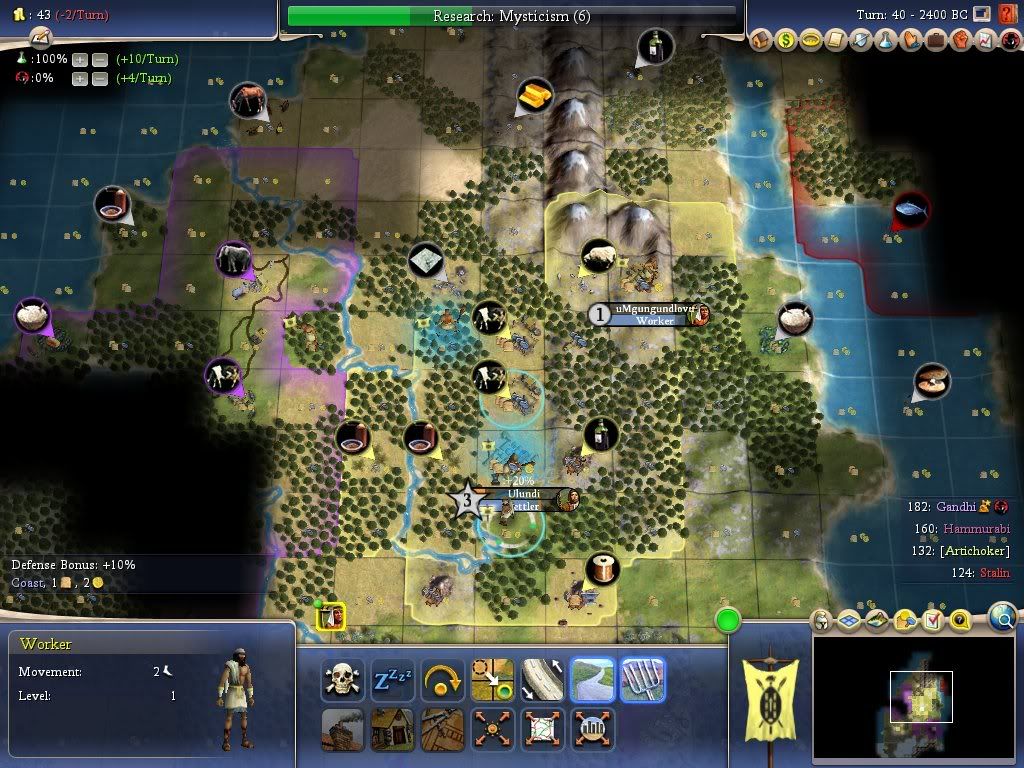
map1_2400bc.jpg


Not too long afterward, it was then time to settle my 3rd city. I had decided that this city needed to claim the Gold in order to support my economy during the invasion. There were 3 resources nearby, besides the Gold: Copper, Fish, and Cow. I decided that the Fish was the least important since it required me to research Fishing. I also knew that it could be worked by a city 1NE of the Horse, so I passed on the Fish this time. Instead, I focused on the Cow, Gold, and Copper. Although the city won't have enough food to work both the Gold and the Copper, it will still be able to work the Copper while the Marble city (to be founded later) works the Marble and the Gold.

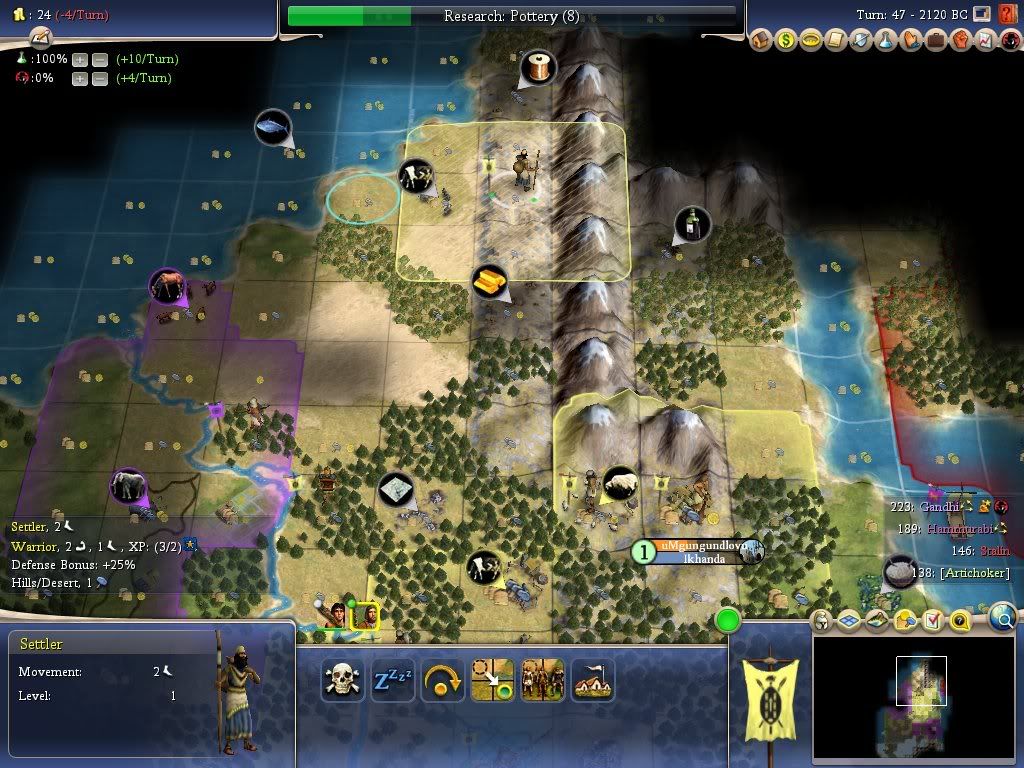
city1_2120bc.jpg


At a very opportune time, I got a quest which gave purpose to claiming the Horse to the NW after all...

quest_2040bc.jpg


Now this was a quest that had to be completed successfully!! I'm eager to see what the prize for this quest will be.

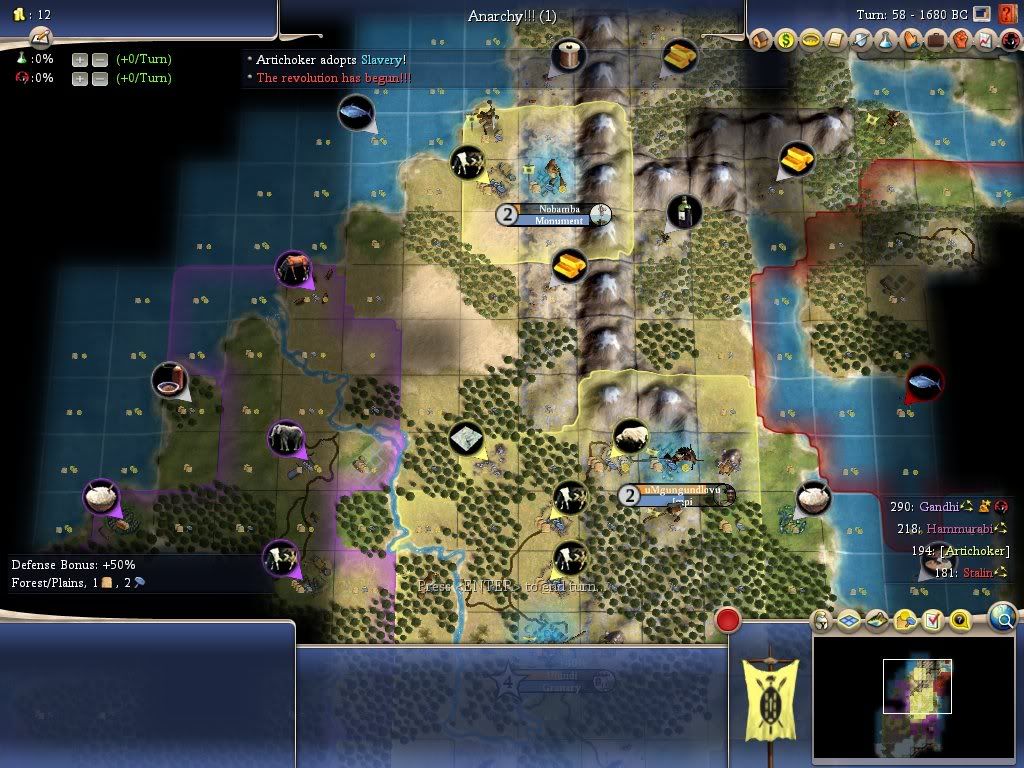
After founding the 3rd city, I was soon ready to whip a Monument to claim its 3 resources in the 2nd ring. It was now time for Slavery.

map1_1680bc.jpg


...to be continued soon.

 
to 850 BC (continued):

Spoiler :


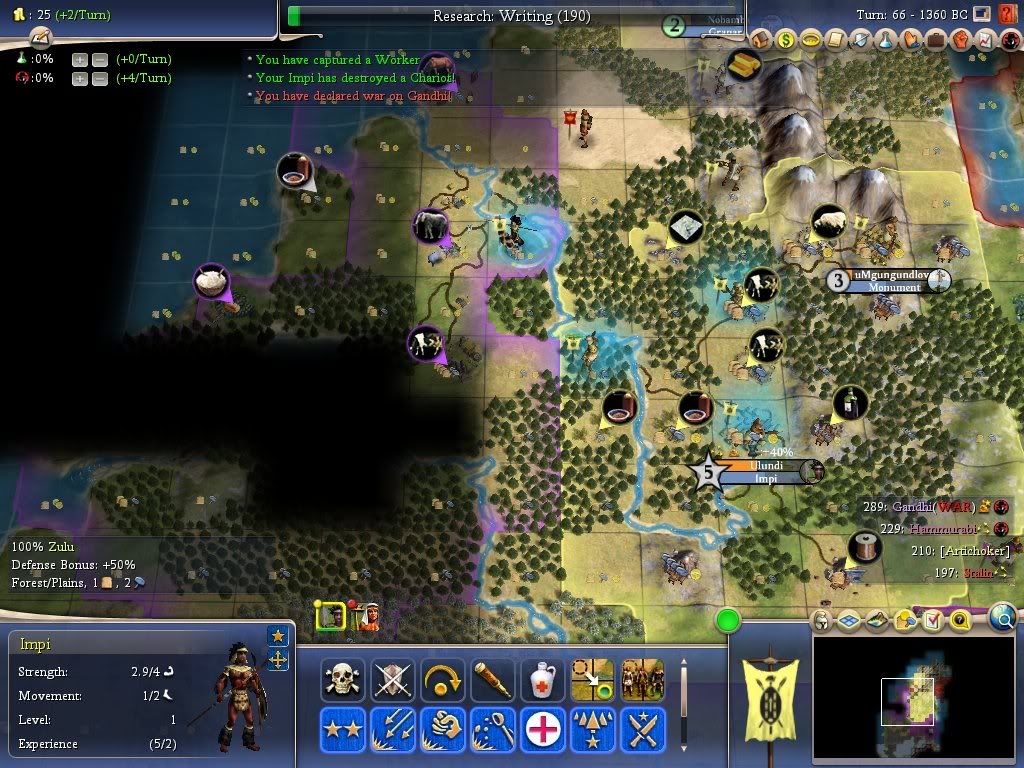
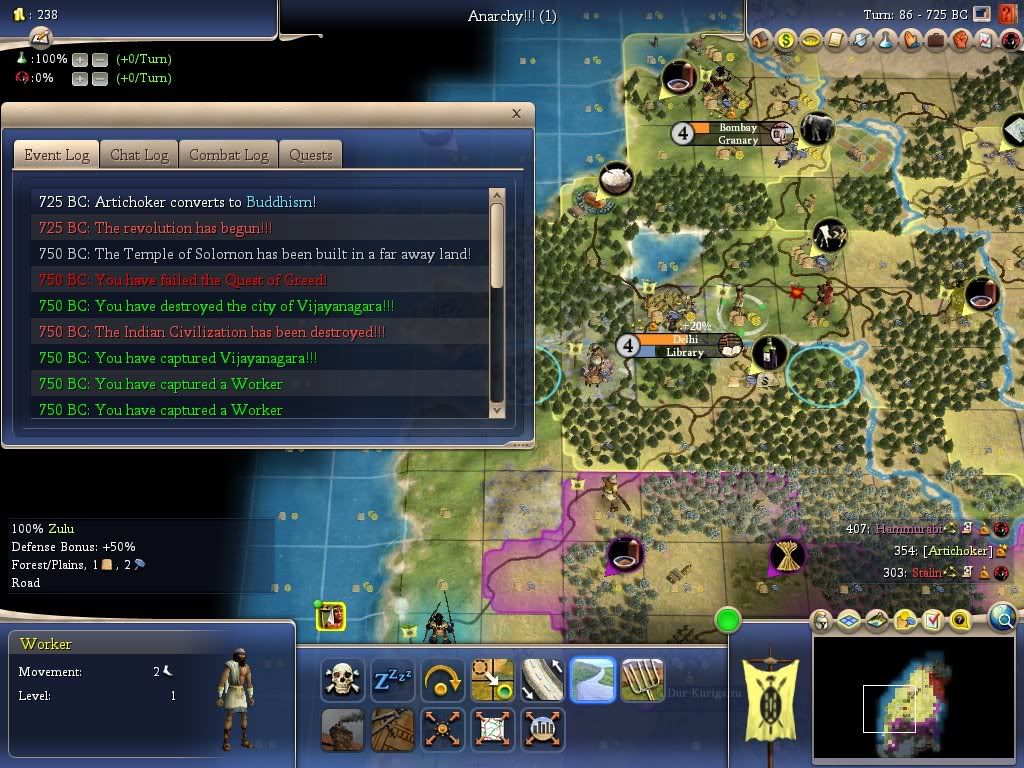
Gandhi's not-so-Fast Workers didn't have the quickness to outrun our speedy Impis, even with the help of chariots...

war1_1360bc.jpg


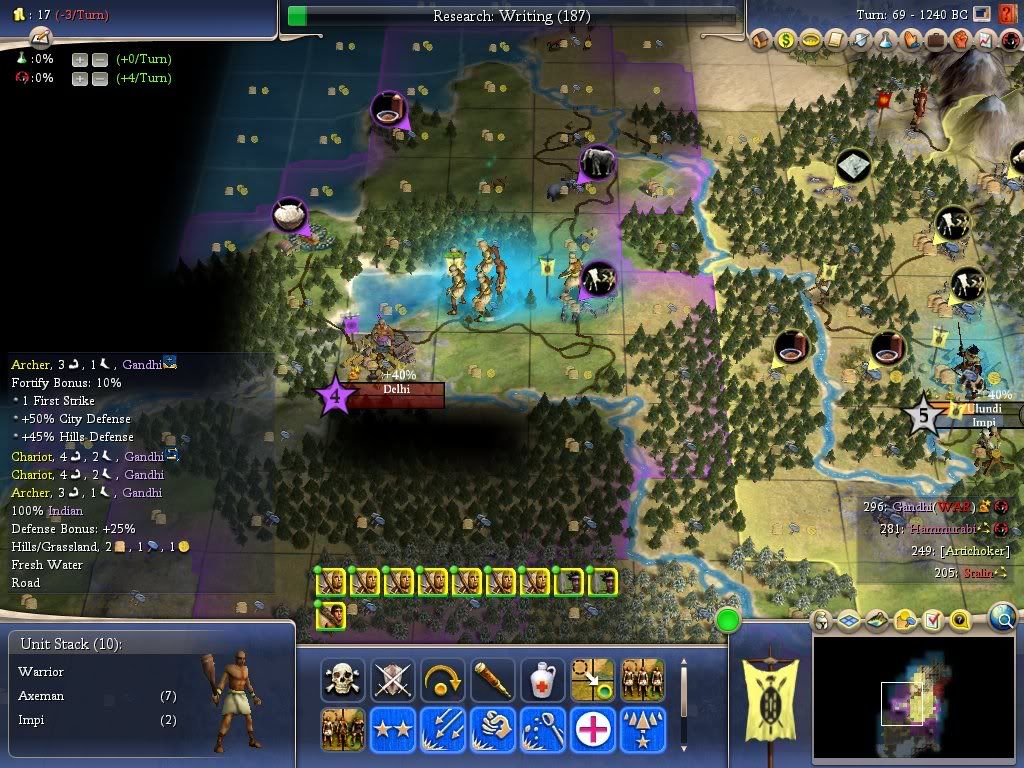
Like a mouse nibbling on delicious cheese...too absorbed to notice the "black cat" waiting to sink its teeth into its not-so-delicious skin.

"Tiger" was more descriptive of the true power of the forces waiting to march into India's capital, and take the green in a single shot...

war1_1240bc.jpg


A hole in one? Not quite, but it was enough to earn us a toast of the best Wine in the land.

log1_1240bc.jpg


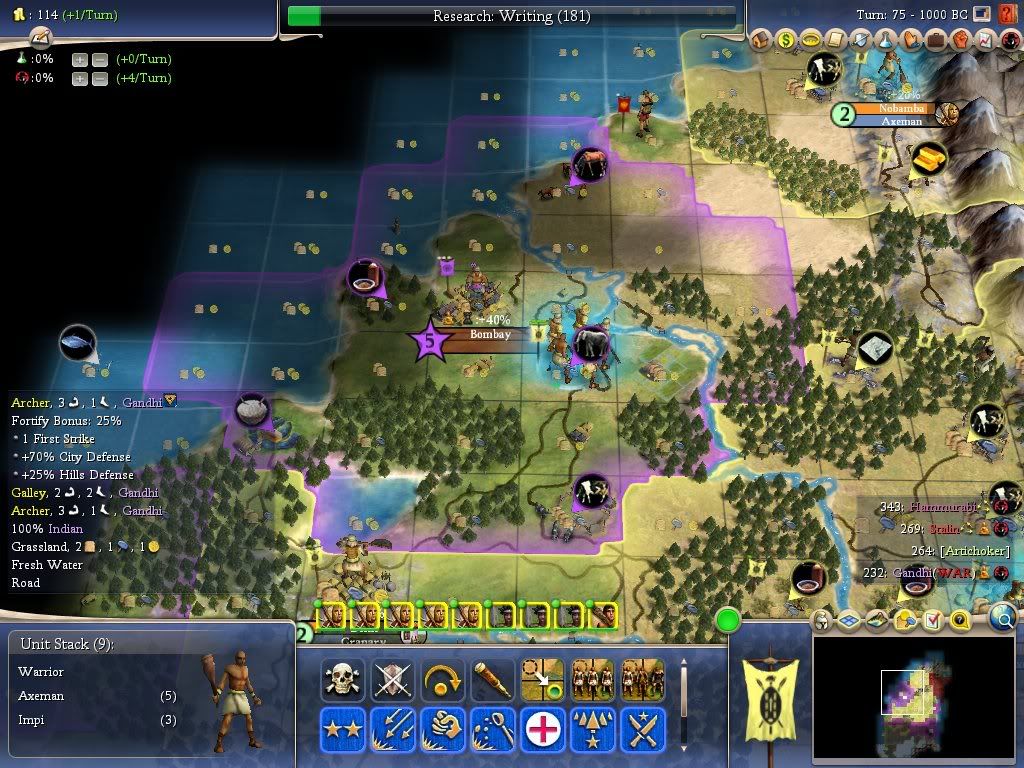
The day was not over, though, as the fairway welcomed our forces with an easy path northward to the next goal.

"Well done," said the master, as if Shaka was in a dream. "Sensei!"...Shaka replied..."I have finally realized the Zen of golf. As the great master Nicklaus once said, 'Power is not in the force of aggression, but in the focus of the mind.' "

"You have learned well," said the master. "Now stay the course!"

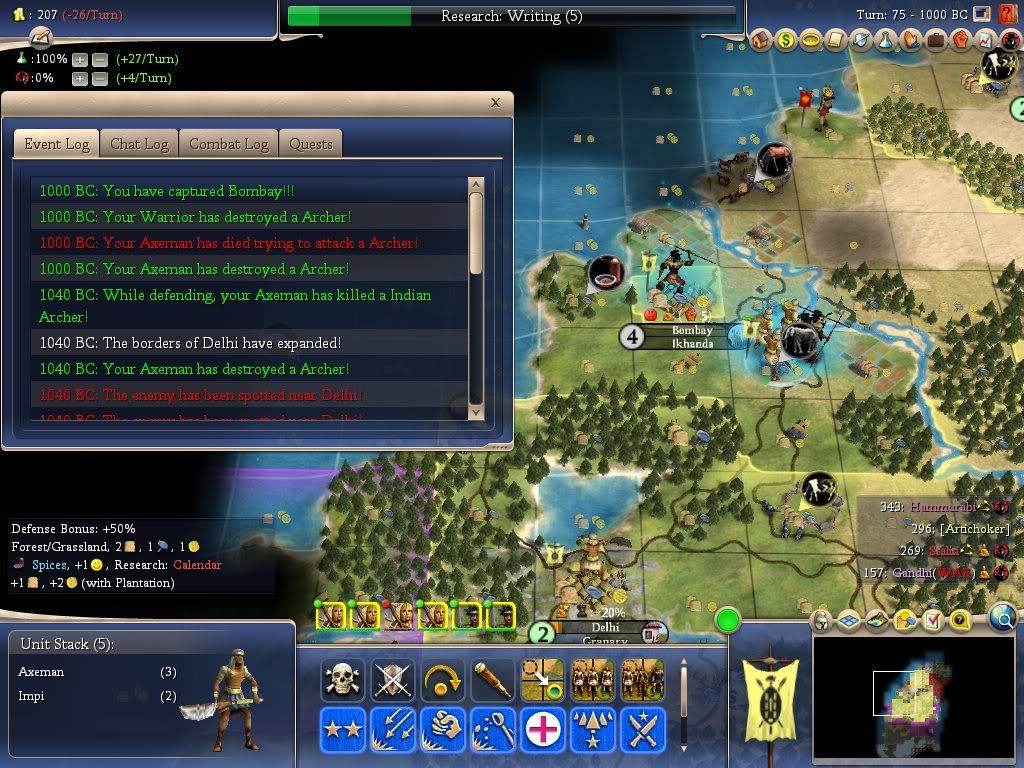
Like a Tiger reinvigorated with the energy of a fresh kill, our Zulu forces took the next target by storm...

war1_1000bc.jpg


log1_1000bc.jpg


INTERMISSION

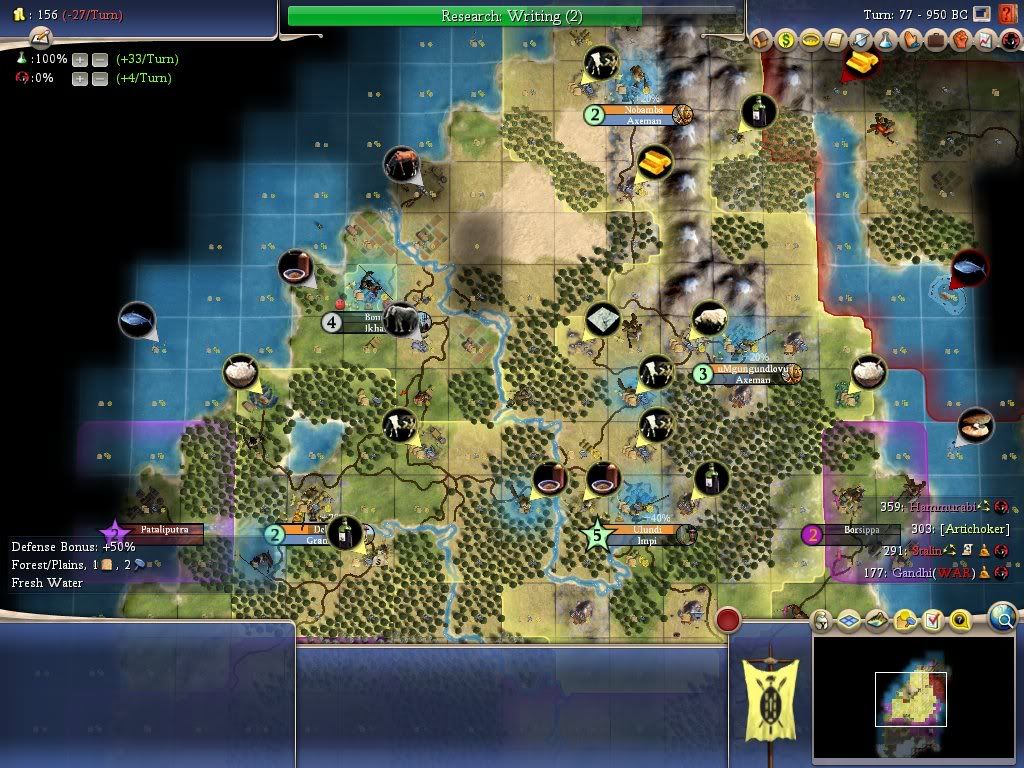
map1_950bc.jpg


We were nearing the 2nd to last hole in the course...this one almost completely surrounded by water, but with no Fish within reach.

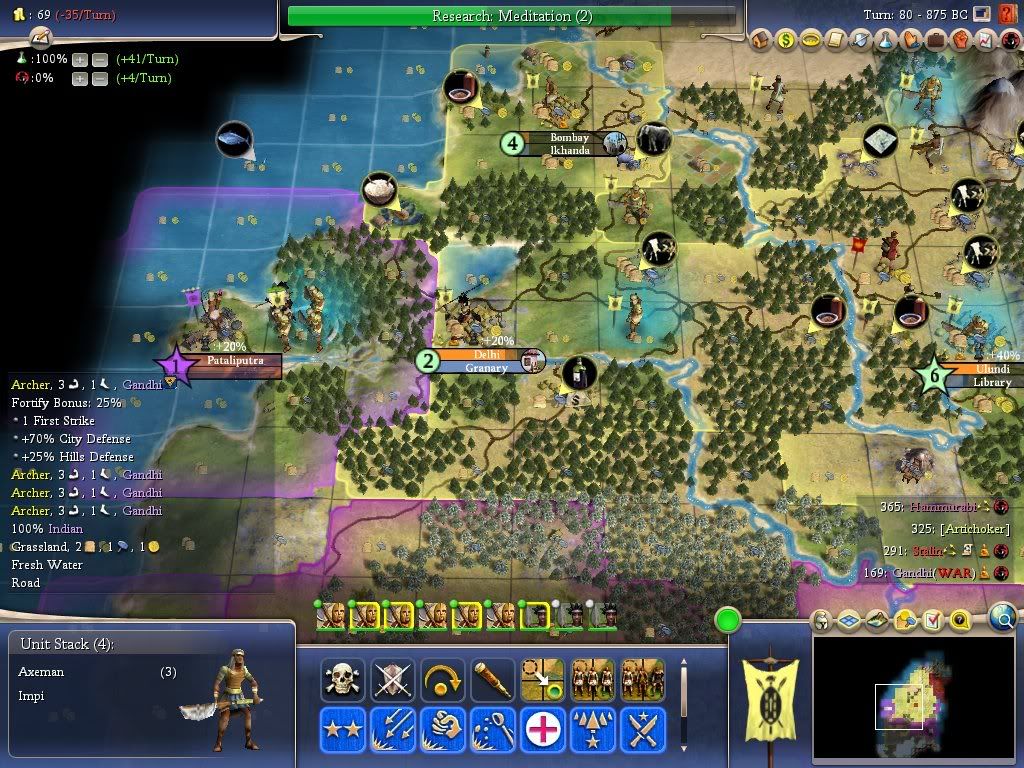
war1_875bc.jpg


It was a lousy performance, but our scorecard up to this point was far enough ahead not to feel the impact.

log1_875bc.jpg


One more hole to go...and one more name to erase from the annals of Civilization.

map1_850bc-1.jpg


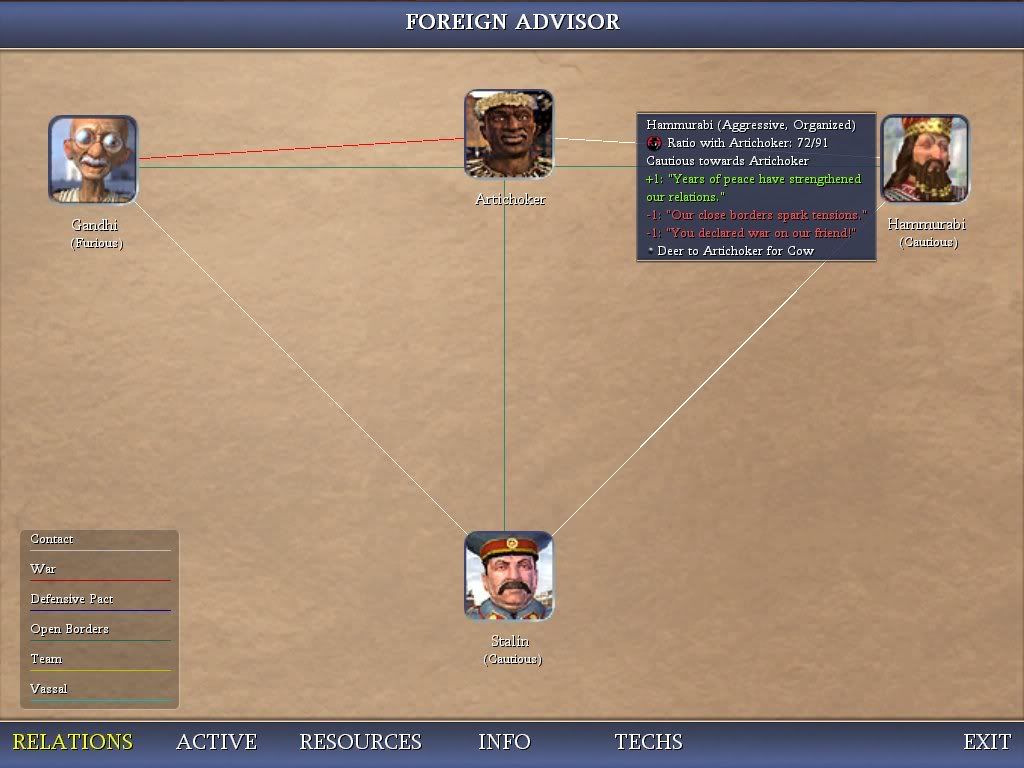
diplo_850bc.jpg


The next city will probably be settled between Delhi and Ulundi, in order to maximize usage of the high number of rivered tiles in the stretch of land between those two cities.

I am contemplating 2 locations:

Spoiler :


map1_850bc-1.jpg


A) at 1SE of the Grassland Cow

The advantage of choice A) is that it pushes the Zulu border to an extent that will likely prevent Hammurabi from settling a new city near our southern border. This will be helpful in minimizing diplomatic penalties from border tensions with Hammurabi, in case he decides to settle there later.


B) at 1E of the Grassland Cow

The advantage of choice B) is that it can work the Ivory to the NW, which will then leave Bombay with enough food to work the Horse without sacrificing a Plains Cottage. It will also gain access to a potential Grassland Farm at 1NW of the Grassland Cow.


I will also need to judge the timing of the next city, since I'm aiming to build the Great Library. With Marble, I might have a decent shot at getting it. If not, at least I'll have payment in gold weighted by the Marble bonus. The maintence caused by settling the next city might slow down my tech rate a tad. However, I'll probably switch a Grassland Cottage from Delhi to the new city, so that Delhi can work an extra Cottage.


I played a little further, but I probably won't have another update until a few days later.
 

Attachments

Arg. I'm curious about the quest reward. Never completed one of those.

Unfortunately, I failed to meet the deadline for that quest.

If I had attacked the Horse city first, I probably would have had a chance. But since Delhi was a better city and was a holy city, I attacked it first. That slowed me down several turns.
 
Regarding the Gold/Cow city, I almost can't believe that I gave up the Fish in exchange for the Copper, but in hindsight I'm glad I made that decision.

Spoiler :


city1_2120bc.jpg


Here are the advantages of making that choice:

1) I was able to skip Fishing temporarily until Literature was finished.

2) While stagnating, I worked a Plains Cottage and a Gold Mine to gain about 10 commerce per turn.

3) I was able to trade away my 2nd Copper to Stalin for some resources.

4) I allowed enough room for an extra city to be settled later to work the Fish.


This map was very unusual because of the combination of high production and Marble, which allowed me to grab The Great Library and The Parthenon, therefore allowing me to run scientists with very little food.

There were two alternatives, which both would have looked better under ordinary circumstances:

1) 2E of the Fish, to work the Fish, Cow, and Copper

2) 2S1E of the Fish, to work the Fish, Cow, and Gold


Option 1) would have given me a high-production coastal city, but without access to the Gold. I could have settled 2S of the Gold to work the Gold, but I probably would have given up the Rice to the east.

Option 2) has the advantage of working the Gold and the Fish, allowing my other city to claim the Rice to the east.


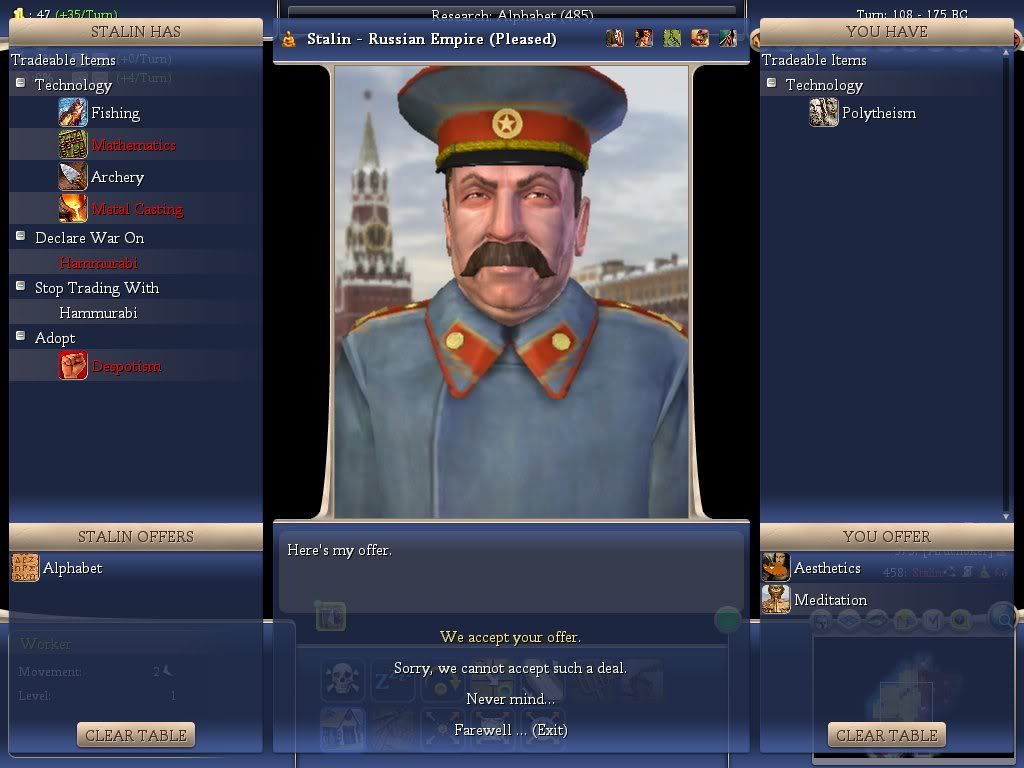
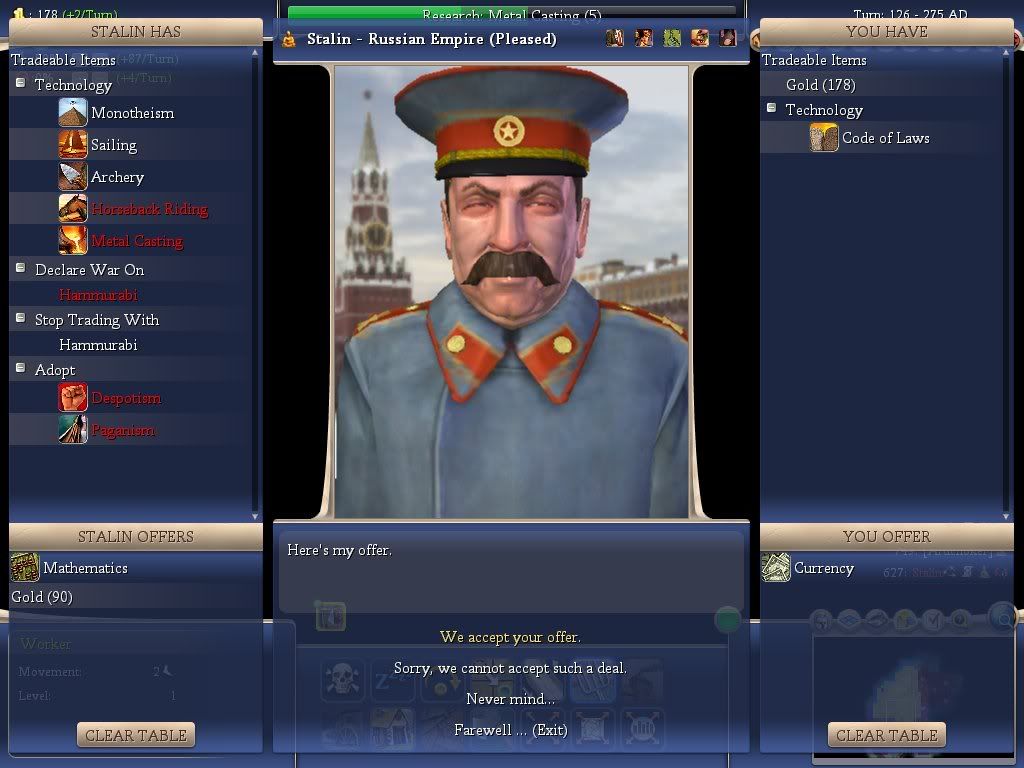
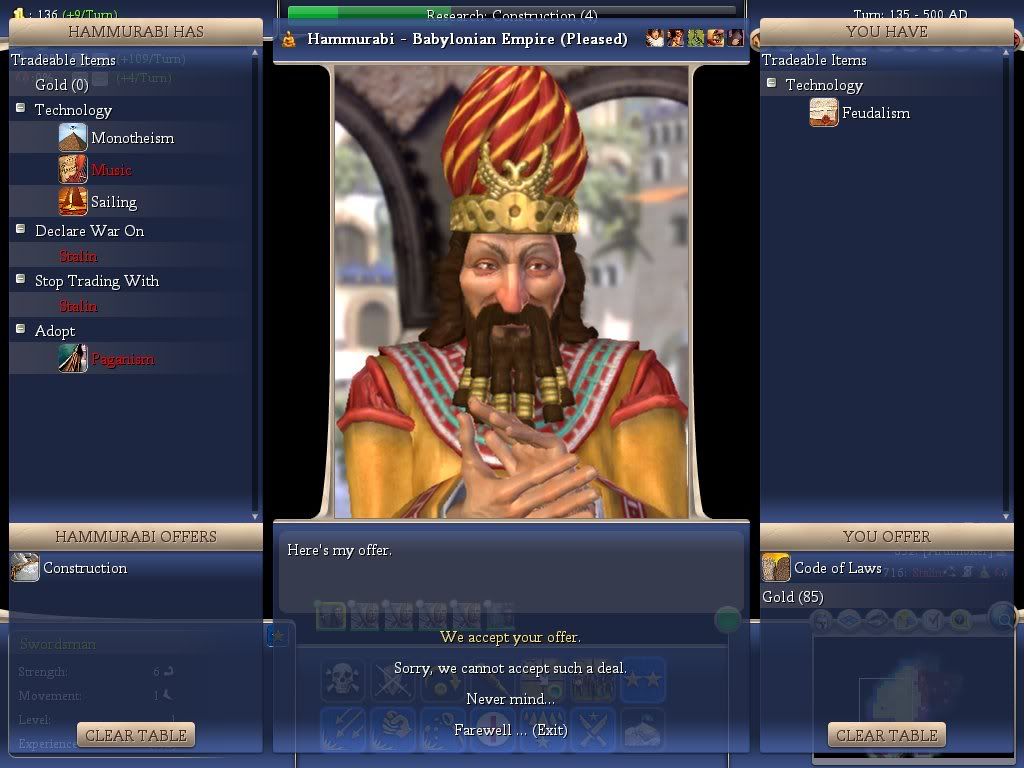
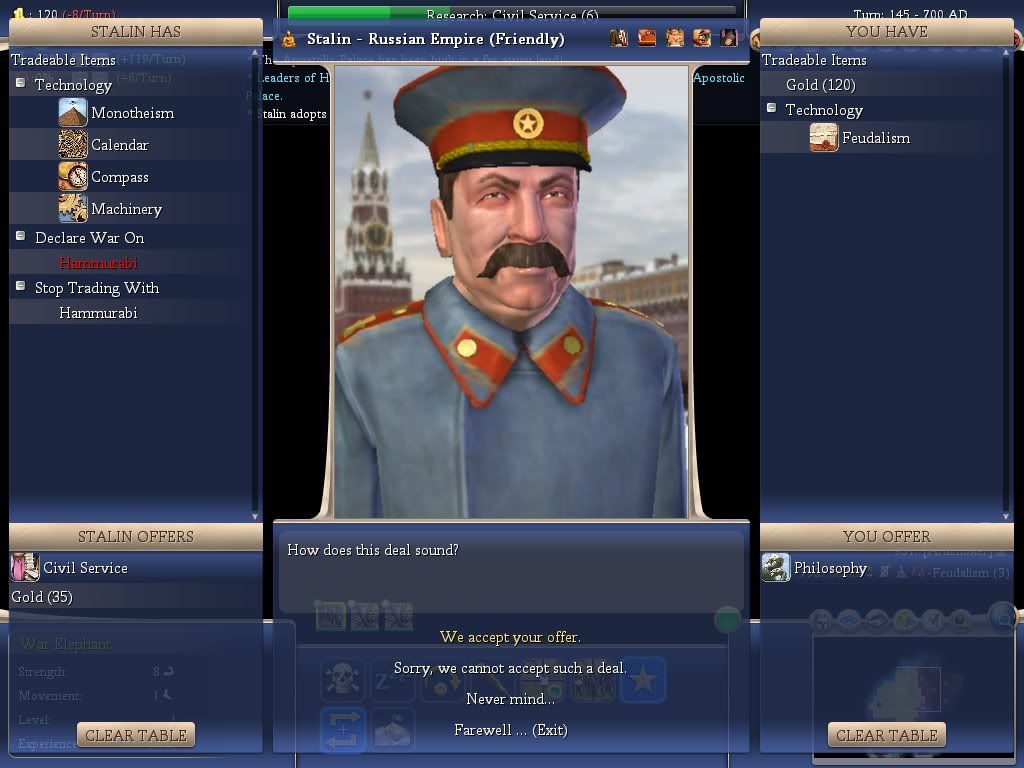
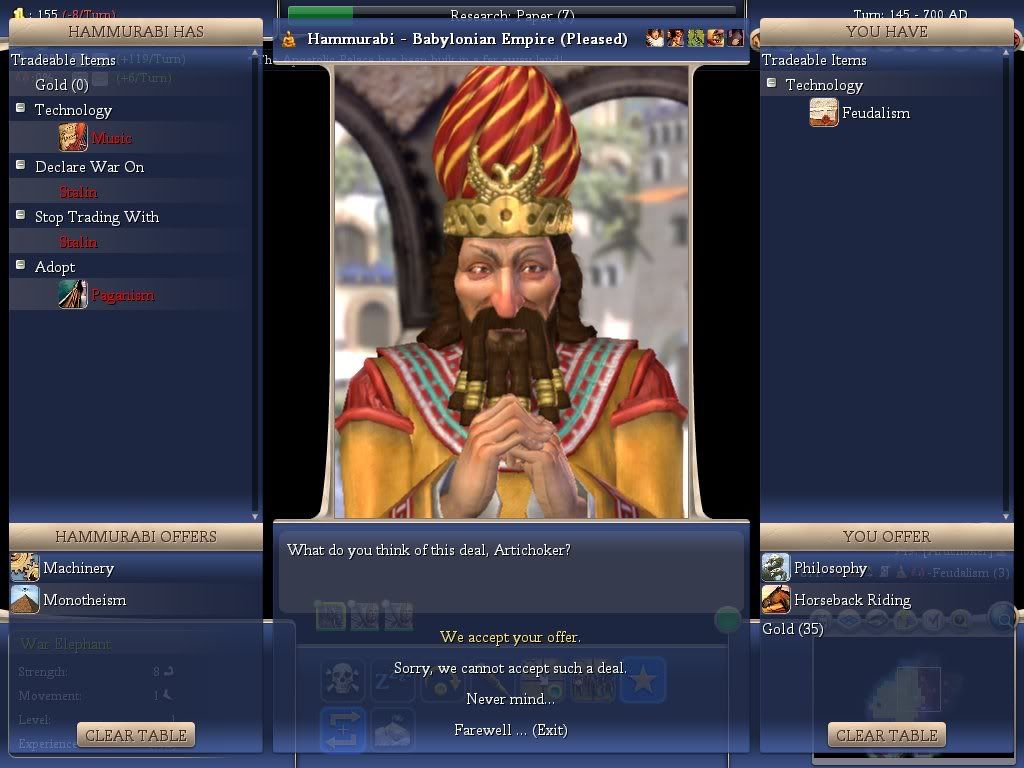
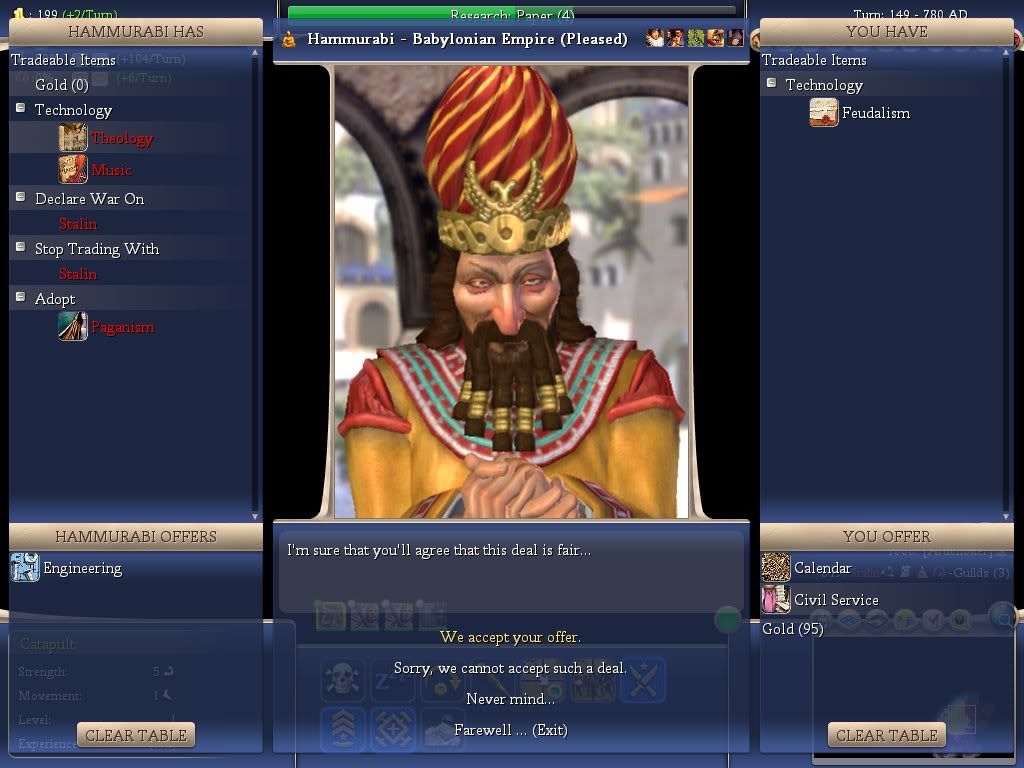
With the decision I made, I was able to make efficient tech trades to gain Machinery, Civil Service, and Engineering using the tech lead I had with Philosophy and Feudalism.

Using only the 2 scientists from The Great Library, I was able to gain 4 great scientists, which were used to 1) build an Academy, 2) bulb Philosophy, 3) bulb Education, and 4) bulb Printing Press.

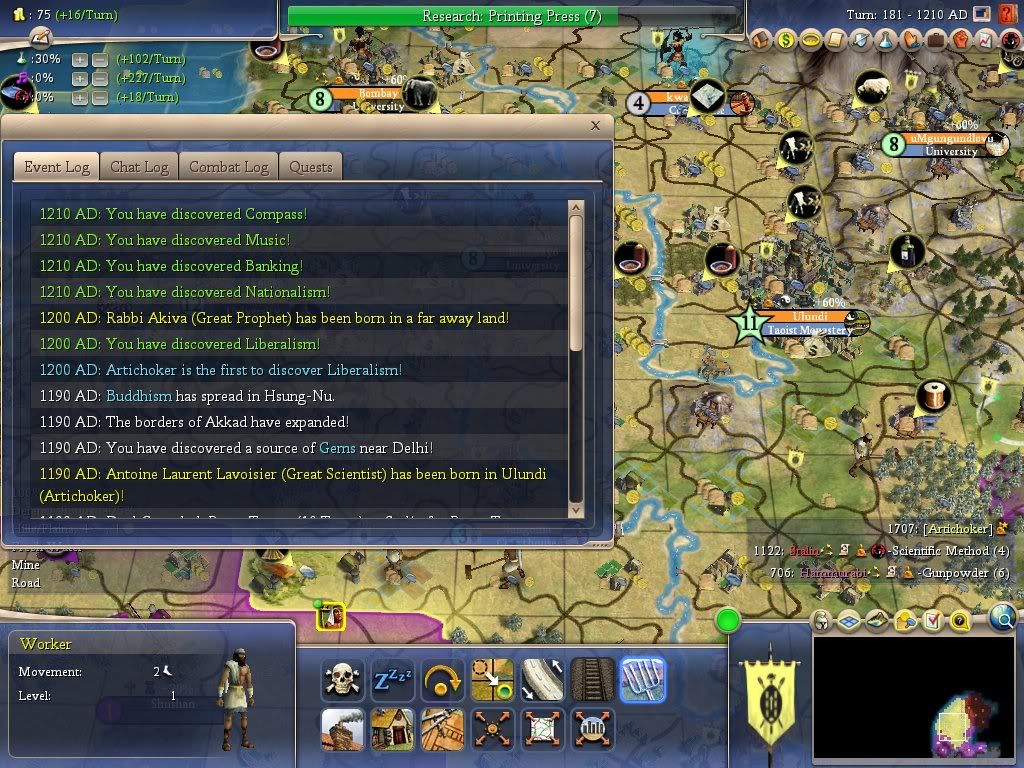
As it turned out, I used my narrow tech lead to get Liberalism at 1210 AD, edging out Stalin with the help of his research path. It seems that he was halfway through Education, before shying away after discovering I was racing toward Liberalism. Even though I was running deficit research and was about to go broke, it seems he made that decision because of my temporarily high science slider.
 
to 1210 AD:

Spoiler :


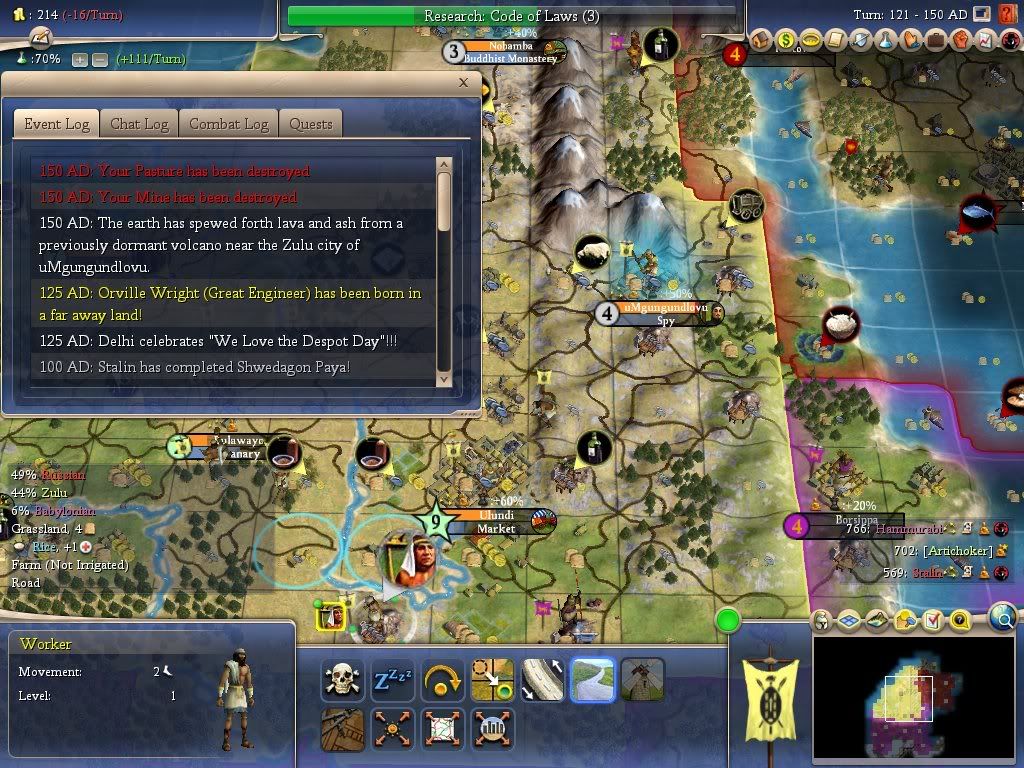
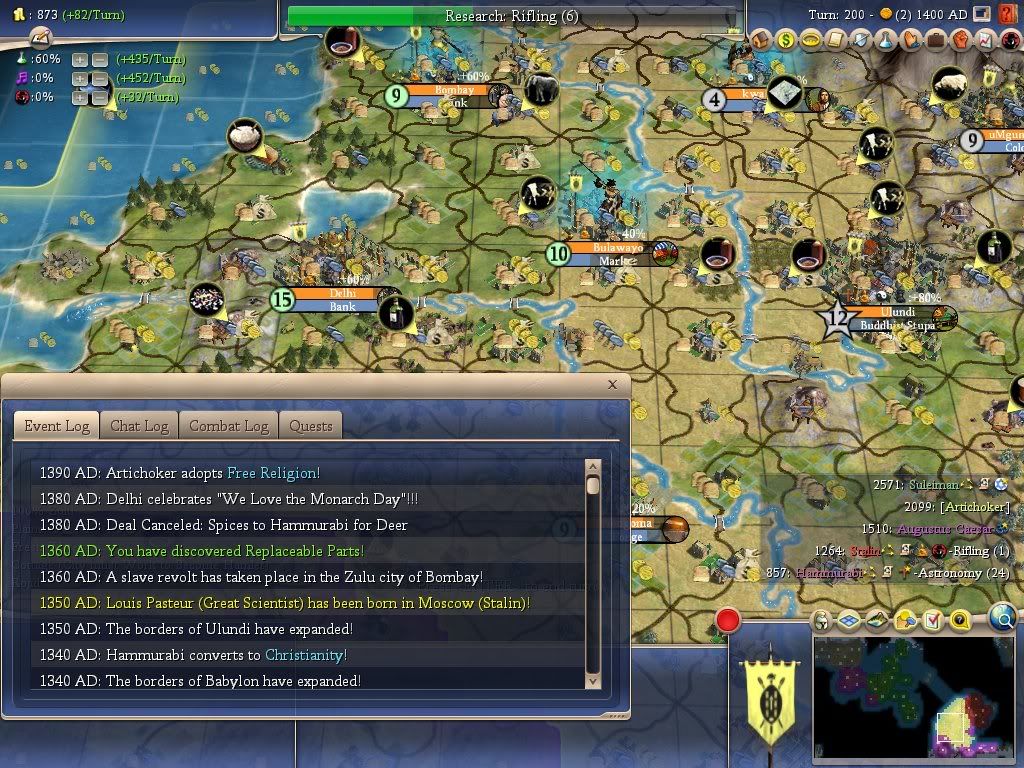
During the peace that followed the war against Gandhi, the whole continent was united in the belief of Buddhism, whose holy city was Delhi. A lasting peace developed that would last until the inevitable war against Hammurabi. The only factor that delayed that war was the opportunity to peacefully develop the economy by settling new cities, building key infrastructure, and trading technology.

log1_725bc.jpg


This phase of the game was marked by these 4 highlights:

1) The race for wonders

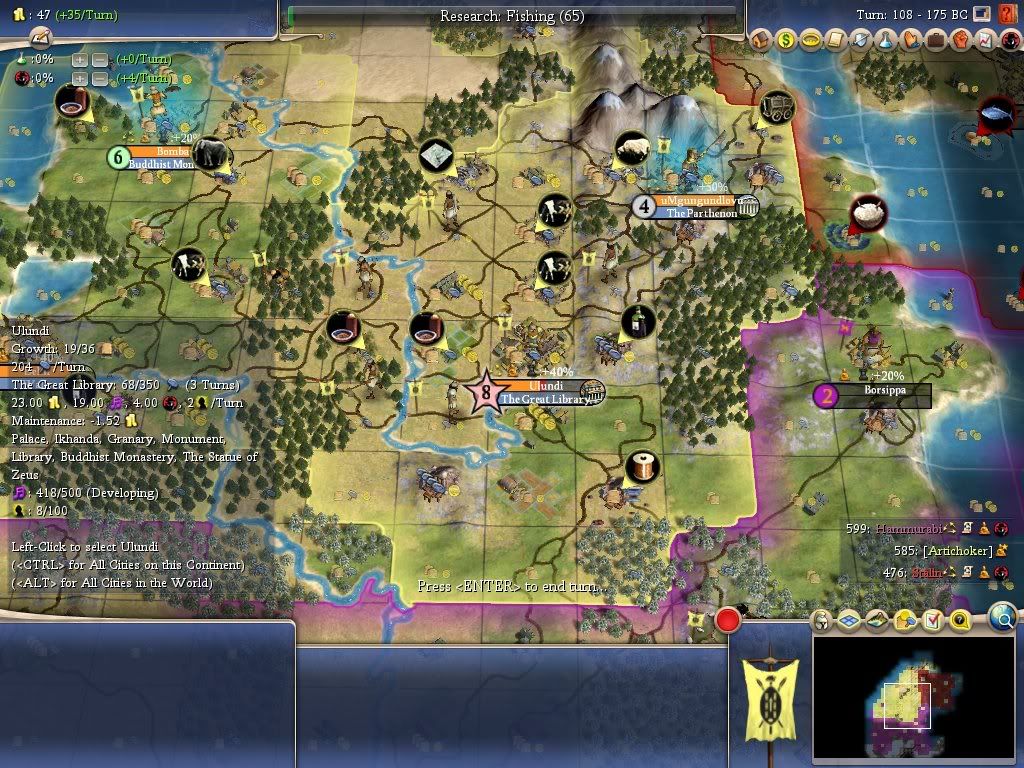
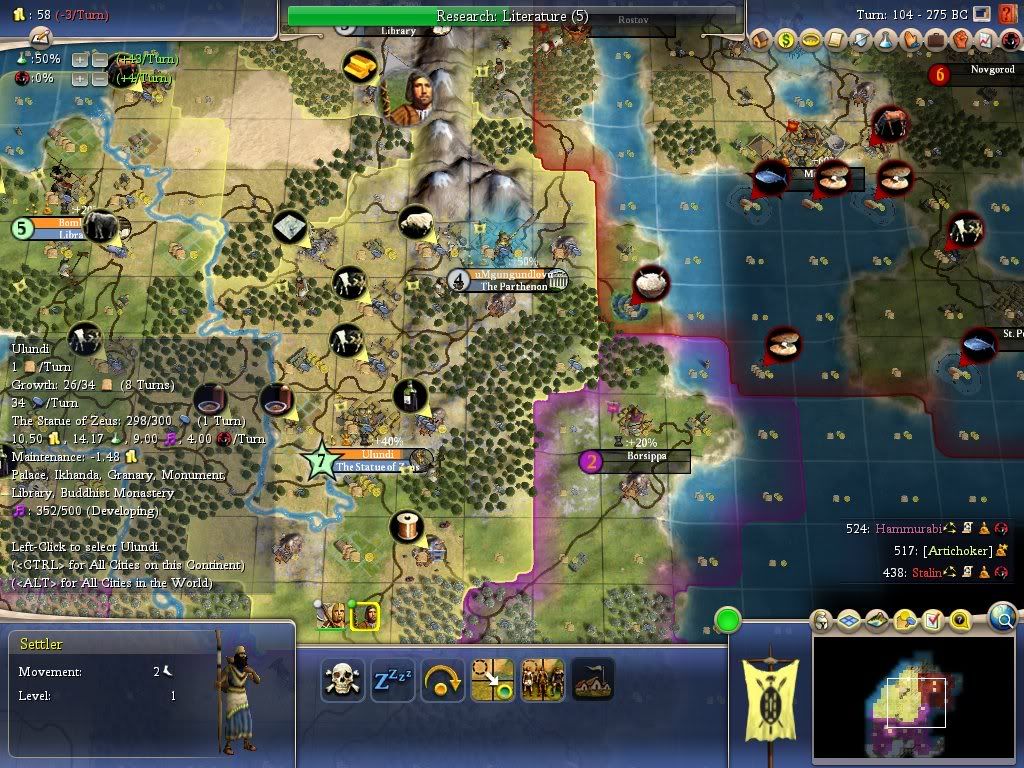
map1_175bc.jpg


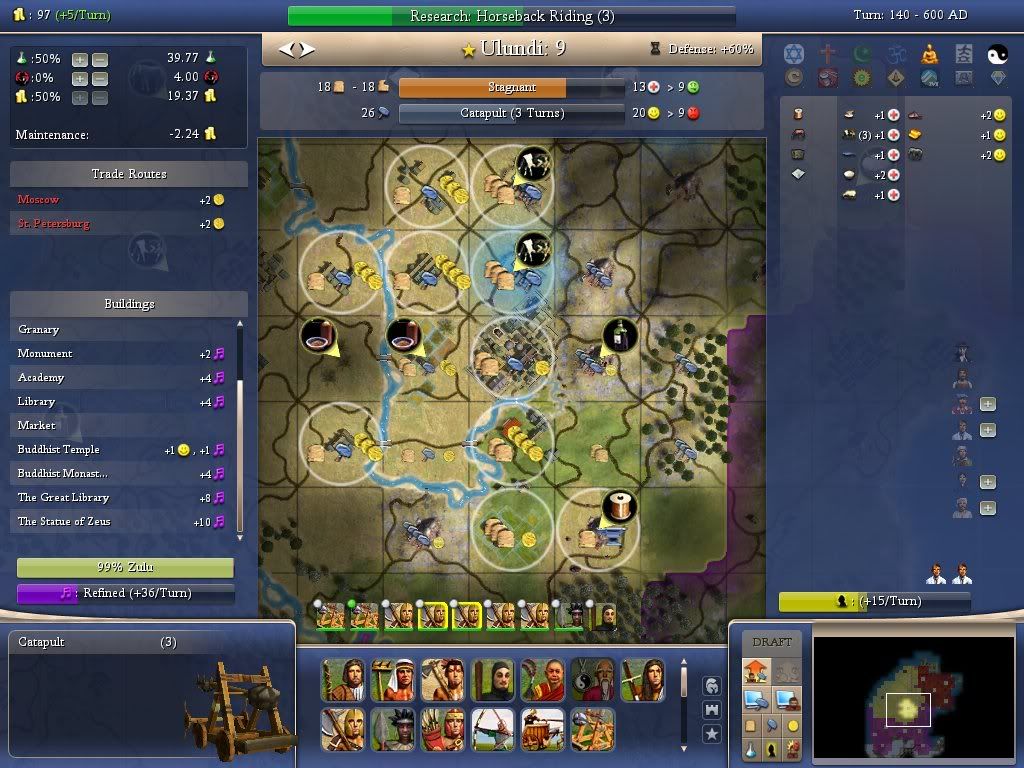
With a high production capital and Marble, I had a very good shot at the Great Library. Furthermore, I had already committed to this strategy by settling the Gold city away from the Fish. By beelining Literature, I was able to get an early start on The Statue of Zeus, The Great Library, and The Parthenon. All of these wonders were produced at +100% for having the key resource available.

ulundi_600ad.jpg

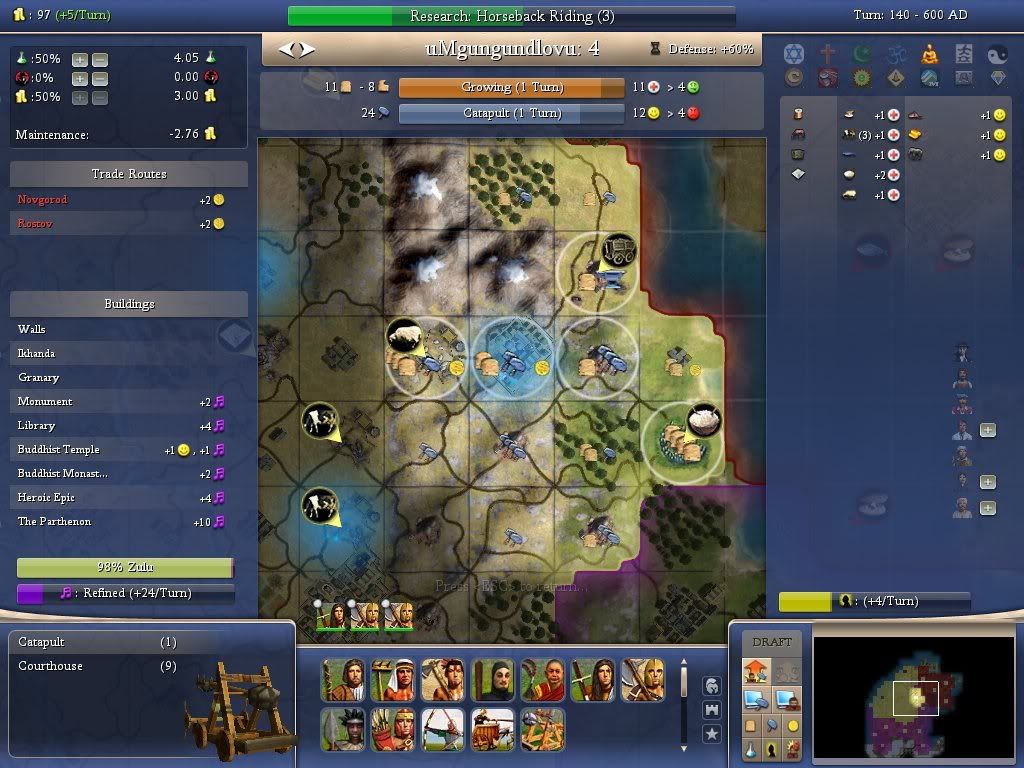
umgun_600ad.jpg


2) The cultural war between Stalin, Hammurabi, and me over the Rice tile

map1_275bc-1.jpg


Stalin leveraged his Industrious trait to build wonders in his coastal capital, whose cultural area began to encroach on my part of the continent. At one point, my city lost the Rice to Moscow, and I went for an all-out effort to build The Parthenon there for its +10 culture bonus. Besides helping me win the culture war, the wonder proved to be very effective in combination with The Great Library. But Stalin built yet another wonder in Moscow, and I needed the +4 culture bonus of Heroic Epic to finally secure the Rice for my city.

map1_150ad.jpg


3) The military buildup and war against Hammurabi

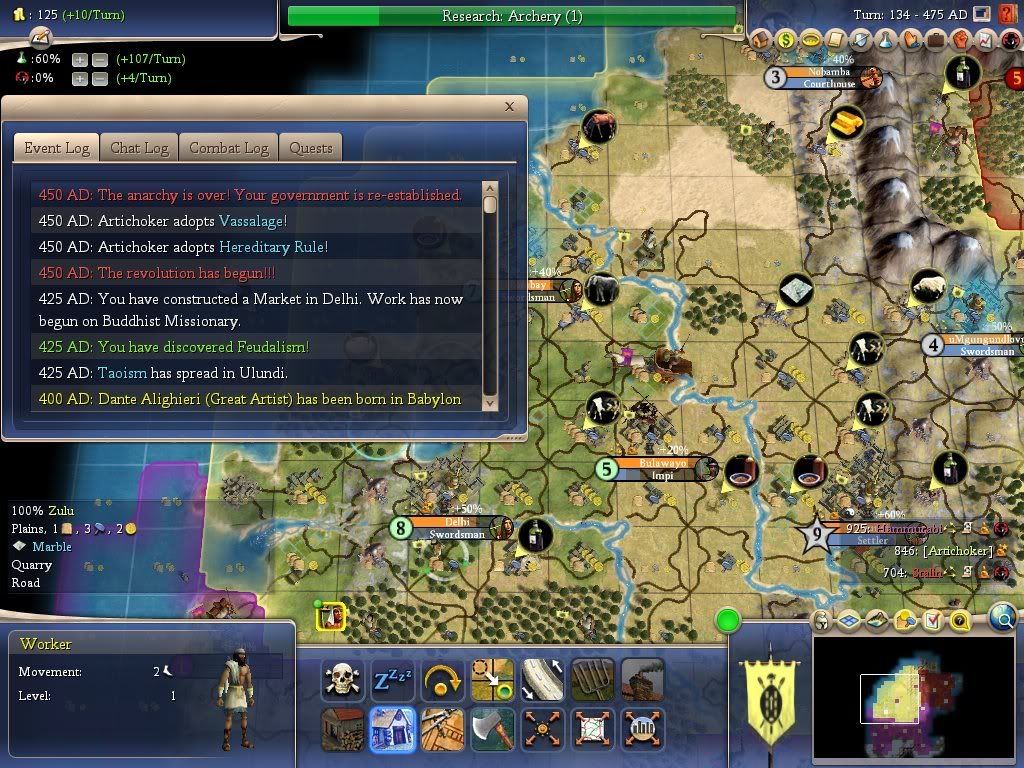
revolt_475ad.jpg


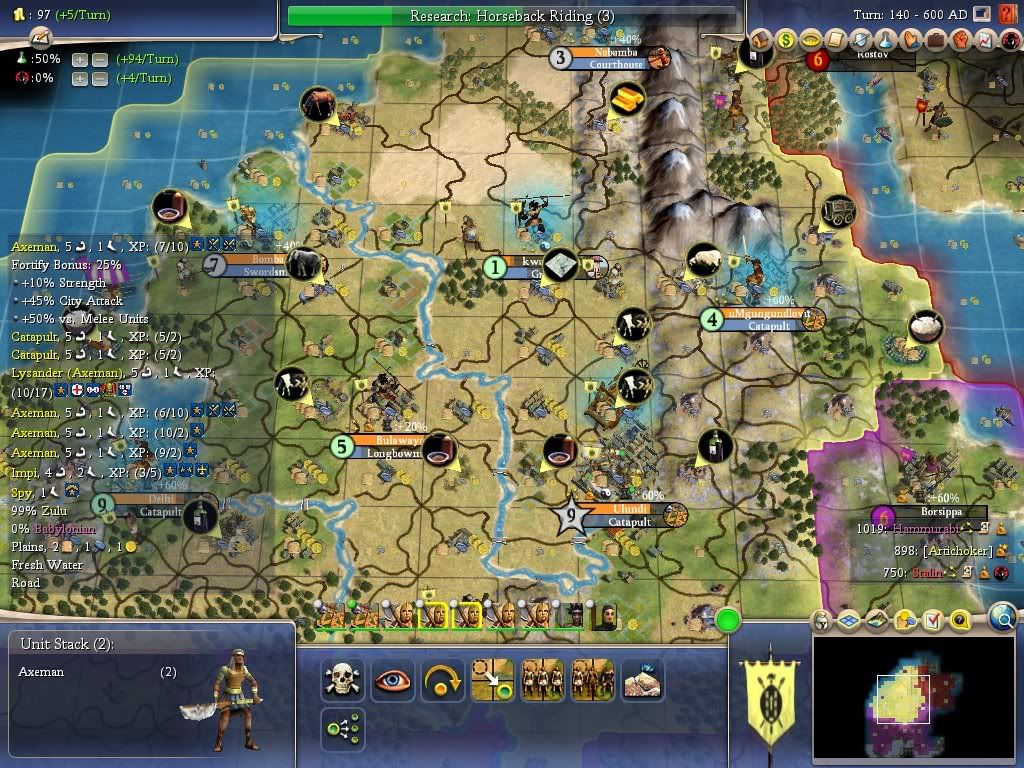
Here is the main theme of this series...using Vassalage to power a military buildup for invasion. I made some key trades to improve the power of my forces. Using my monopoly on Philosophy and Feudalism, I was able to trade for Civil Service, Machinery, and Engineering at little cost in gold. Also, since I had Ivory, I teched Horseback Riding to unlock Elephants.

map1_600ad.jpg


4) The race to Liberalism

Stalin had the highest GNP. It was no surprise considering his small empire size and high number of wonders...especially The Pyramids, which he used to run Representation. But after researching Paper, he went for Astronomy instead of Education, giving me a narrow opportunity to win the Liberalism race. Once I finished Education, which I got with the help of a GS bulb, he changed his research plan from Education to Scientific Method.


Summary of Trades

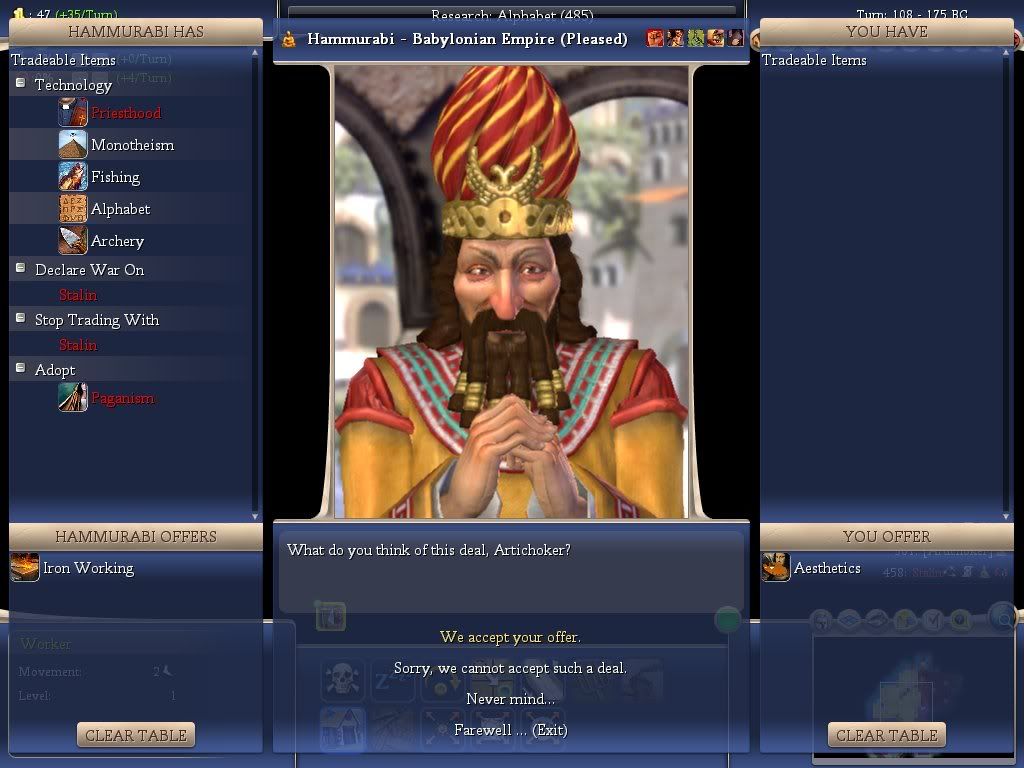
Here are the key trades I made during this round:


trade1_175bc.jpg

trade2_175bc.jpg

trade1_275ad.jpg

trade2_275ad.jpg

trade1_500ad.jpg

trade1_700ad.jpg

trade2_700ad.jpg

trade1_780ad-1.jpg

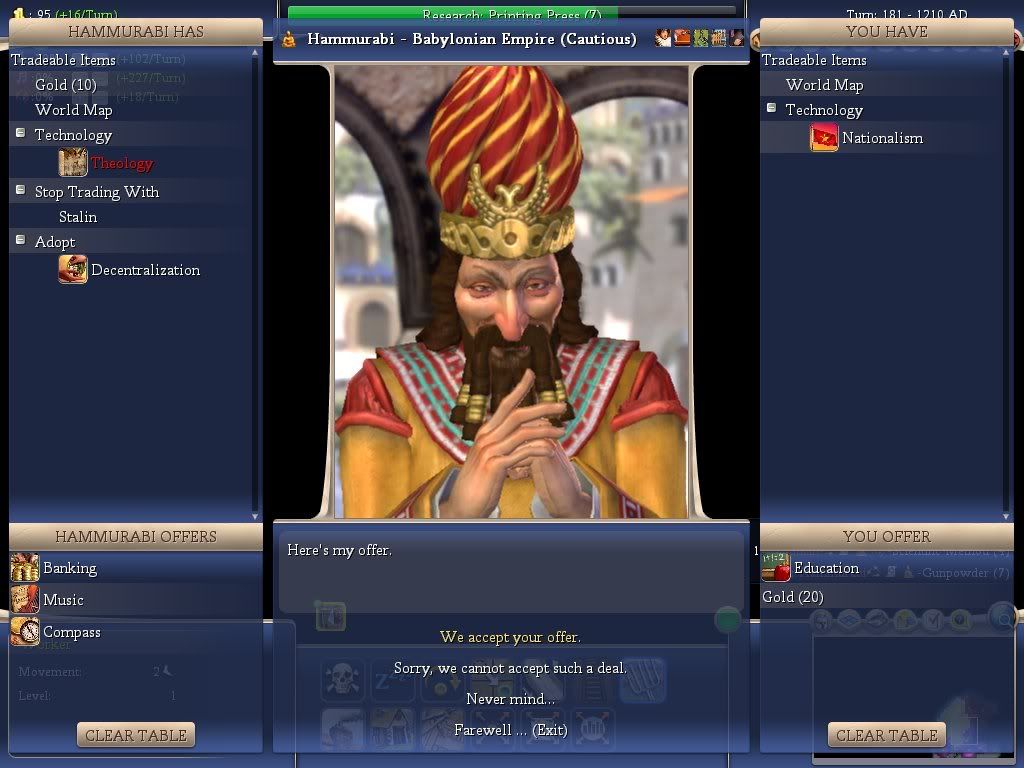
trade1_1210ad.jpg


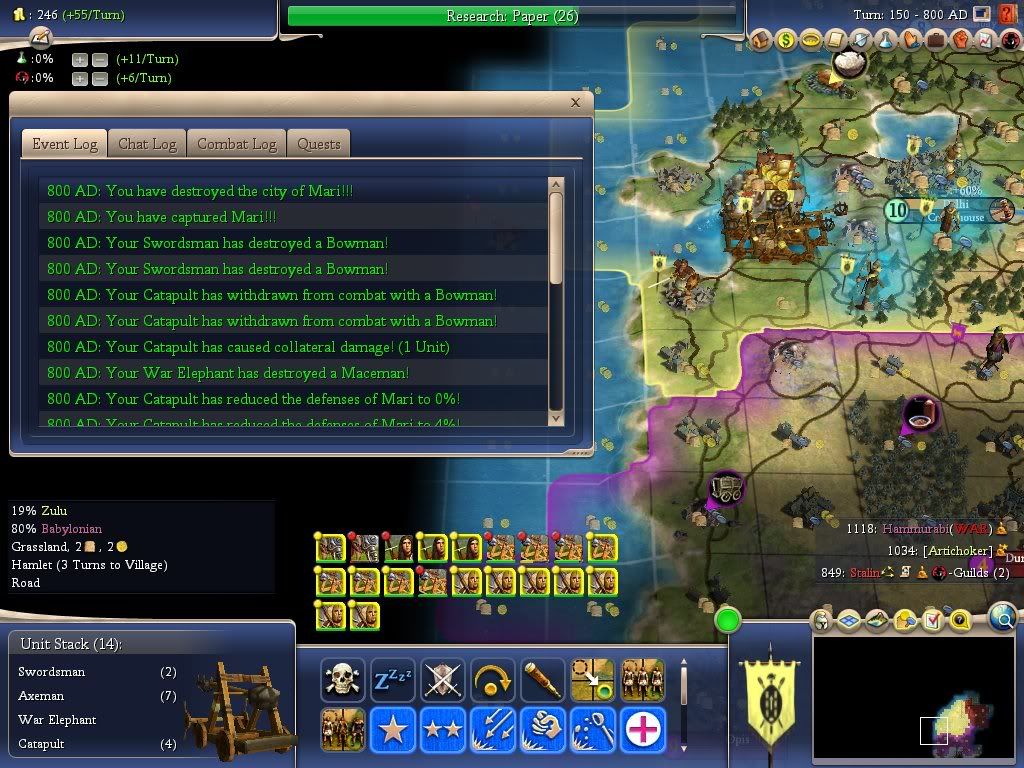
Summary of Battles

Here are the key battles I made during this round:

log1_800ad-1.jpg

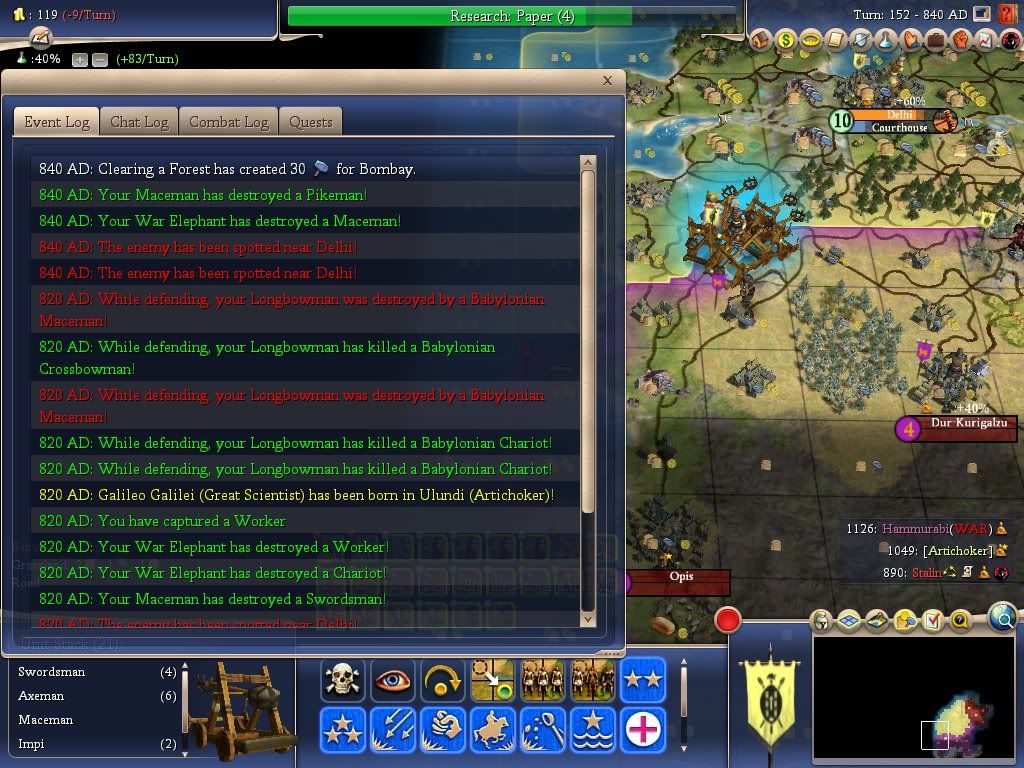
log1_840ad.jpg

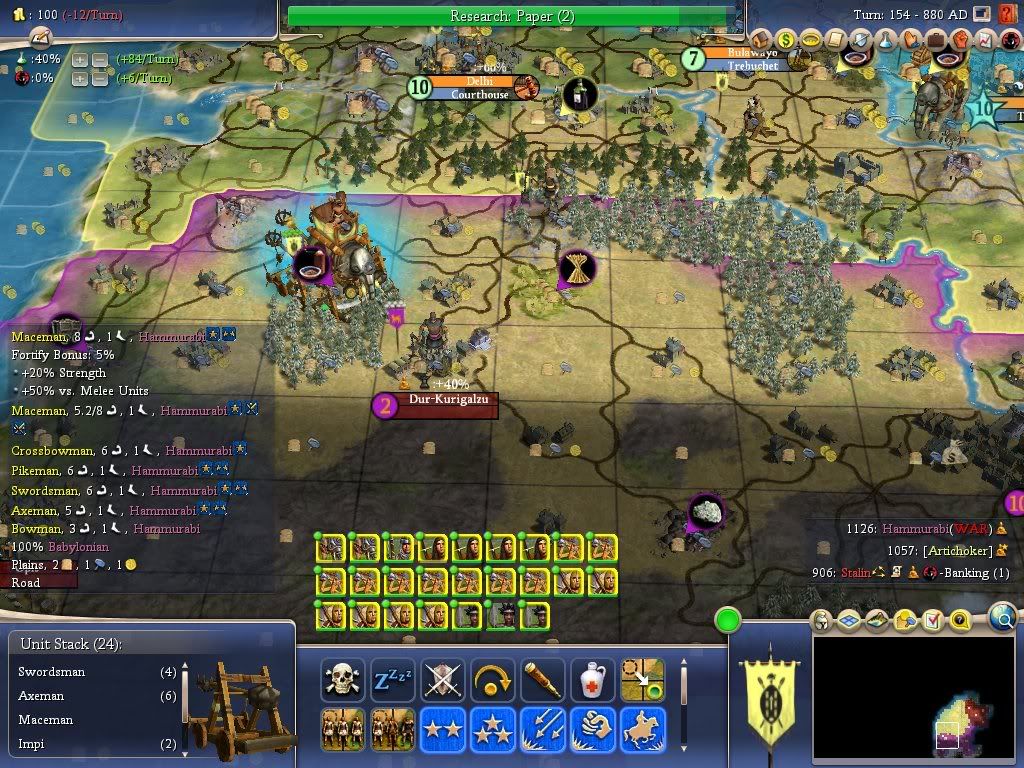
war1_880ad.jpg

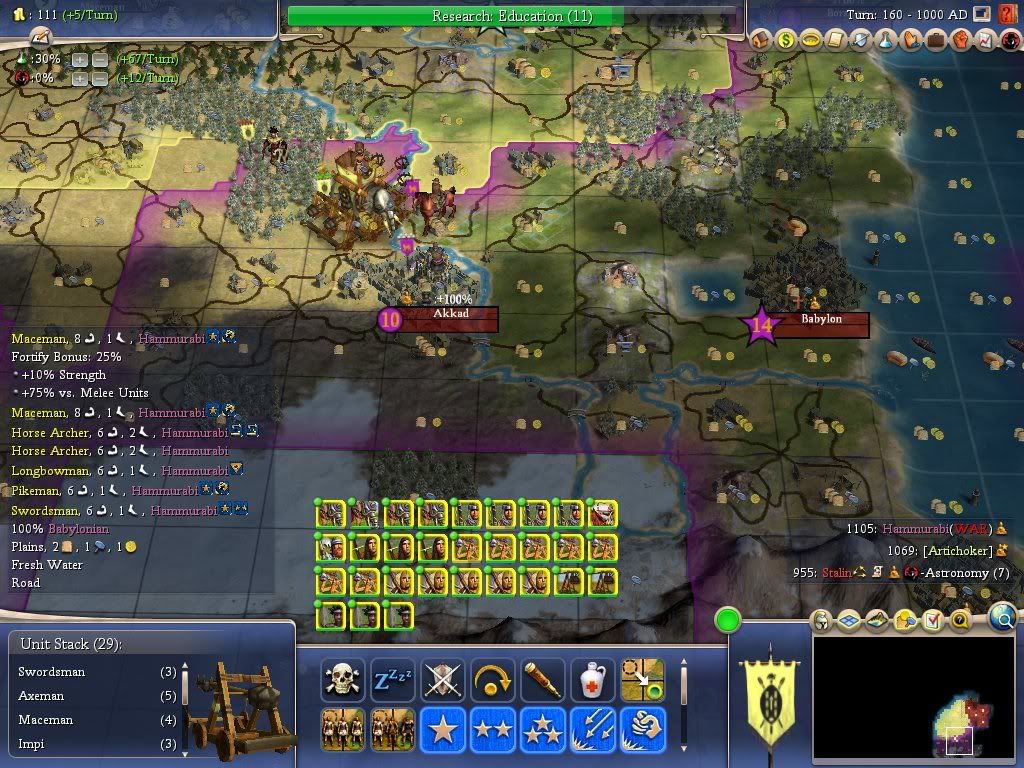
war1_1000ad-1.jpg

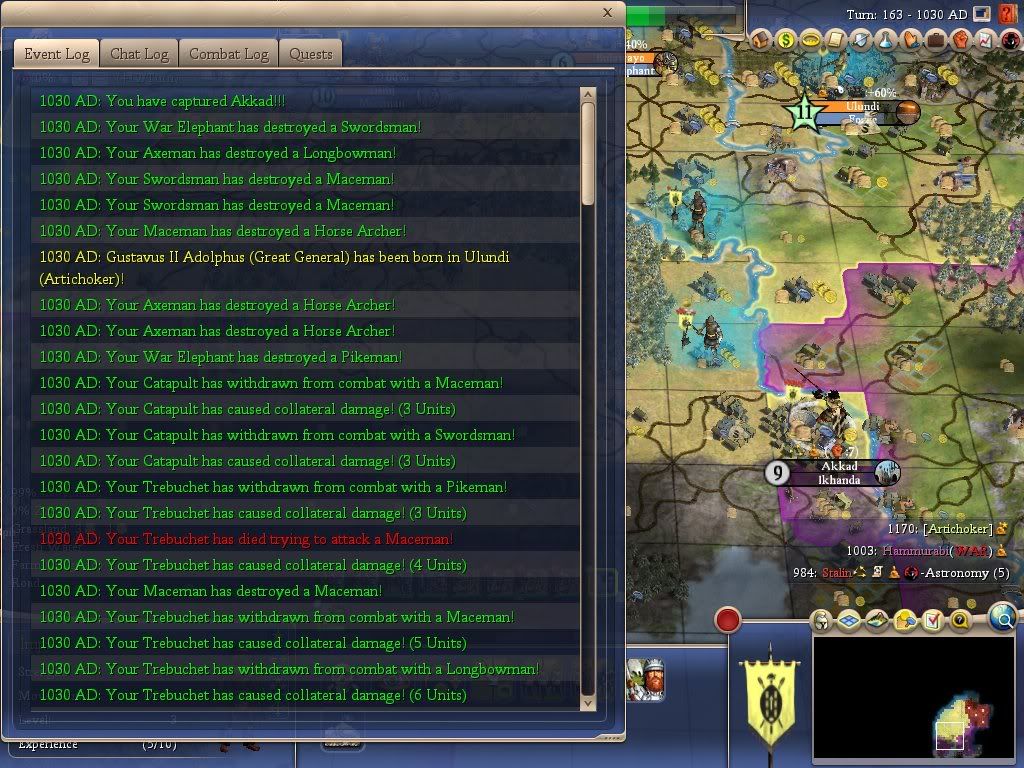
log1_1030ad.jpg


war1_1120ad.jpg


Conclusion of the war and the Liberalism race

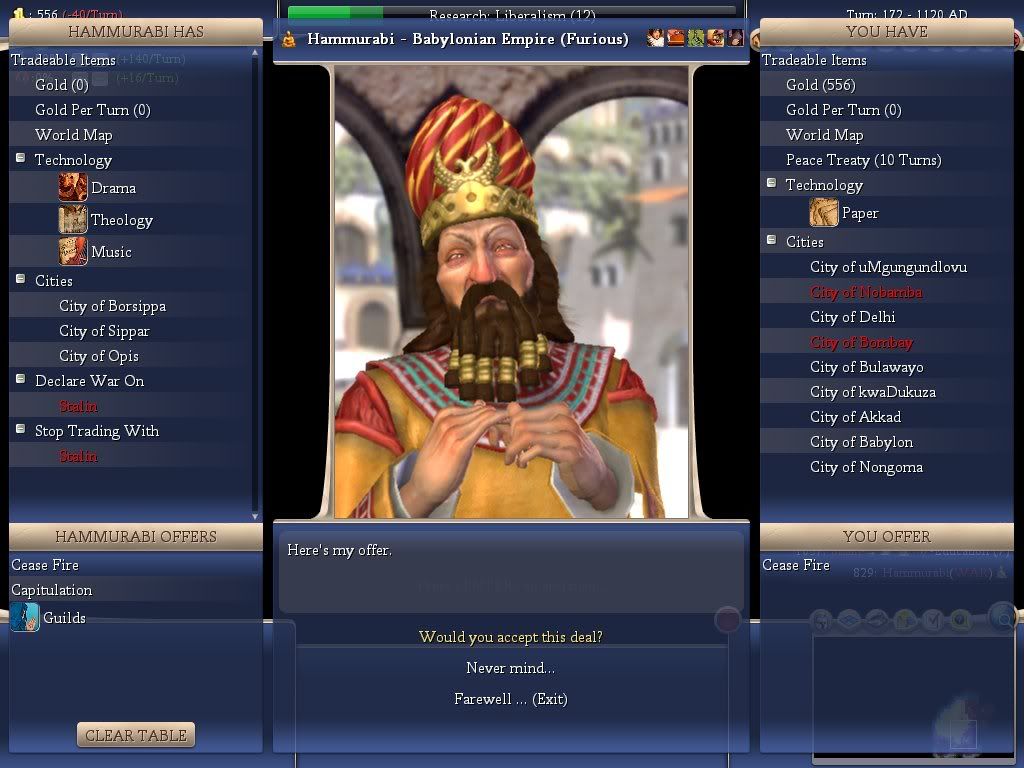
Judging by how close Stalin was to stealing the Liberalism race, I decided to end the war quickly after capturing Hammurabi's capital. Since I was able to gain Guilds while also capitulating Hammurabi, I knew it was a good idea to end the war. The only question was whether to accept Hammurabi's capitulation. Since he had poor land but good resources, including Stone, I decided that capitulation was a good idea since I could gain the resources while paying only a little bit of maintenance.

peace_1120ad.jpg


log1_1130ad.jpg


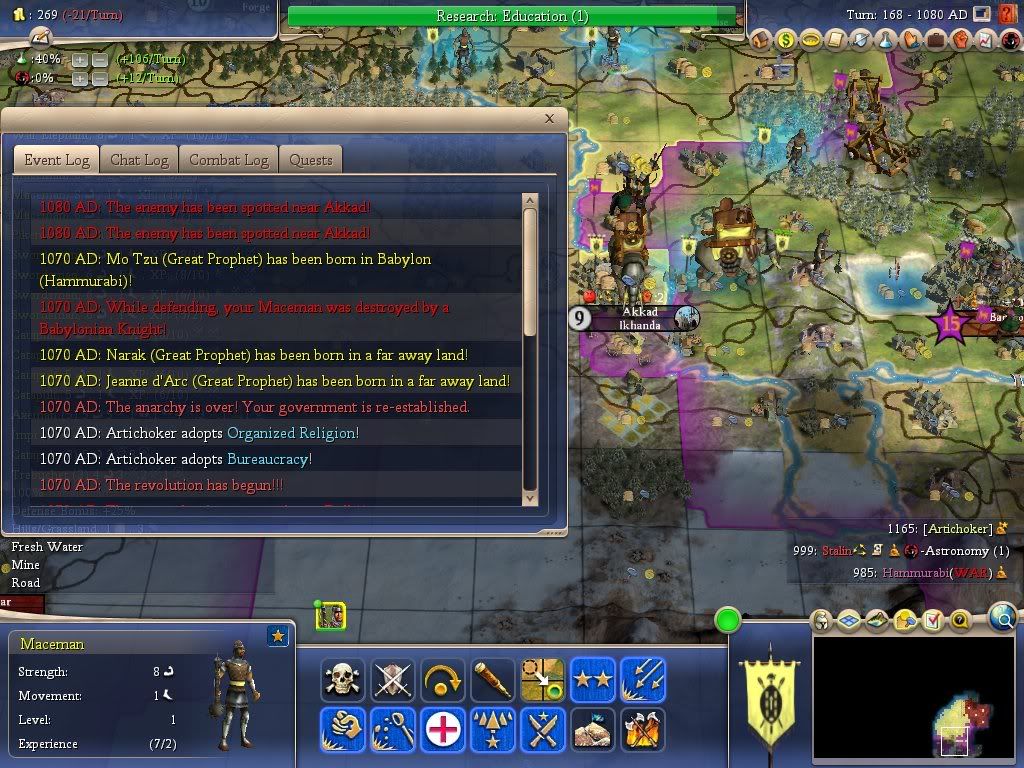
Toward the end of the war, I switched to Bureaucracy and Organized Religion. On the last turn of Vassalage, I hurried out military units out of all the cities that were building them, and then had all cities work on buildings.

log1_1080ad.jpg


I had already begun the sprint toward Liberalism, but Stalin had already switched to Scientific Method, making the race a moot point for last few turns.

log1_1210ad-1.jpg


After gaining Liberalism and Nationalism, I traded Education to Hammurabi for some of his techs.


Uh, wonders AND war at Immortal. I'm impressed.

May I ask why you have chosen to attack Hammurabi first. I know I'd have attacked Stalin, so I'm curious. He's more of a backstabber, while Hammurabi is quite reasonable. He seems to have a more developed empire and a few wonders. And you'd be able to catch him before cossacks.
 
Uh, wonders AND war at Immortal. I'm impressed.

It's a first for me, to build wonders successfully on this level in the early game. But given the start, it was difficult to use either a basic SE or CE to support research. An SE is fueled by food, and a CE is fueled by commerce. How about the case where most of your land is production-heavy, instead of food or commerce heavy? This was a special situation where building the wonders helped the economy survive throughout the war.

May I ask why you have chosen to attack Hammurabi first. I know I'd have attacked Stalin, so I'm curious. He's more of a backstabber, while Hammurabi is quite reasonable. He seems to have a more developed empire and a few wonders. And you'd be able to catch him before cossacks.

I like to assume worst case scenarios when choosing military targets. I knew that my forces were large and strong enough to defeat Hammurabi's. This was helped by good early tech progress, the +2 XP of Vassalage, the Aggressive trait, and the presence of Ivory.

I also could have attacked Stalin, and it probably would have been easier. But I was still suspicious of the possibility that Hammurabi would attack. The difference is being able to defend my territory. If Stalin were to attack me, he would have to go through the narrow mountain pass that is tightly guarded by my Heroic Epic city. But Hammurabi, on the other hand, would have an entire front from which to choose points to attack my territory.
 
Alright, makes sense, didn't really notice that nice mountain chokepoint.


I agree, though, that Stalin makes a great target with his wonder-rich capital.

I will probably build up a force of Cannons and Riflemen, by upgrading my experienced medieval units to their renaissance counterparts. Stalin's capital is only the 2nd city from my border!


As far as what kind of victory I'll pursue in this game, it's looking more and more like a good candidate for a cultural victory. If I can get Civ Jewellers and Sid's Sushi it will be great. The -20% maintenance from the Ikhanda will really help here.
 

Attachments

to 1911 AD:

Spoiler :


Earlier I had hinted that I might go for a culture victory this game...

...and so Culture it would be. The main influence this choice had on my decisions was with what kind of Great People to aim for. With the Parthenon and Statue of Zeus, which generate Great Artist points, it was a solid fit for the culture strategy. Not to mention that I had two cities with at least one wonder apiece, and their culture bonuses soon doubled.

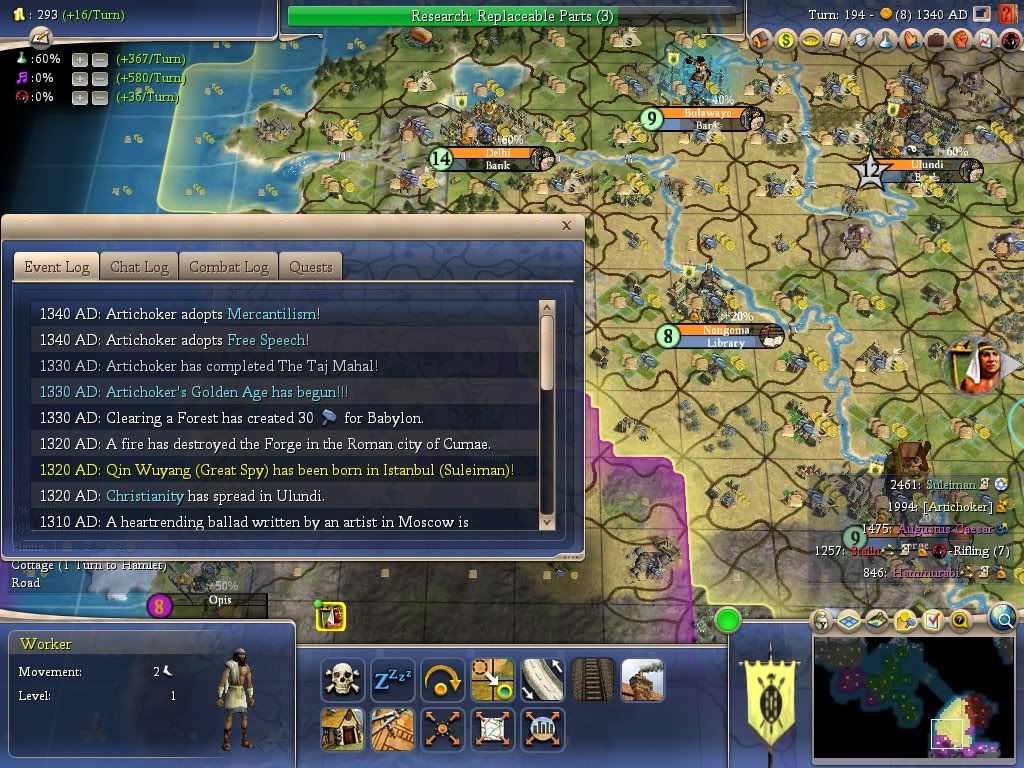
I had remained in Vassalage for approximately 600 years, but at the end of the war I switched to Bureaucracy+Organized Religion. This was very convenient after having gained Nationalism, since I then built the Taj Mahal shortly afterward, immediately triggering a Golden Age.

log1_1340ad-1.jpg


It was a golden age for economic growth. I wasn't yet ready to start drafting...that would be for the 2nd golden age. This one was primarily to transition to Free Speech, opening up the avenue for fast research and culture buildup.

log1_1400ad.jpg


Not long afterwards, Borsippa (the Babylonian city near the Rice and Clam) flipped to my side. I was encouraged by this and settled an additional city near my western border, again exploiting the cultural advantage of having Hammurabi as a vassal.

Shortly after that, I gained an extra Iron and Spice.


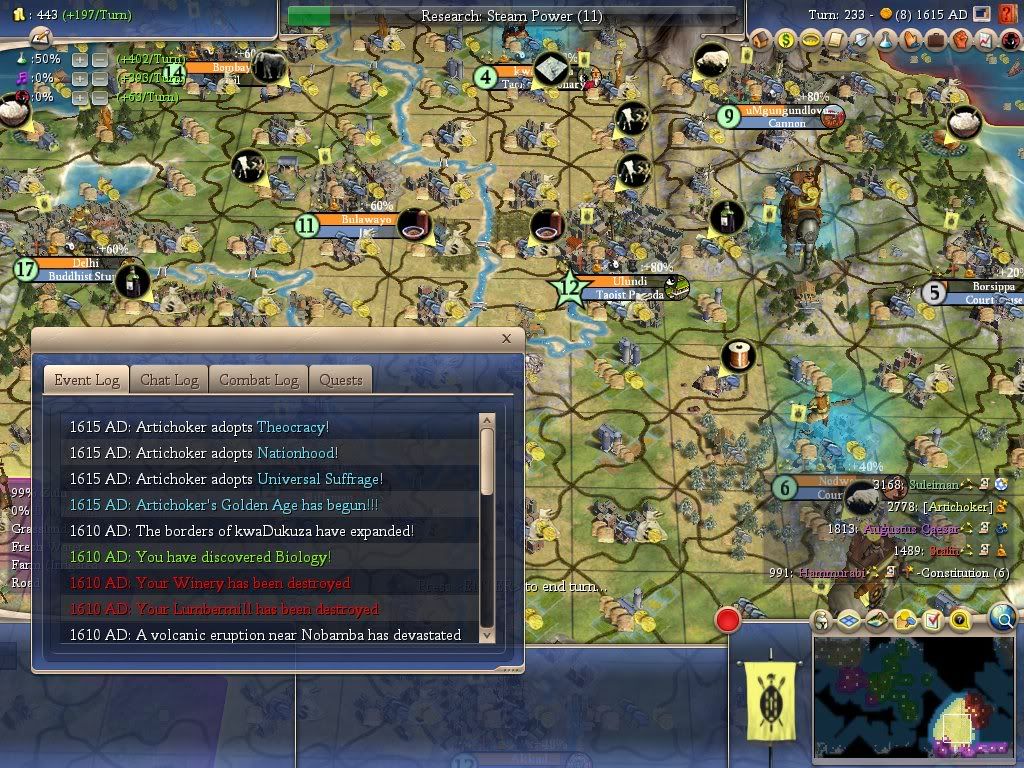
log1_1615ad.jpg


After a healthy period of economic growth, I was ready for another Golden Age. This time, it was for 2 other reasons: 1) to draft under Nationhood and 2) to adopt Emancipation. I had timed the war against Stalin to be right in the middle of this golden age, and my new wave of Riflemen swept along to provide strong garrison support for my invasion.

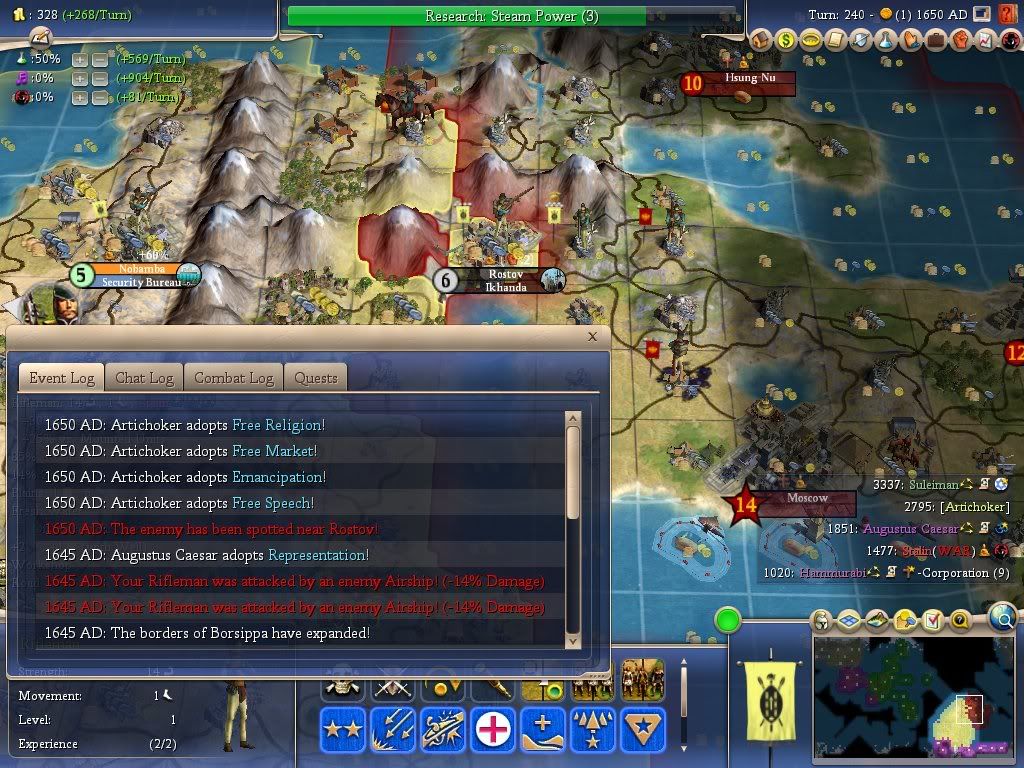
log1_1650ad.jpg


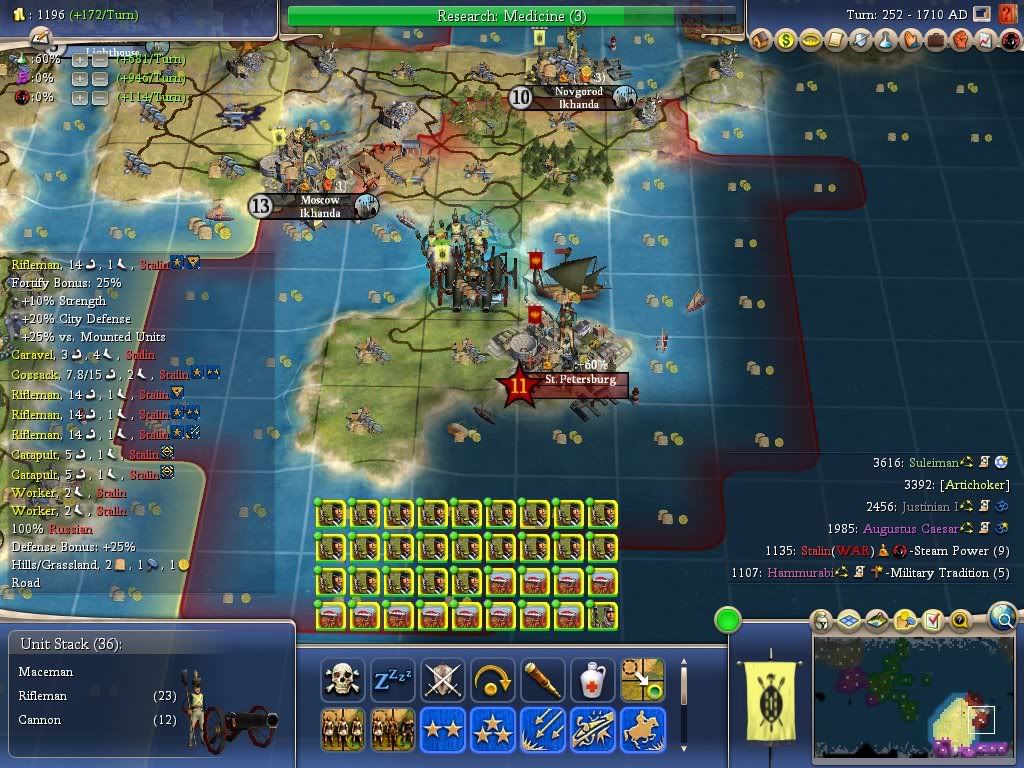
Meanwhile, I had promoted my medieval units to their renaissance counterparts, namely Riflemen and Cannons, to strike at the heart of the Russian empire.

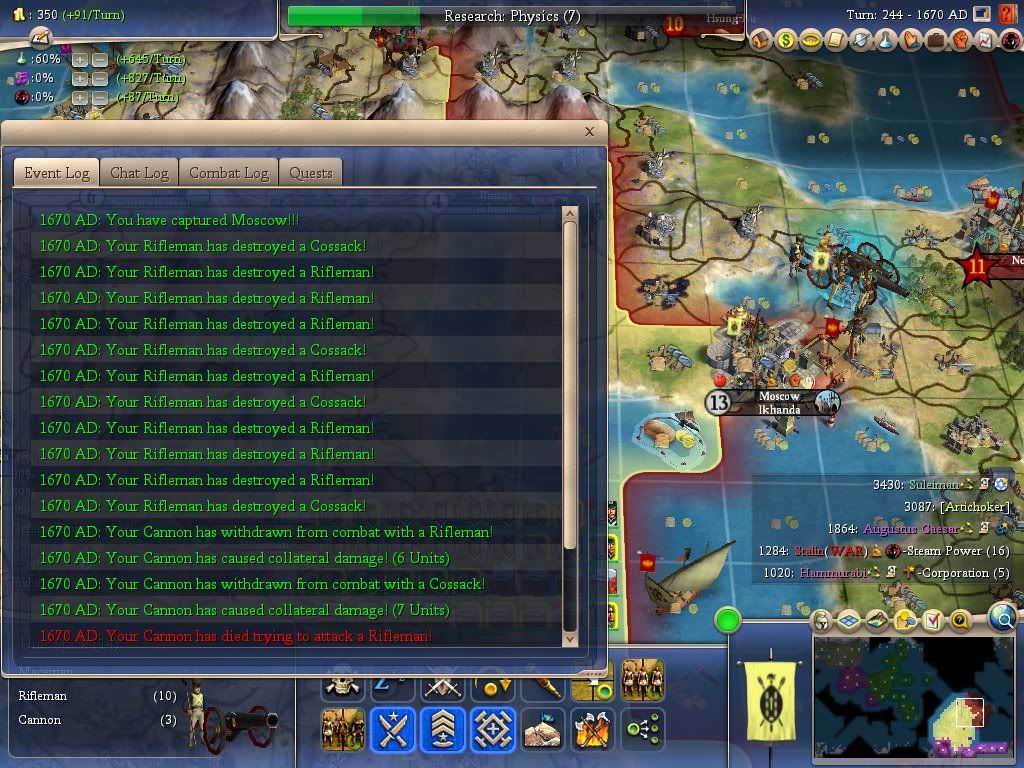
log1_1670ad.jpg


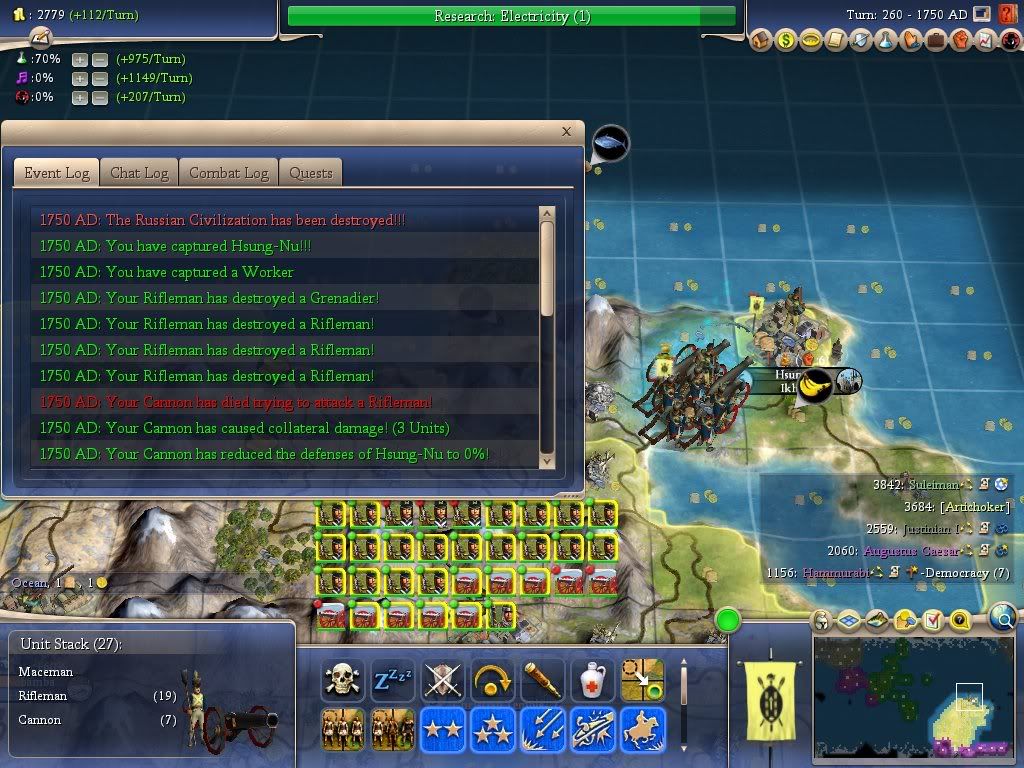
Three Russian cities were located close to each other, so this war was progressing rather quickly.

war1_1710ad.jpg


Not too long afterward, the last Russian city was taken. Miraculously, not a single Russian city was razed. In the earlier war against Babylon, I had razed 2 cities, and used a settler to found one new city in their place.

log1_1750ad.jpg


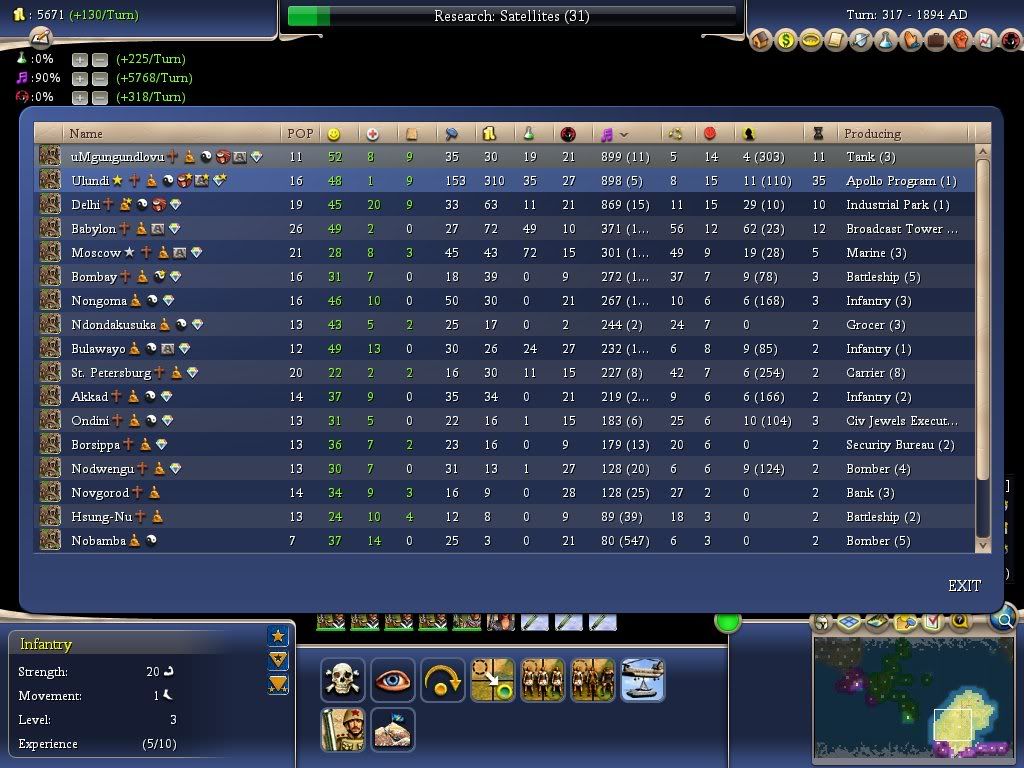
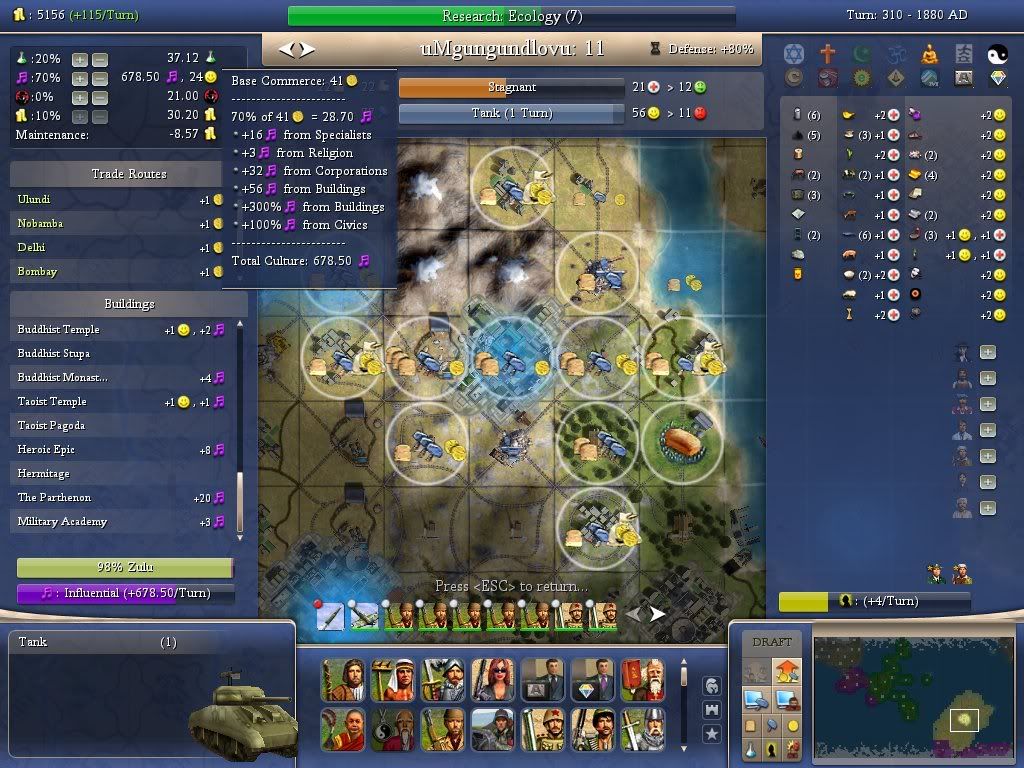
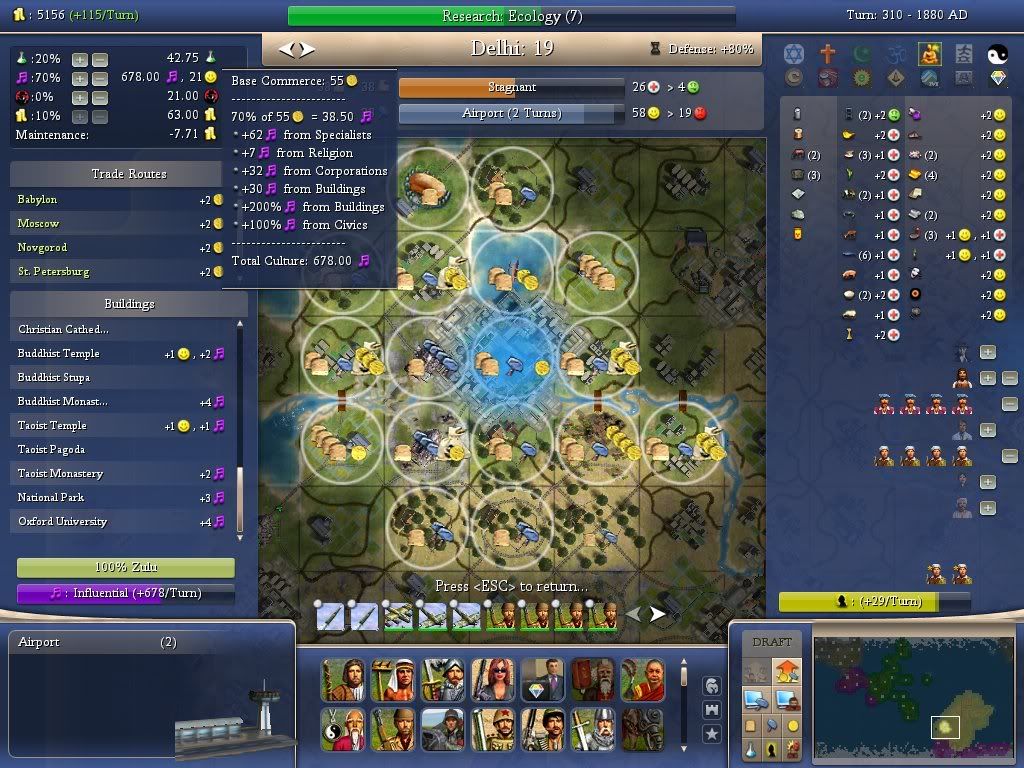
In the endgame, I focused on national wonders and corporations. Babylon got Globe Theater and National Epic. Ulundi got Ironworks and Wall Street. uMgungundlovu got Heroic Epic and Hermitage. And Delhi got Oxford University and National Park. Unfortunately, Moscow joined the empire a little bit late, so it only got Forbidden Palace and Red Cross.

Near the end of the game, I had founded Civilized Jewerlers, Sid's Sushi, and Aluminum Company. Unfortunately, Creative Constructions went to the Roman Empire.

cities_1894ad.jpg


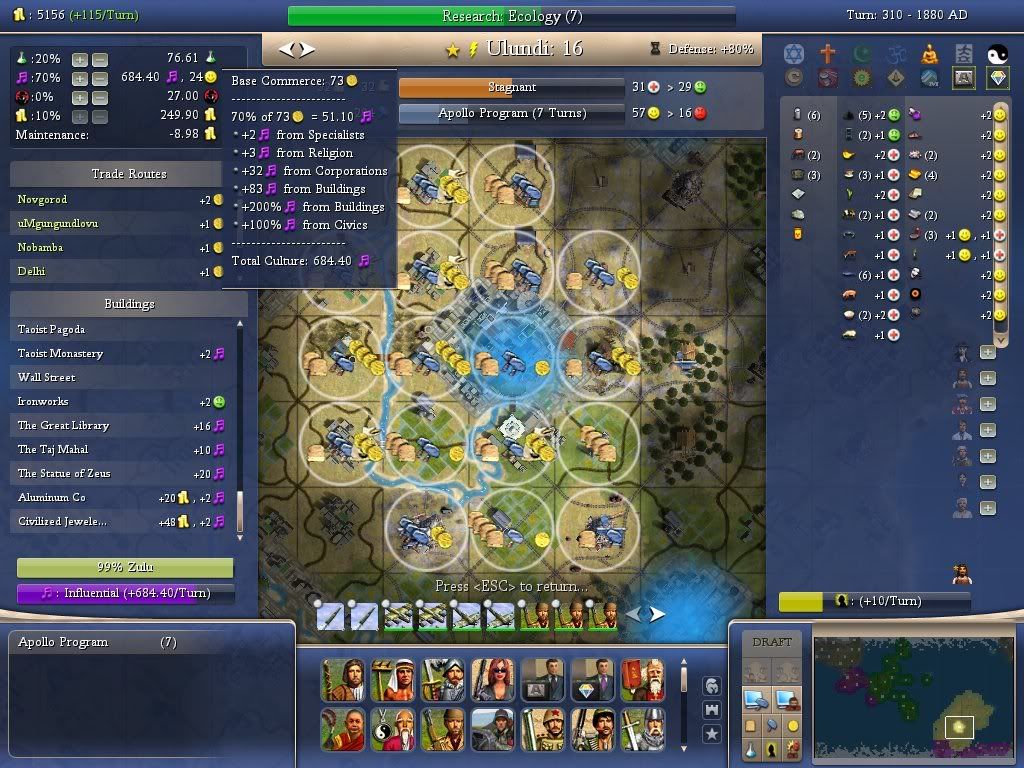
I carefully allocated my Great Artists to generate near-even culture in all 3 of my future legendary cities.

ulundi_1880ad.jpg


umgun_1880ad.jpg


delhi_1880ad.jpg


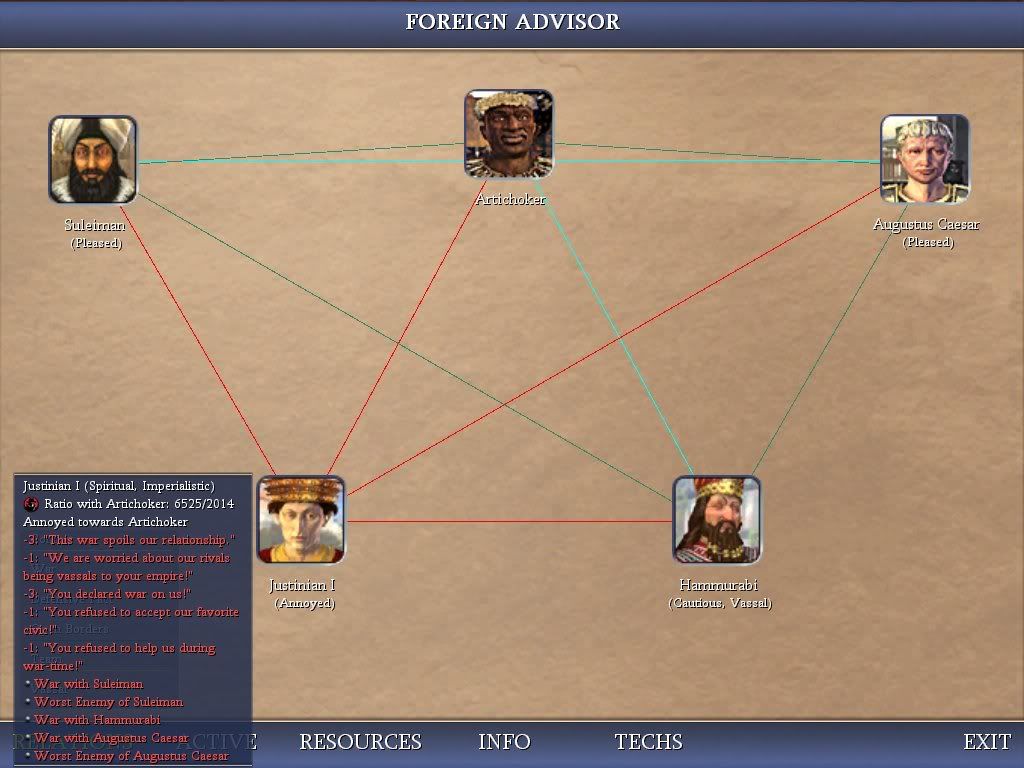
Just before it was about to end, Suleiman invited me to a dogpile. I had to oblige, seeing his borderline diplomatic status and acknowledging him as a fellow owner of nukes...

diplo_1901ad.jpg


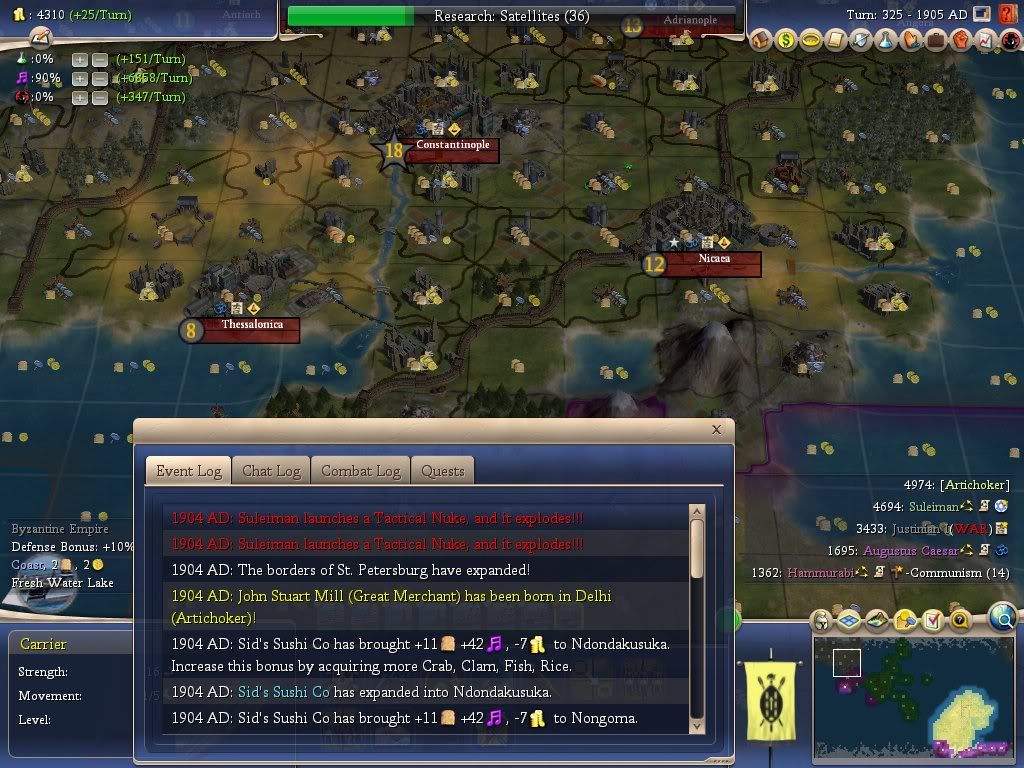
With the non-proliferation treaty already signed, Suleiman was eager to flex the muscle that he had over the non-nuclear nations, namely Byzantine.


war1_1905ad.jpg


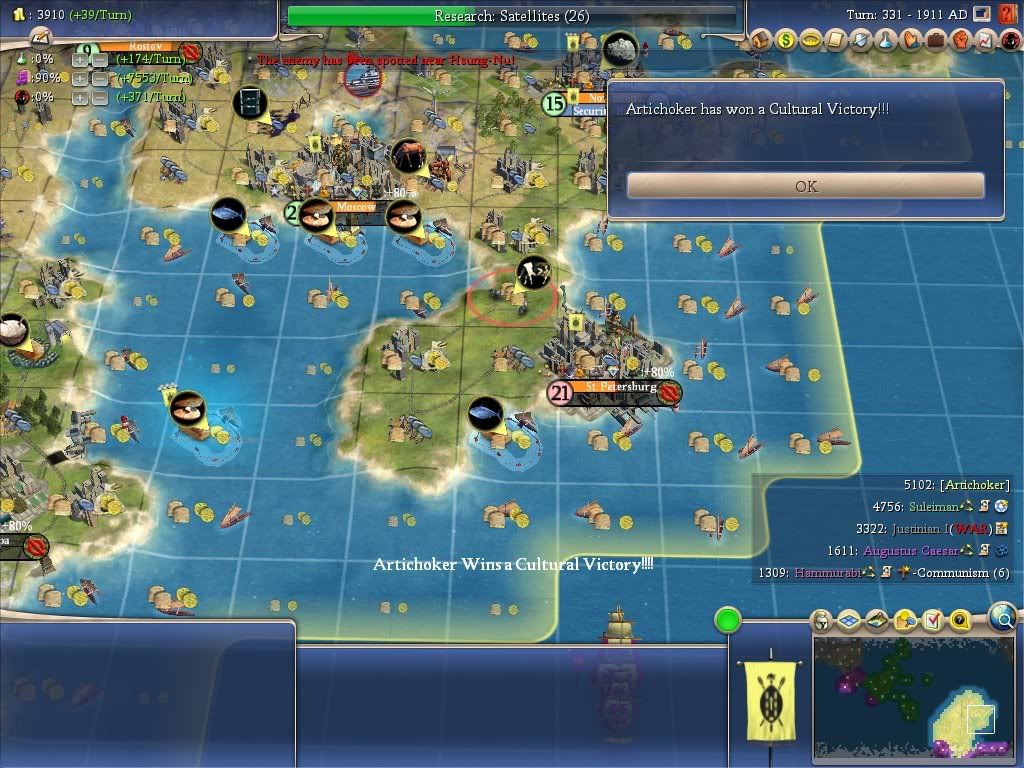
I guess he was too drunk with power to notice the glory of my 3 soon-to-be Legendary cities.

victory_1911ad.jpg


"Let there be light!" Shaka said. The glory of Zululand's 3 Legendary cities blinded the eyes of the rival leaders in a glorious flash. And then there appeared someone right there...

"The light shines brightly!" said the Master.

"Sensei!" replied Shaka, slightly startled by the Master's quiet entrance to the scene.

"I see the light now! A warrior does not win a war by fighting, but by watching others fight each other! The victory is not in conquering the enemy, but in knowing that oneself is greater, regardless of the struggles faced by others. To know is to triumph, and to watch is to celebrate."

"You have learned well," said the Master. "Now go and spread your knowledge to others!"


Attachments

Q: This 3rd game really showed the overpoweredness of Marble in helping to build The Great Library and The Parthenon. Looking at the 1st game, Marble was also available there...why wasn't it used in the same way as in the 3rd game?

A: The 3rd game featured cities with much higher production than in the 1st game. Having Marble alone doesn't guarantee that you'll get either The Great Library or The Parthenon successfully...it also takes sufficient production to make sure that the wonders can be built in a reasonable amount of time. Furthermore, in the 1st game I declined to go for The Great Library partly to demonstrate an independence of having a certain resource.
As it turned out, Suleiman proved to be a wonderhog, and trying to grab any wonder before he could would probably be met with stiff competition.


Q: How reliable is a Sword/Catapult attack against a Carthraginian army featuring Numidian Cavalry, War Elephants, Crossbowmen, Longbowmen, and Macemen, as seen in the 1st game?

A: Well,
I definitely wouldn't recommend that strategy for every game. But being able to count the number of units needed to overcome a powerful enemy force is crucial to keeping the window of victory in battle open. Catapults are key in countering powerful stacks, and the +2 XP from Vassalage magnifies the power of Catapults in different ways, depending on which promotions are given to them. Having Aggressive also helps significantly when relying on Swordsmen as a key component of the army. If you have enough positive factors going your way, never rule out the potential of a Sword/Catapult attack, even when the enemy has advanced units.


Q: How do the availablililty of civics such as Bureaucracy and Theocracy affect the choice of using Vassalage? (For example, Bureaucracy lies in the same civic category as Vassalage, and Theocracy provides the same +2 XP bonus as Vassalage.)

A: That's a two-part question. Theocracy, while very powerful in some cases, is often limited by the restriction it places regarding state religion and religion spread. Those two factors aside, it is often easier to trade for Feudalism than Theology, especially using a Philosophy bulb. In addition, Theology is more of a dead-end tech, but Feudalism is necessary to open up the Guilds line of techs. Regarding Bureaucracy, it's often a compromise that needs to be made, but in the early game, critical research is often dominated by specialists, enabling the player to gain a tech lead through tech trades. Sometimes, Bureacracy doesn't provide a big advantage because of the location of the capital. In other cases, the capital can be moved to a better location but doing so may not be worth the hammer cost of building a Palace. Even in other cases, building a Palace is worthwhile, but in the meantime Vassalage provides the greater benefit.


Q: The 2nd game was the only game of the three that featured all civilizations on the same continent. How did this affect the strategy of the game?

A: The major difference present in the 2nd game was the much greater potential for tech trades. Both Philosophy and Music were very powerful in this regard, in enabling an early tech lead for military and the Liberalism race.
Being able to see the research paths of all rival leaders is a great asset in helping to win the Music race. Although my choice to settle the Great Artist rather than using it for a Golden Age was probably sub-optimal, at least I demonstrated the trade potential of Music. Combined with Philosophy, it almost made the issue of tech research irrelevant after that point, since a majority of the key military techs could be gained early through tech trades.


Q: How important are military traits such as Aggressive or Protective in fighting a Medieval war?

A: Well, the 1st game was definitely an example of the advantage of Aggressive in magnifying the power of a Sword/Catapult attack. With the 3rd game, however, I reckon that the war against Hammurabi could still be easily won without the help of Aggressive. My next thread will probably feature a leader without either Aggressive or Protective, to demonstrate that the +2 XP alone is often sufficient to break through enemy medieval forces.
 

Attachments

After answering the last question above, I have decided to use Suleiman (Imperialistic/Philosophical) as the next leader of the series. Stay tuned!
 
Top Bottom