You are using an out of date browser. It may not display this or other websites correctly.
You should upgrade or use an alternative browser.
You should upgrade or use an alternative browser.
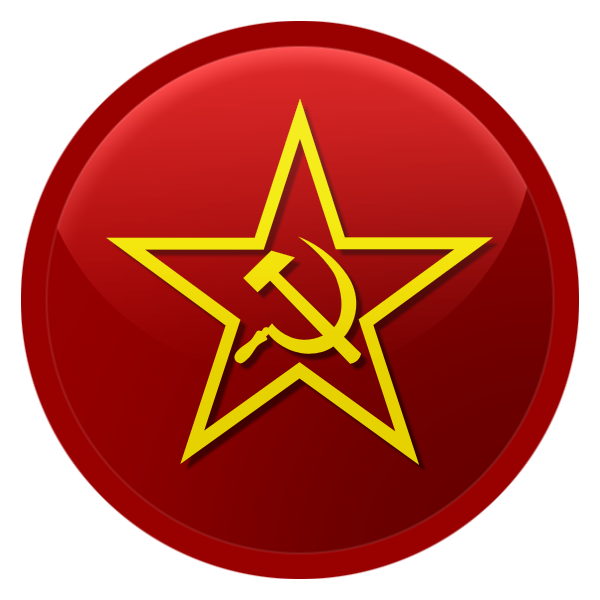
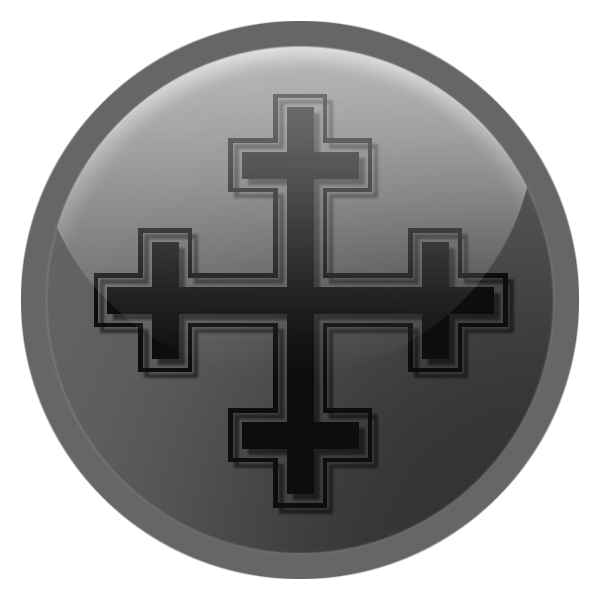
Irkalla's "Firaxis-Like" Civilization Icon Tutorial
- Thread starter Irkalla
- Start date

TheBladeRoden
Deity
Wee what fun!


Irkalla
ENTP POWWWEEEEEER
I actually followed the tutorial!

You're doing well, but you need to play around and get the method nailed. But yeah, you seem to be the first guy that has actually followed the tutorial. I see every concept that I laid out executed in your icons.
If this is your first set to be publicly displayed, then congratulations. Yours were better than mine!
Wielki Hegemon
Emperor
Right click the overlain thin ring layer, and use Filter -> Gaussian Blur on it. I used a 16.0 px blur. Move this below the border ring layer, and duplicate it thrice. Select these triplicate layers, and hit Ctrl + E to merge them. Set the Layer style from Normal to Overlay, and play with the fill a bit until you get it right. At this point, you may notice that the overlay ring above is a bit too bright, so you may turn the fill down on it. I did. I got something like this.

I have a problem with this Gaussian Blur part. Can You please explain it one more time? What exactly is this "overlain thin ring layer"? This one with stroke, or this one with little border?
PS. Croatia
")

snipperrabbit!!
Deity
- Joined
- Nov 23, 2006
- Messages
- 3,396
This motif won't work at smaller sizes, You should consider to fill inner and outer part.
Wielki Hegemon
Emperor

I've heard of a thing called GIMPShop that is laid out like photoshop. Beware of opt-out crapware in the installation.
Also, the border size doesn't matter. When you convert it to single icon DDS, your border should be expanded to the negative space around the icon itself. Here's Sparta's DDS for example...

Well I went through this great tutorial and have done some decent icons but I didn't quite catch the gaussian blur effect...
This is what I don't understand, first, move exactly to where?, second, how many layers with the gauss effect am I suppose to have before merging them?Move this below the border ring layer, and duplicate it thrice. Select these triplicate layers, and hit Ctrl + E to merge them.
Beside that, I'm having trouble with the .dds and I've no idea how to make the alphas. Care to make some more tutorials?
Craig_Sutter
Deity
I'm coincidentally at the same stage in my first icon. Great tutorial although I'm using Gimp (and now Gimphoto) so there are some accommodations I have to make.
Likewise, I'm having a little difficulty interpreting the same part of the tutorial. I think you make three layers and do the Gauss effect on each than merge, but then, I would think making three duplicate layers would have the same effect... and so I'm a little hazy on this part. I'm also not certain what the following means:
"Set the Layer style from Normal to Overlay, and play with the fill a bit until you get it right. At this point, you may notice that the overlay ring above is a bit too bright, so you may turn the fill down on it. I did. I got something like this." What fill? Do we fill in the inside of the rings? With what color?
There is a tutorial on making civ alpha icons elsewhere:
It does not go into quite enough details as to mechanics... when I tried it, my alphas tended to lose some of their sharpness during the resizing.
Also, a bit more info about how to resize icons without distorting them too much and how to create a single icon dds file would be nice. Ditto for the alphas.
Likewise, I'm having a little difficulty interpreting the same part of the tutorial. I think you make three layers and do the Gauss effect on each than merge, but then, I would think making three duplicate layers would have the same effect... and so I'm a little hazy on this part. I'm also not certain what the following means:
"Set the Layer style from Normal to Overlay, and play with the fill a bit until you get it right. At this point, you may notice that the overlay ring above is a bit too bright, so you may turn the fill down on it. I did. I got something like this." What fill? Do we fill in the inside of the rings? With what color?
There is a tutorial on making civ alpha icons elsewhere:
HTML:
http://forums.civfanatics.com/showthread.php?t=463116It does not go into quite enough details as to mechanics... when I tried it, my alphas tended to lose some of their sharpness during the resizing.
Also, a bit more info about how to resize icons without distorting them too much and how to create a single icon dds file would be nice. Ditto for the alphas.
I'm coincidentally at the same stage in my first icon. Great tutorial although I'm using Gimp (and now Gimphoto) so there are some accommodations I have to make.
Likewise, I'm having a little difficulty interpreting the same part of the tutorial. I think you make three layers and do the Gauss effect on each than merge, but then, I would think making three duplicate layers would have the same effect... and so I'm a little hazy on this part. I'm also not certain what the following means:
"Set the Layer style from Normal to Overlay, and play with the fill a bit until you get it right. At this point, you may notice that the overlay ring above is a bit too bright, so you may turn the fill down on it. I did. I got something like this." What fill? Do we fill in the inside of the rings? With what color?
That part I understood. On Photoshop, for each layer there are properties you can change easily. In the layer list you can change the Layer style, in this case from Normal to Overlay, and right next to it you have two percentage changers, opacity and fill. Sometimes due to the color choice the overlay is to bright so if you change the fill it will do the trick.
There is a tutorial on making civ alpha icons elsewhere:
HTML:http://forums.civfanatics.com/showthread.php?t=463116
It does not go into quite enough details as to mechanics... when I tried it, my alphas tended to lose some of their sharpness during the resizing.
Also, a bit more info about how to resize icons without distorting them too much and how to create a single icon dds file would be nice. Ditto for the alphas.
That one is for Gimp and for icons, not alphas.
I've tried a bit and had no problem with the resize.
As for creating single icon dds what i did was get the sdk template and cut it to 256*256 on one of the corners (superior left), paste the icon you've designed and them save it to dds using nvidia photoshop plug-in. The only problem is that it won't let me resize it to 45*45
They are fine, however I did notice that the border of the icon ingame seems a bit crooked.
All I'm lacking is the alphas
Craig_Sutter
Deity
Here are a couple I've been working on... as I said, great tutorial.
View attachment 353470
View attachment 353471
View attachment 353470
View attachment 353471
Hiram
XML Plebian
This tutorial is excellent. Managed to get it all to work with gimp and I've created an icon for a Koori civ I'm thinking of making:

Craig_Sutter
Deity
Here are a couple more... all of mine are still at the part where I apply some sort of Guassian effect to the rings because I've not figure that out yet. Also, these two knowingly violate the 2 colour rule but I was kind of cornered given the symbols I wanted to include.


Oops... some sort of problem with the jpg conversions... I'll reupload after fixed.
Fixed.
Oops... some sort of problem with the jpg conversions... I'll reupload after fixed.
Fixed.
Irkalla
ENTP POWWWEEEEEER
mrc cannot into 45x45
Save it as 8:8:8:8, also known as 32 bit ARGB. It's the best quality and will let you break the power of 2 problem.
Craig_Sutter
Deity
When resizing how do you keep the image sharp? Mine always blur as I reduce size.
Irkalla
ENTP POWWWEEEEEER
When resizing how do you keep the image sharp? Mine always blur as I reduce size.
They're going to. Post a size profile here and I'll see if it's worse than normal.
Here's my size profile from the Macedonians with Bicubic resampling. They say use Bicubic sharper for reducing and Bicubic smoother for increasing, but I see no difference. Nearest neighbour and Bilinear are undisputably poopty, though.

Save it as 8:8:8:8, also known as 32 bit ARGB. It's the best quality and will let you break the power of 2 problem.
Ok
And what about the alphas?
I've seen your files from Sparta and its all white....
Craig_Sutter
Deity
"But that kinda looks like crap, right? Well, right click Layer 6, or our shadow layer, and click Blending Options. Set a Colour Overlay, and when you go to pick the colour, sample a part of the icon background that isn't affected by the shadow layer. Then drag the colour down (darken it) towards the black, and a drag it right (saturate it) towards the red. Doing this regardless of the background colour should give you a shadow that compliments your colour. You should get something that looks like this."
I'm having a little trouble figuring out the red part. I've set up the color overlay and selected the color based on my background layer... what am I dragging? Am I changing the color saturation (S) and values (V)? For example, my yellowish background is H 45 S95 V100 R255 G201 B14. Should I downward adjust S and V? If so, by how much? Or am I totally misinterpreting your instructions? I'm GimPhoto so maybe the adjustment methods are different... it could actually be that you are dragging the courser across the selection as in blending tool use.
I'm having a little trouble figuring out the red part. I've set up the color overlay and selected the color based on my background layer... what am I dragging? Am I changing the color saturation (S) and values (V)? For example, my yellowish background is H 45 S95 V100 R255 G201 B14. Should I downward adjust S and V? If so, by how much? Or am I totally misinterpreting your instructions? I'm GimPhoto so maybe the adjustment methods are different... it could actually be that you are dragging the courser across the selection as in blending tool use.
Craig_Sutter
Deity
As for resizing, my icons aren't quite at the resize stage... I'm just going from prior experience in reducing my admittedly poorly made icons in past attempts (pre-tutorial efforts). I'll see how using some of your advice on the matter works when I've completely finished an icon.
Thank-you.
Thank-you.
Irkalla
ENTP POWWWEEEEEER
Ok
And what about the alphas?
I've seen your files from Sparta and its all white....
bring up the colour channels window and tick the Alpha channel.
bring up the colour channels window and tick the Alpha channel.
and untick RGB ?
Similar threads
- Replies
- 3
- Views
- 521
- Replies
- 0
- Views
- 747
- Replies
- 3
- Views
- 206