Well readers, this round was an interesting and very fun one to play. I made a couple of serious mistakes and then had fun trying to get out of them. A coach I had a long time ago once said that watching people do something wrong was often as helpful, if not more helpful, than watching people do something correctly. So I'll be doing my best to teach by example. Examples of what not to do that is. Then I'll try to show some ways of getting out of sticky early situations.
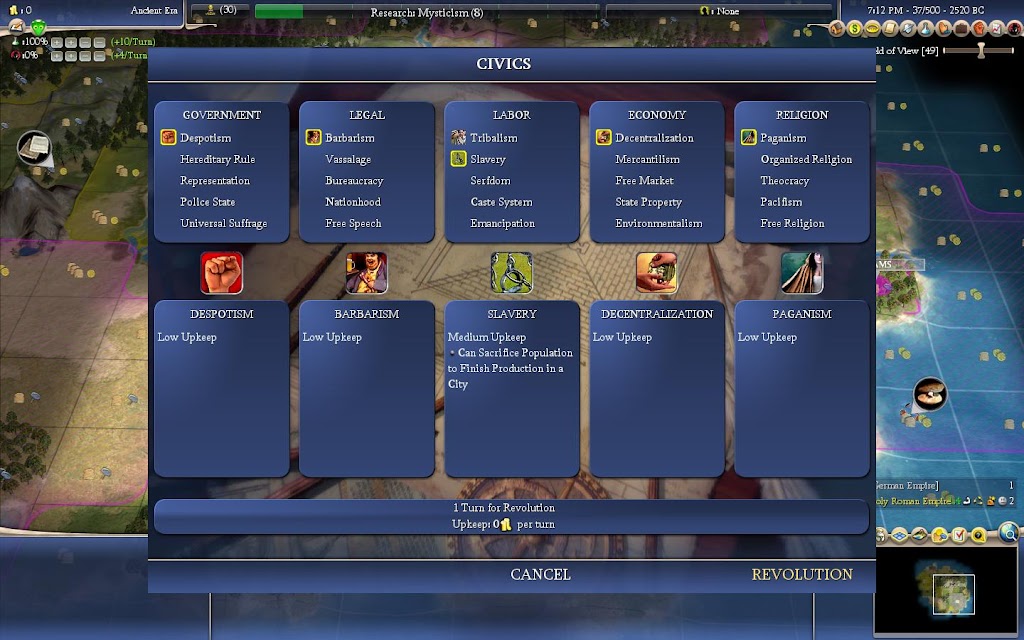
You'll remember that last round finished with a settler on a path to his planned city site. Units can move during revolution but things can't be built or researched. So a great time for the first revolt is while the first settler is moving. So that's what I did.
Not only was Slavery the only thing to revolt to, but it's also very useful. Especially with a capital that had as much food as this one.
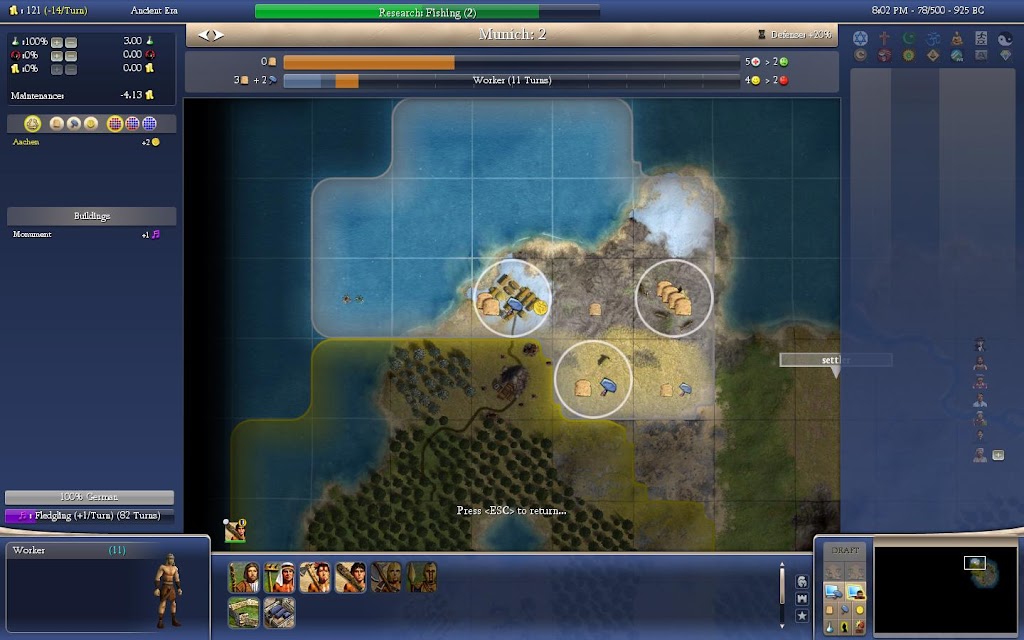
Next turn I was able to settle my city as planned.
It was able to work the corn and did so. I'm a fan of placing a second city in such a way that it can work a tile that's already been improved by the capital. Sometimes it's better to go for a far off location to block land or claim some good resources. But if the capital has some food it can share, which it often does, I put a second city so that it can use it.
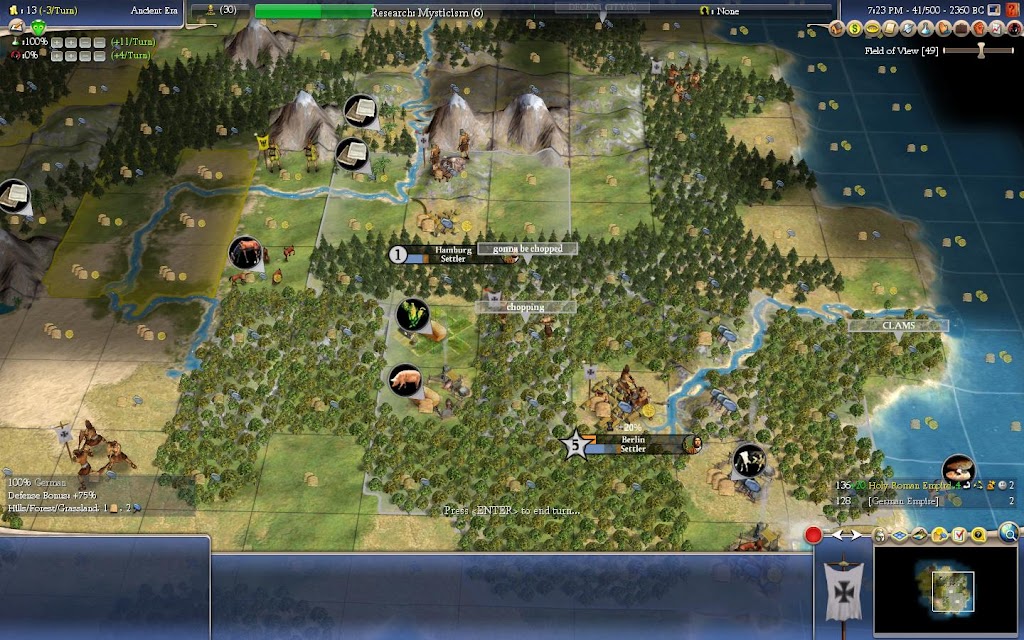
I had my workers on full chop duty. I was worried about Charlemagne taking all of my city sites, crappy as they might be, so I did my best to produce some settlers.
You can also see that I'm researching Mysticism. I wanted this tech for the ability to build monuments and help me set up some cultural blockage, but also since it would lessen the expense of Masonry which I needed for The Great Wall and The Great Lighthouse.
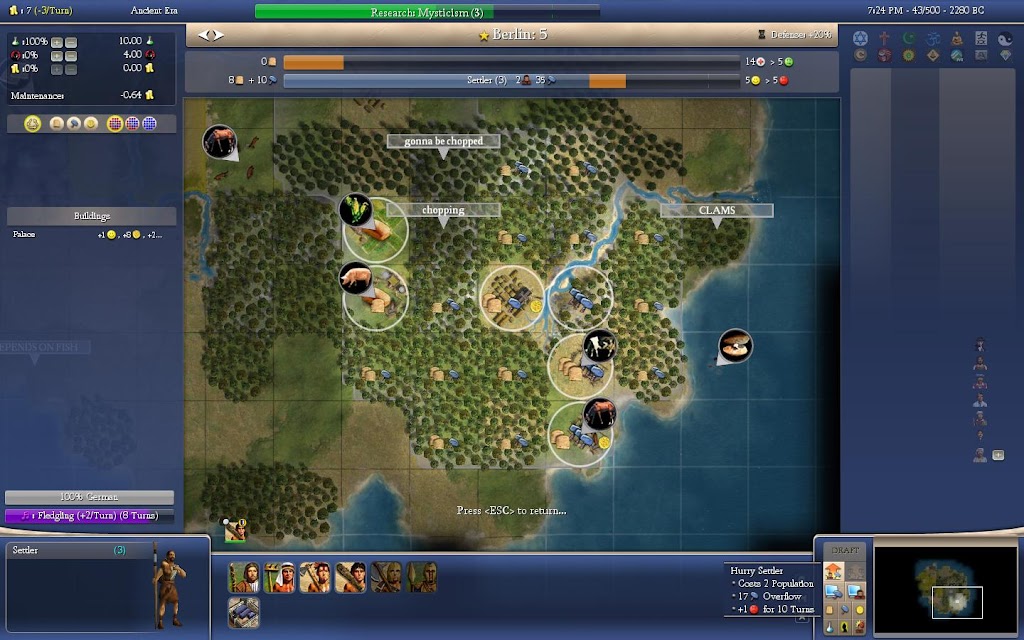
I was still worried about land, so I whipped in this settler.
When whipping try to do so for two-pop. You get the same amount of whip anger regardless of how many population points you whip away. So more is generally better. I would put the overflow into one last warrior and then start on a worker.
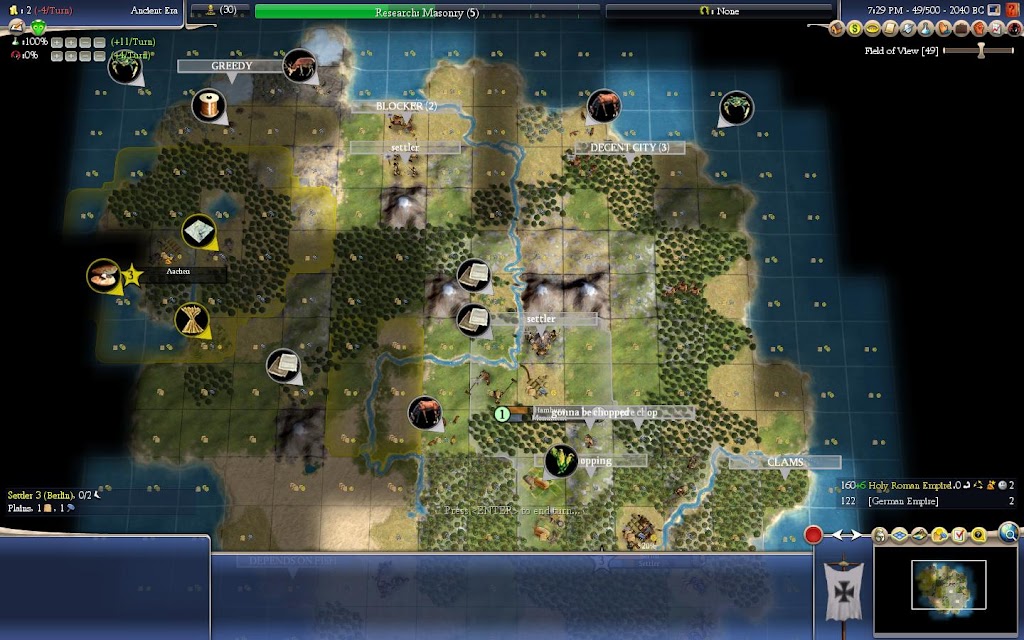
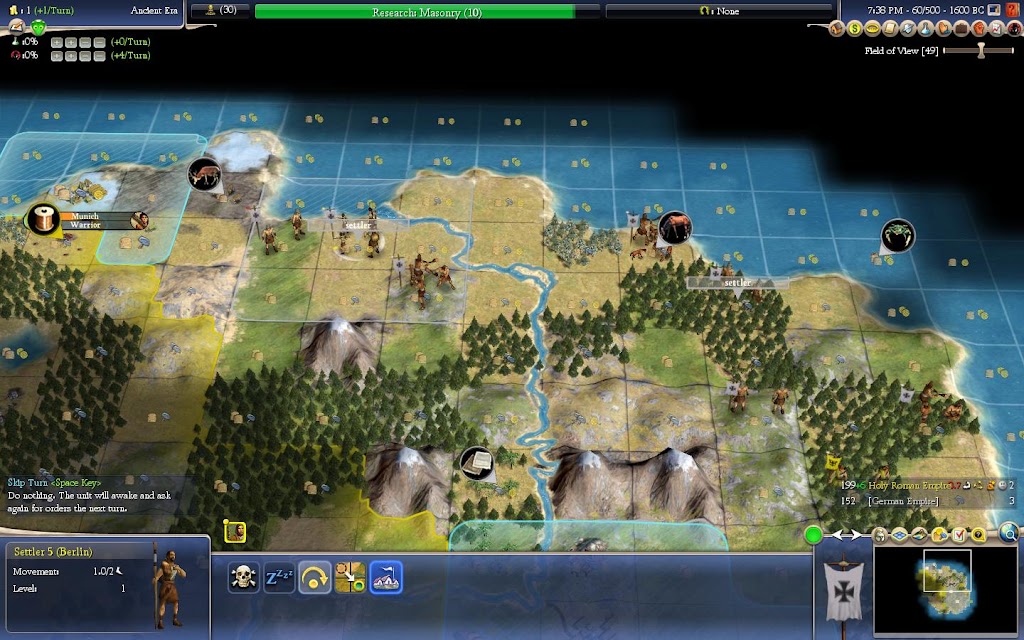
Alright. So here's a look at the situation now.
Both of my cities finished their settler at the same time. I sent them both north with the intention of making some really rash decisions.
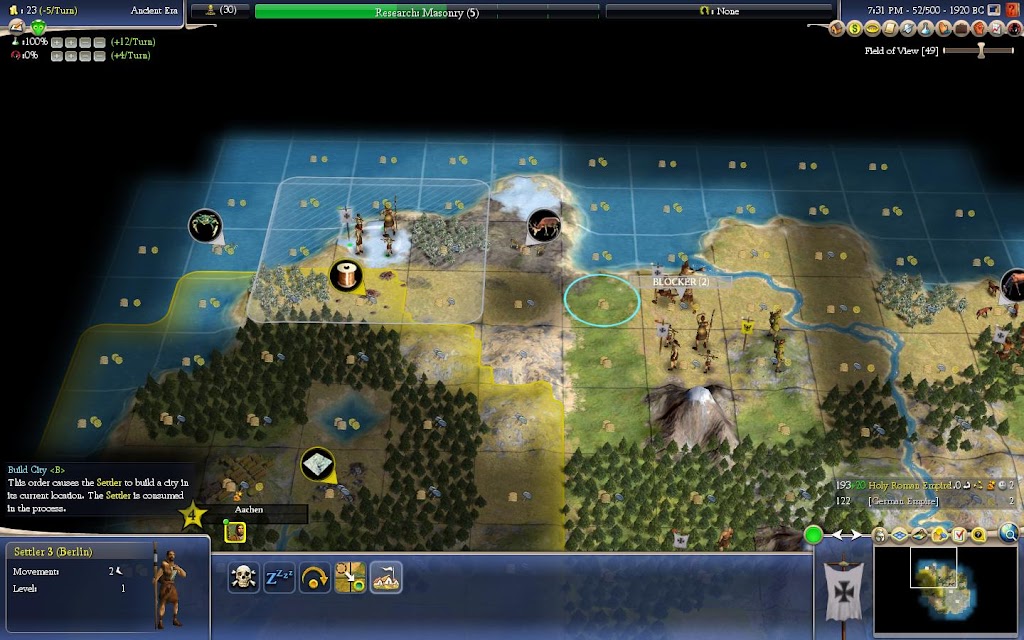
My logic at the time was this: I knew that getting my hands on the copper was going to be hard. But the city would still be able to work deer and clams which would allow me to run 3 specialists at size 5. And if I get the copper that would be awesome too. I was feeling more confident about getting all the cities I wanted at this point so I went ahead and settled there. Unfortunately I forgot about maintenance costs.
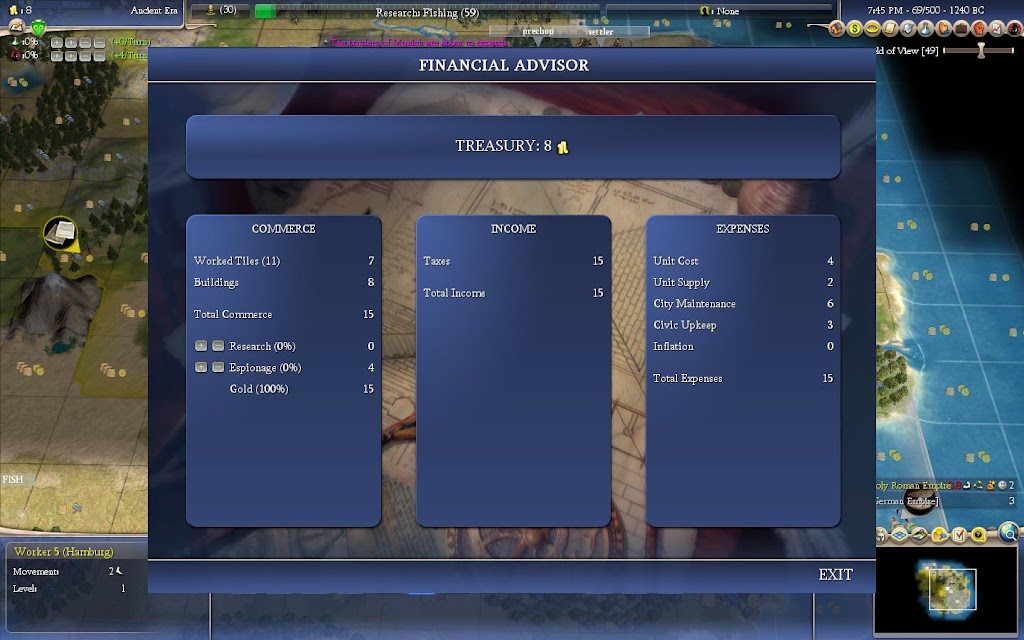
Yeah, check out that tech slider. For those of you who aren't mathematically inclined. This meant that when I turned the slider down I'd be getting about 0 gpt, give or take a little. So what do we do when we have no money in the early game? The classic strategy is to build wonders for failure gold. The way this works is that for every hammer you have invested in a wonder earns 1 gold if that wonder is built by somebody else. This is a great strategy and one I decided I would employ, especially since I was Industrious and our "wonder" hammers get even better returns on fail gold.
Here's the final view of the damage. Look at that gold per turn, ouch.
Needless to say I did NOT settle that city. The extra maintenance would kill me. It actually probably would have, literally. You'll also notice that I had another settler over on the east that the capital had finished. I had two settlers just sitting waiting for the economy to recover, which would hopefully happen before Charlemagne started settling the land.
Here's the second piece of advice. It's very easy to overlook
unit maintenance. Army maintenance is usually remembered and people know about the disbanding troops strategy, etc. But people often forget about workers & settlers outside of cultural borders maintenance. And when you're only getting 1 gpt at 0% science, every coin counts.
I decided that I'd leave the settlers, wait for the fail gold, and just survive on nothing for the time being, since I didn't think it was worth the possibility of Charlemagne taking my land. The workers quickly finished up their pre-chopping and then got back in the borders.
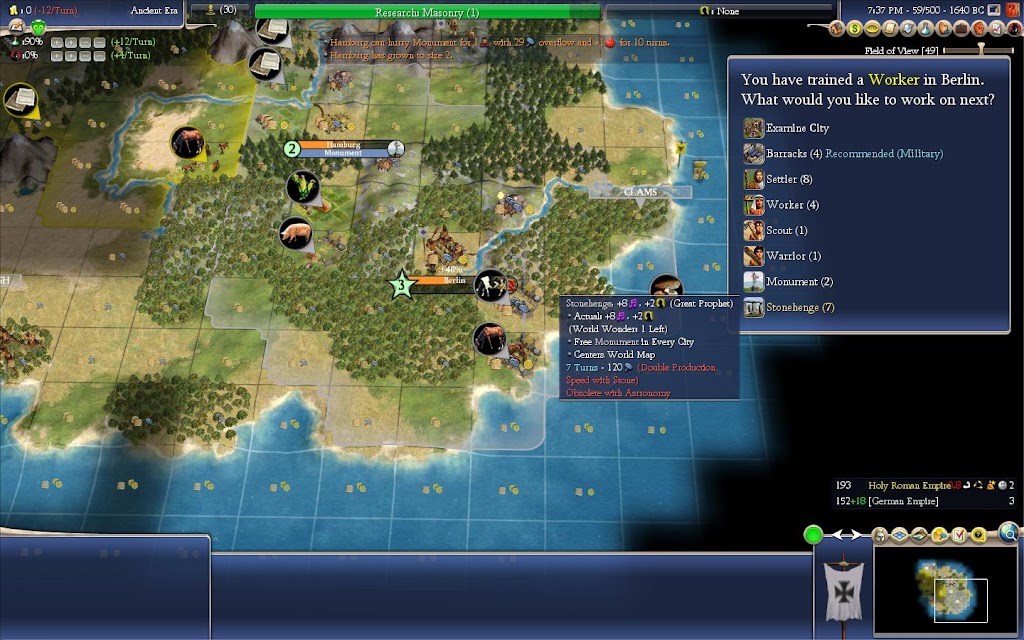
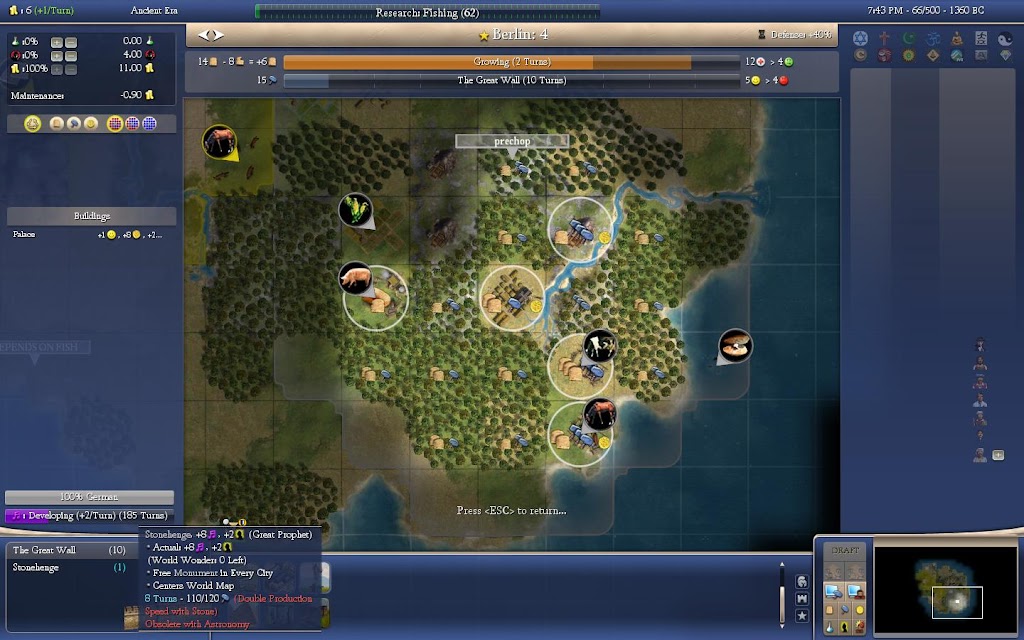
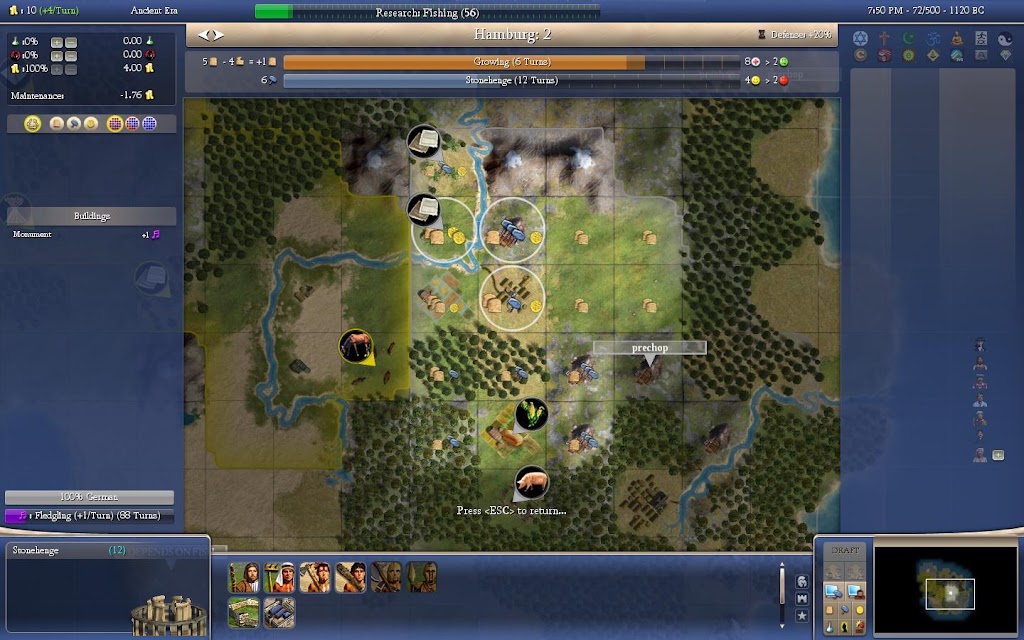
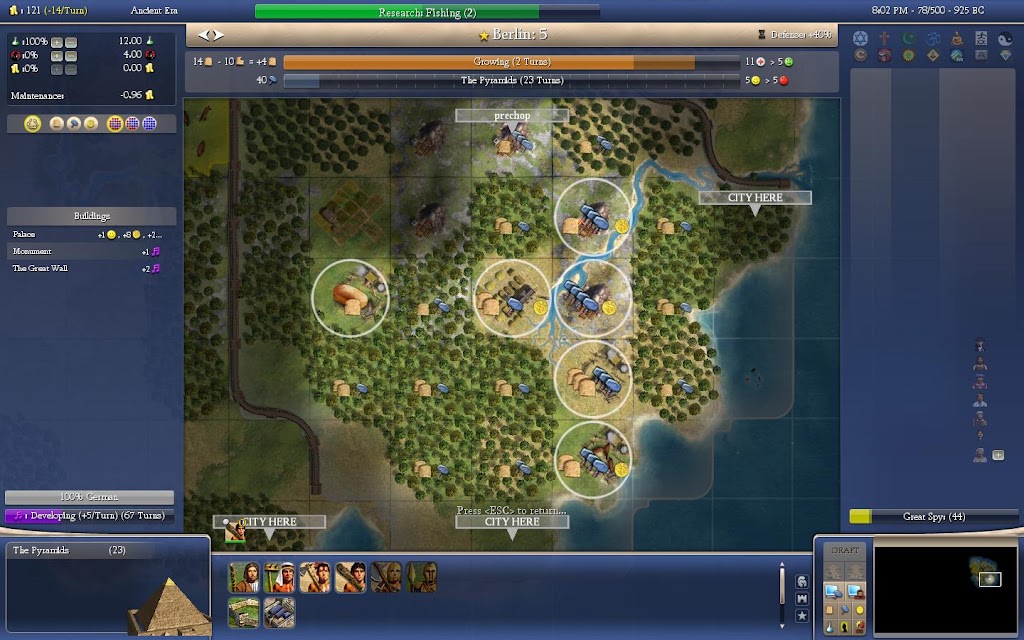
Well the capital finished Stonehenge up to one turn and then started on the wonder that I was actually going to keep.
I was almost certain that I wasn't going to be getting it. My painfully slow teching had made the starting date of this wonder really late. (Also, it was just coincidence that I got Masonry right as Stonehenge got within one turn). But I had some chops and was hopeful that it might be possible. Also, I really needed somebody to get Stonehenge so I could get my failure gold, as is obvious by the time it will take me to research fishing.
And there we go.
I'm at 0 gpt at 0% research. All of my commerce was being spent supporting my empire. I should have been doing this earlier, but I wasn't because I forgot (very poor play on my part). What I should have been doing was microing tiles to get every last gold I could. Growth, hammers, workers, and settlers were no longer important, it was gold that mattered.
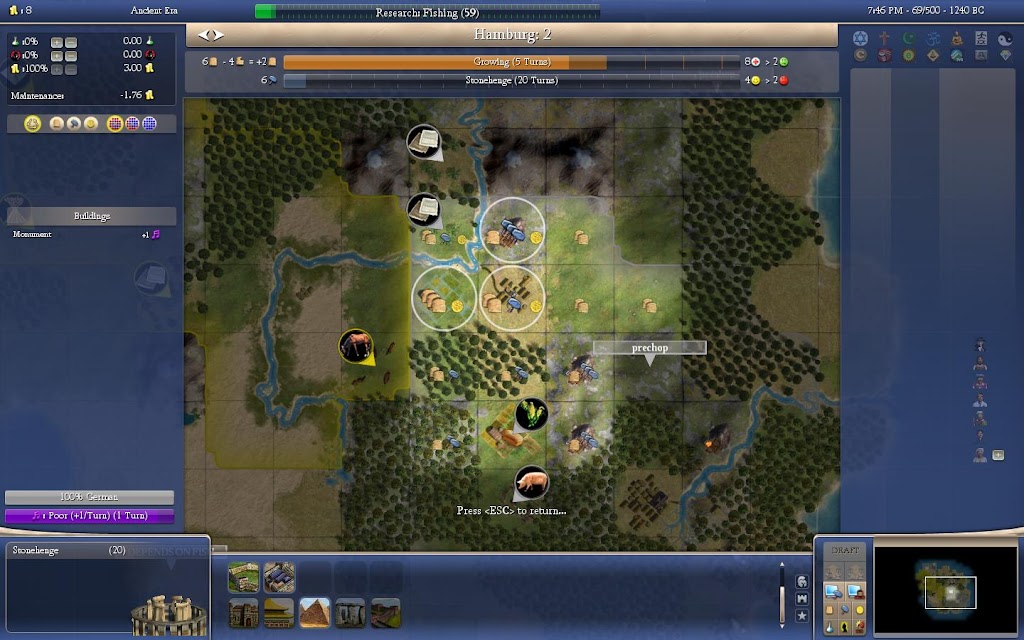
Then I noticed the silks, and that there were FORESTS on them. The rookie mistake here is that with silk and riverside-ness those tiles get TWO commerce, not one. So I quickly chopped those forests so that I could work the extra commerce.
In the meantime, money-suck city popped its borders and didn't claim the copper. It wasn't even close.
On the plus side, Charlemage had roaded to that city. So as soon as he got writing I'd have a foreign trade route. This means that I should also get Buddhism super quickly and start getting our relations up.
This whole roads thing is a nice segue into another source of gold that unfortunately I couldn't take advantage of. Domestic trade routes give each city 1 gold. But since I didn't have the wheel I was unable to get those trade routes and missed out on a lot of gold as a result. This round would have gone a lot better had I put the wheel first, before mysticism. It also would have given my workers something more useful to do. I have six at this point (they're so cheap

).
After Hamburg finished it's worker I started on Stonehenge again. This would give me some more fail gold since hopefully the AI would finish it soon. It was actually getting really annoying now. It was already turn 72 and still no Stonehenge, wth. I know Shaka and Zara are on this map, but geez, what are the rests of the AIs doing. You're killing me here. (Maybe they're on to me).
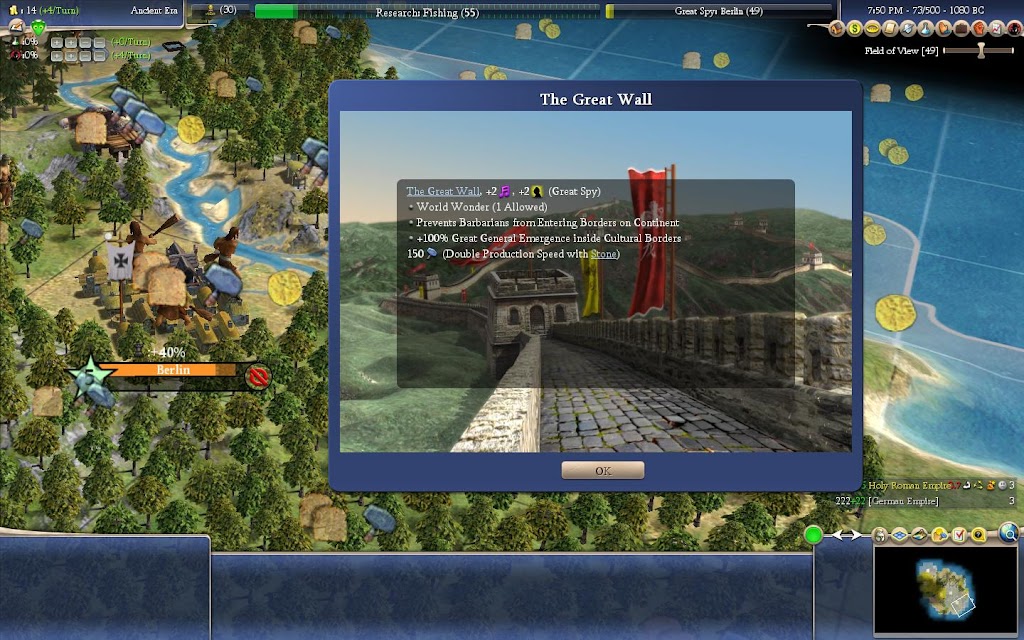
Anyway, these awful builder AIs allowed me to get my first wonder.
This was great. Not for barb defense, since it was already impossible for barbs to spawn. I only ever saw one barb warrior the whole round. No, the reason it's going to be excellent is that it will serve as my early "trading" power with Charlemagne. I'll send the Great Spy over to the HRE and then get a bunch of espionage points which I can use to steal techs and get myself back in this game.
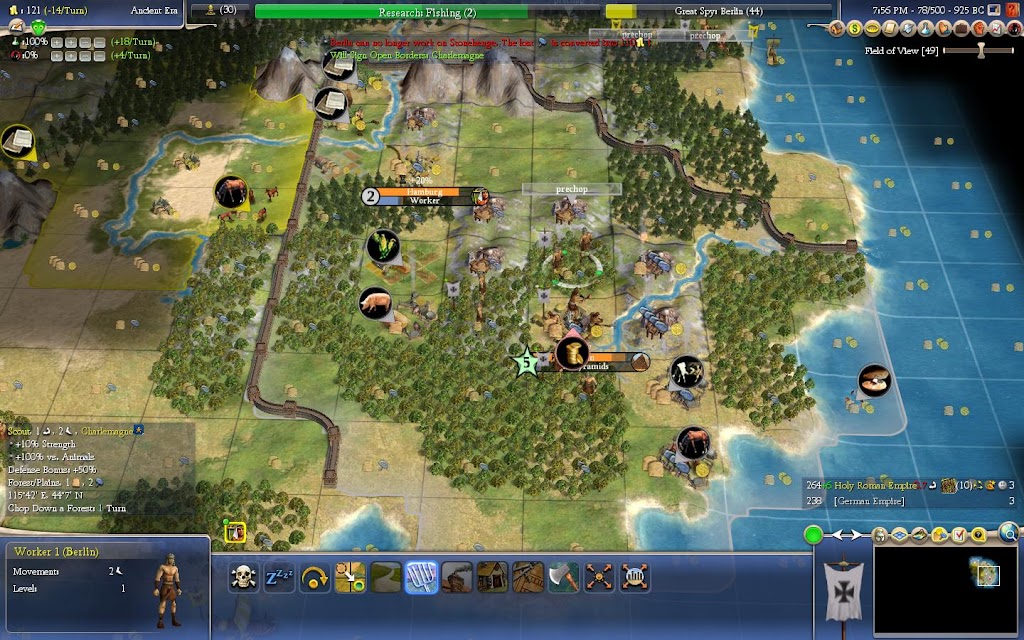
And the damn AIs were killing me, so I went ahead and did it.
I had an interesting decision to make on deciding where to finish it. I could have built it in Stonehenge for the extra GP points since Berlin would likely end up as my SSE/WE city. But I decided on Hamburg for two reasons. One, I wanted that great spy and didn't want to pollute the Berlin Great Person pool with a Prophet. Two, this would guarantee that Hamburg would get those excellent riverside grassland tiles from Charlemagne that his city currently had control over.
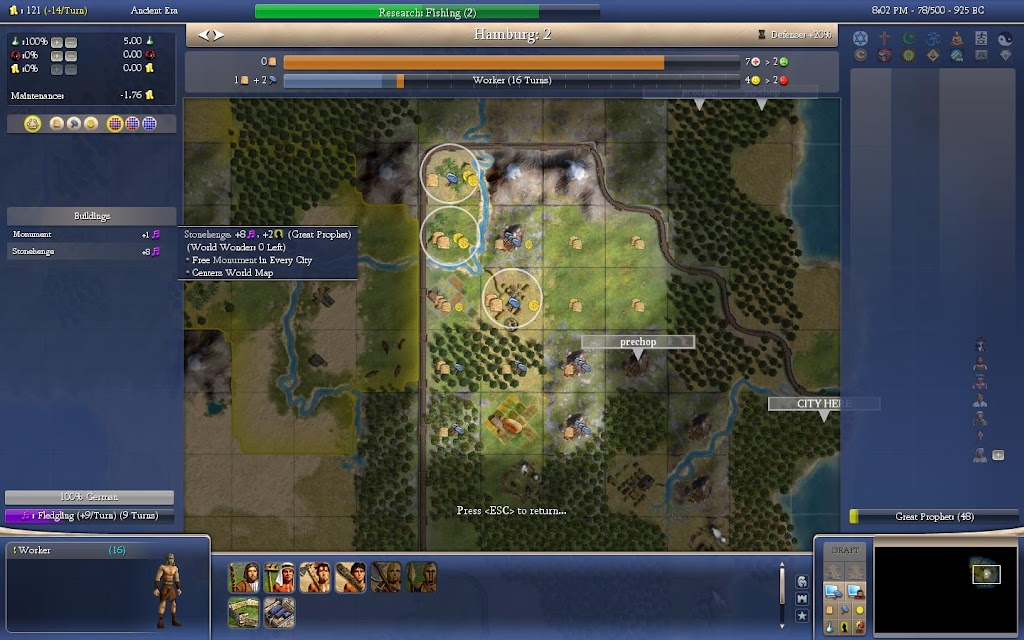
And there it is:
110 GOLD!!!!!!! Alright, we're back in business. This is enough gold to get me through Fishing and Sailing and then pop! goes the Great Lighthouse and we're off, hopefully ... I stopped the round at this point.
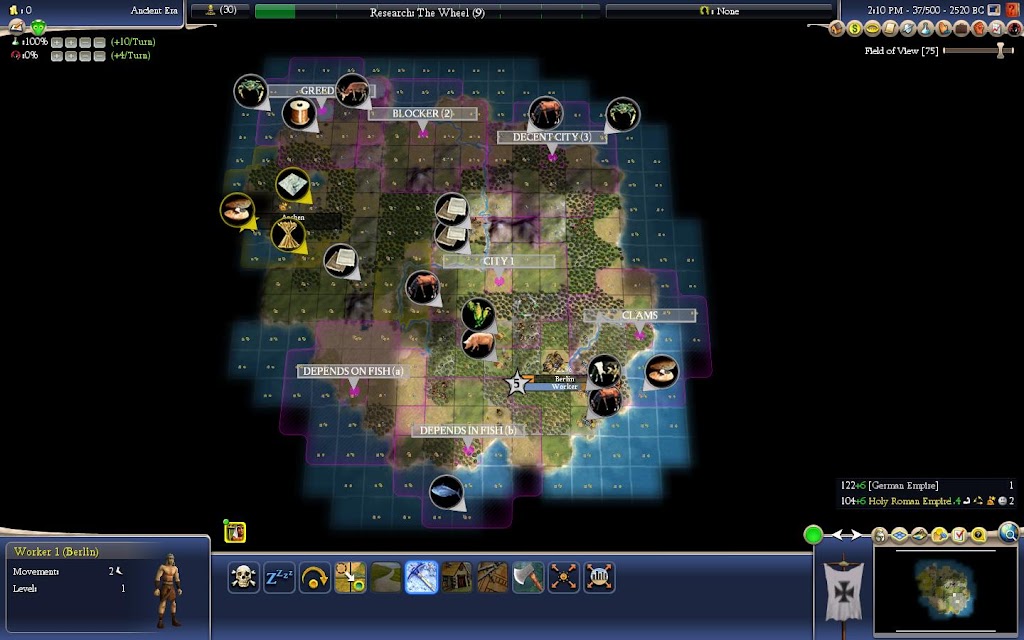
The island currently looks like this
I have another settler on the way to the southern fish site just in case Charlemagne tries to pull a fast one. You can also see that I'm building the Pyramids. I'm not sure if I'm going to get them, but I'll at least try, I think. I've got nothing else to build at the moment anyway.
Here's a view of my cities:
And the northern part of the Empire getting ready to chop out a quick Great Lighthouse.
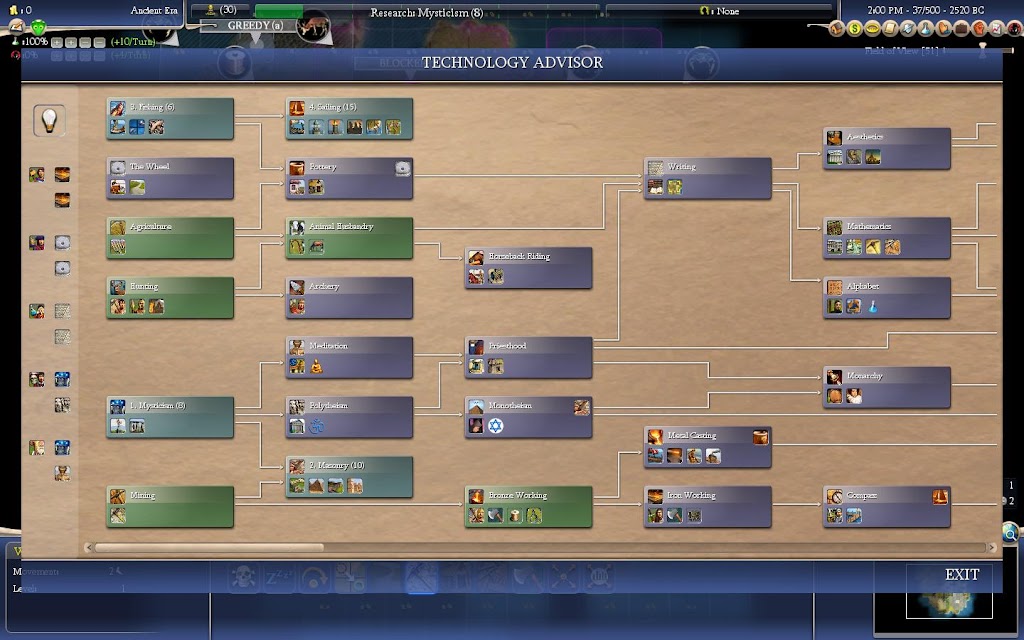
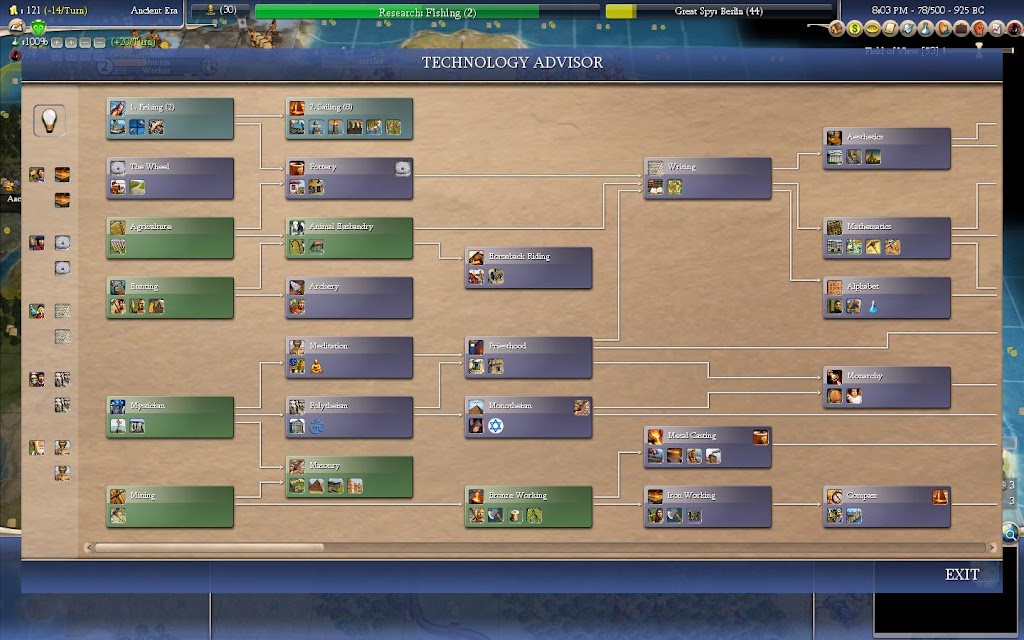
And the absolutely hilarious tech screen goes as follows:
So the main thing to take out of this round is this: if there's no good commerce tiles in your early empire make sure you get the wheel for trade routes, keep unnecessary units out of your borders, and build wonders for fail gold.
Any questions, comments, or thoughts on how I should proceed are very welcome!
") .
. ? My micro isn't even that good, someone who planned it out could have done even better.
 .
.


 .
.