Well, the oven itself is to be built out of red clay fire bricks. Only fire bricks can stand the exposure to direct flame in a 750F degree oven. So far the base is done, wanna see? Of course you do...
")
It can be helpful to post because I might just lean something and others might too.
How I spent my day...
9" of pumice which provides insulation and structural strength with perlite poured in around it. We used most of the 35 cement sacks of lava chunks (pumice) that we brought home from Camiguin Island right here. Perlite is a refractory insulator I found here. So, a mix of 2 refractory insulators.
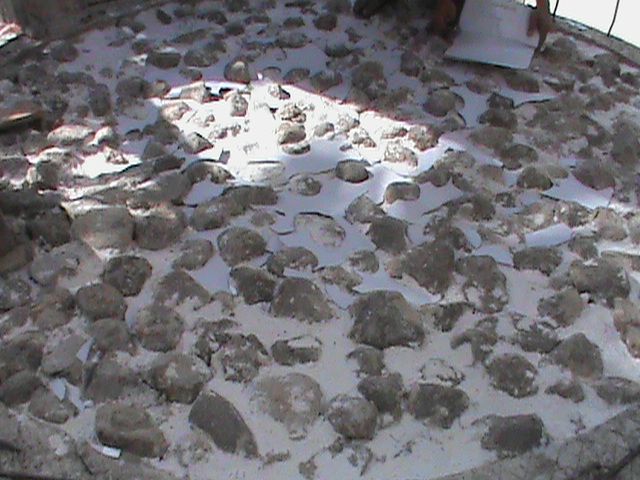
Set cardboard on top of the perlite which is is light and fluffy and I didn't want to take a chance on the floor pour screwing it up.
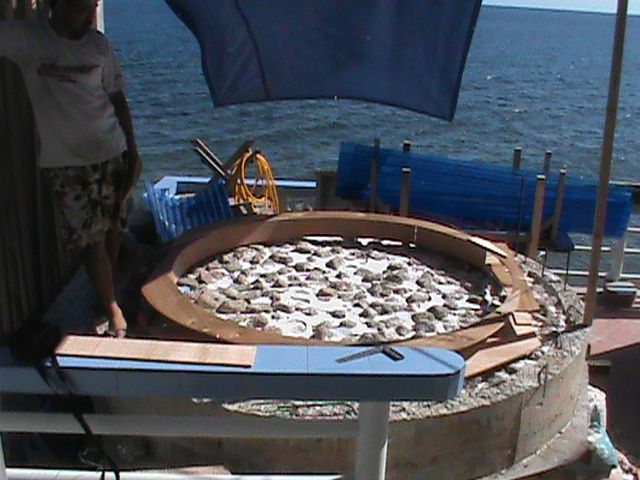
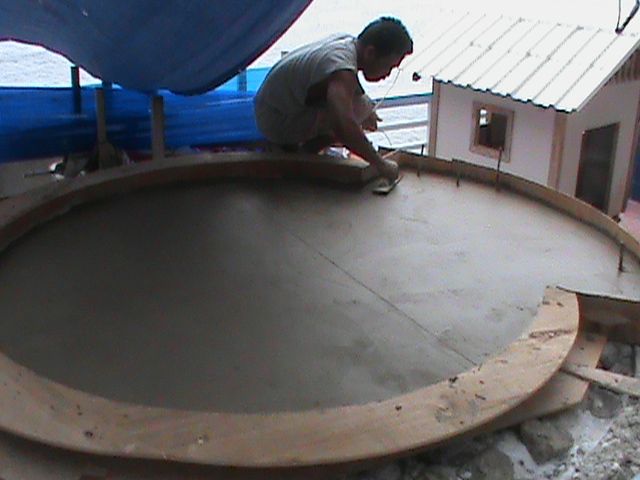
The mold for the pour is set first time. The pour extends out 4" past the brick, then there's the 4" brick, then the oven. So the oven open space interior will start 8" inside the form, and the thickness of the pour and flat laid 2" brick higher.
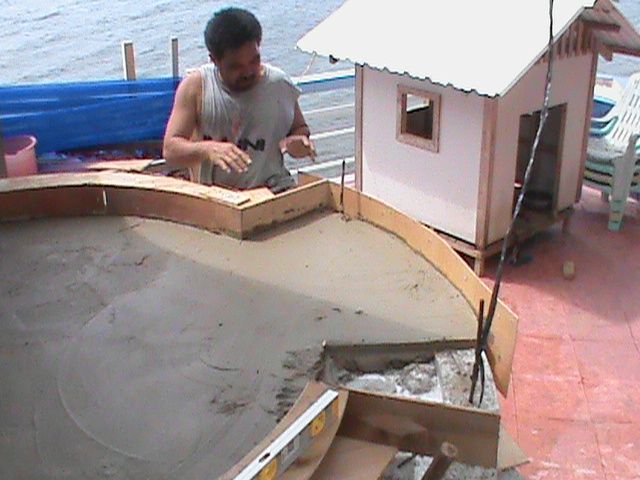
Pictured is Fidel, our excellent carpenter.
Once the pour was on I realized the door was too small. Dell did a quick redo on the form and the pour continued. Since the floor is somewhat isulated by using perliite I don't really care if its too big. When I climb up there and lay out the oven I want some space to play with.
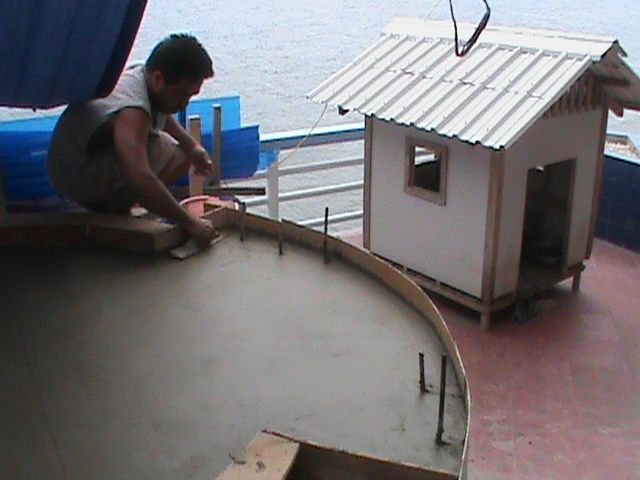
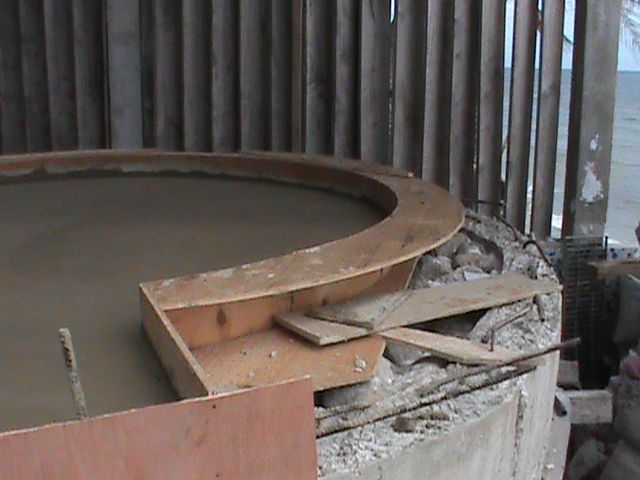
Here's the floor at the door out to its full size. Some of those metal bars will be cut, others will be part of the onion dome. We're building an onion dome surround to contain the perlite insulation and just make it look good. Its to be modeled after an onion dome in Portugal. So, 2 domes. One brick oven dome then an exterior onion dome.
Dell is an excellent mason too.
Minus 8" remember, or 16" total. I made the pour wider than the oven to spread the weight of the brick oven load wider, to more pumice. The pumice is connected piece by piece to the poured floor at the bottom. Below that is a series of decorative structural concrete columns which carry it to the floor. Another "what's it made of Cheezy... Its 3 perlite, 1 portland, 1 clay, 1 lime and 1/2 silicate, my own recipe.
So you see the floor pour on the left where the oven dome will sit God willing. On the right you see the start of the base of the onion dome and the metal bar sticking out. From there on up the onion will be refractory and the bar will be wrapped in paper and tape to give it some expansion room. Between the oven dome and the onion wall will be 12" of perlite insulation, loose. We'll build the oven first and then the onion and then pour perlite down between them. Then we'll start the warm up process which cooks the water out over a week. Then we'll cook a few pizzas.


")


